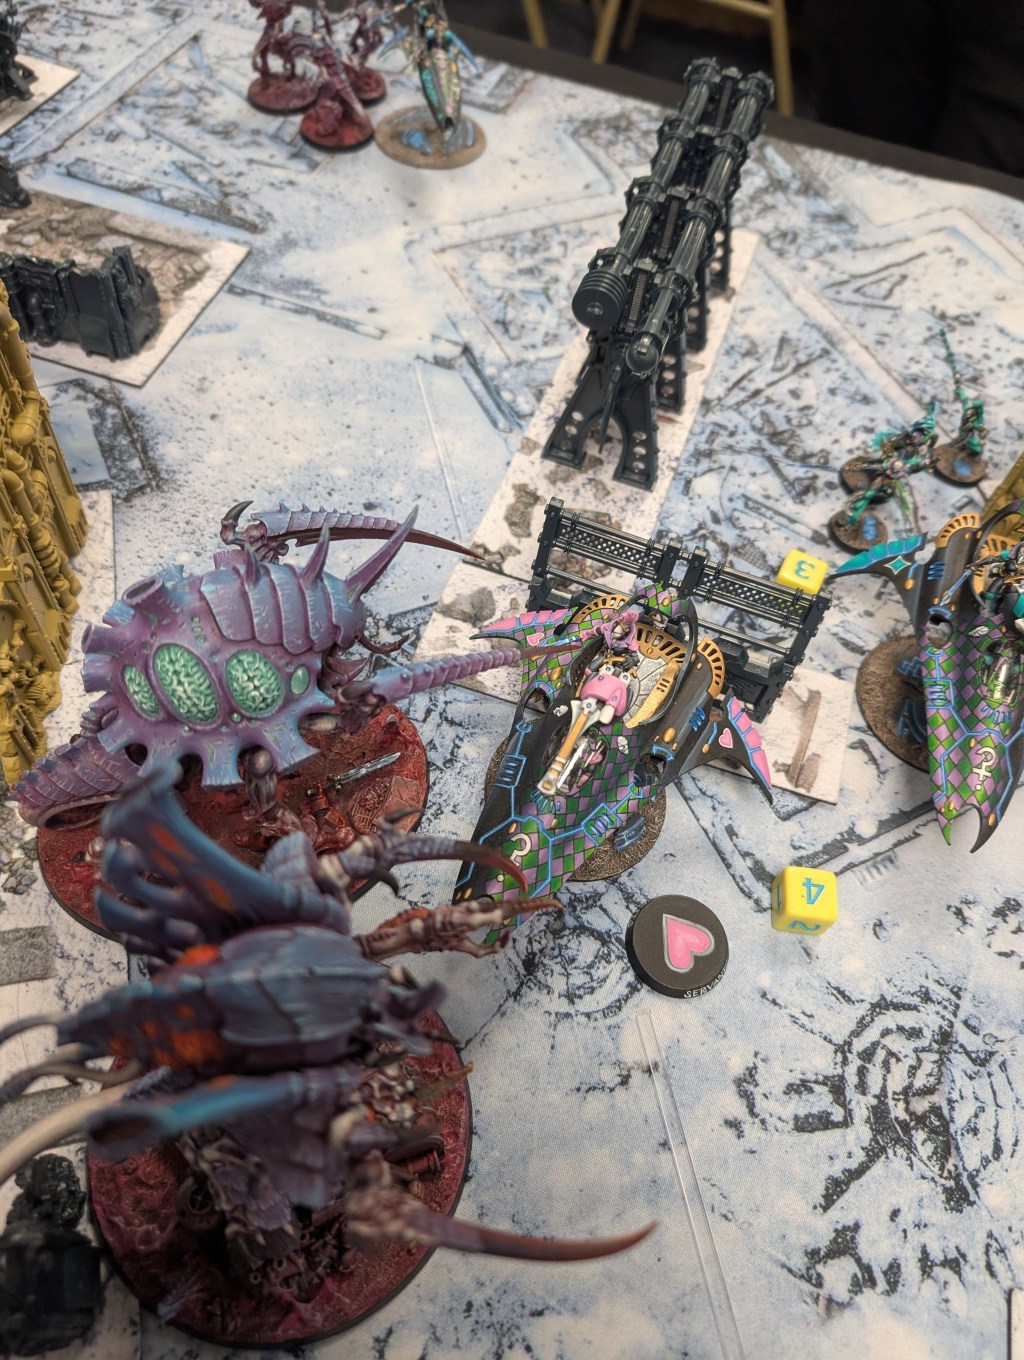

Tyranids – Vanguard Onslaught + Talons of the Norn Queen – Recon: Winged Hive Tyrant, Deathleaper, Norn Emissary, Norn Assimilator, Broodlord + 10 Genestealers, Broodlord + 5 Genestealers, Maleceptor, Biovore, 5 Barbgaunts, 2 x Neurolictor, 3 x 3 Von Ryan’s Leapers, 10 Hormagaunts
Aeldari – Serpent’s Brood + Armoured Warhost – Recon: Solitaire, 2 x Death Jester, Shadowseer, 3 x Troupe Masters + 5 Troupe, 3 x 5 Troupe, 3 x 2 Skyweavers, 2 x Voidweaver, Wraithlord, 4 x Starweaver
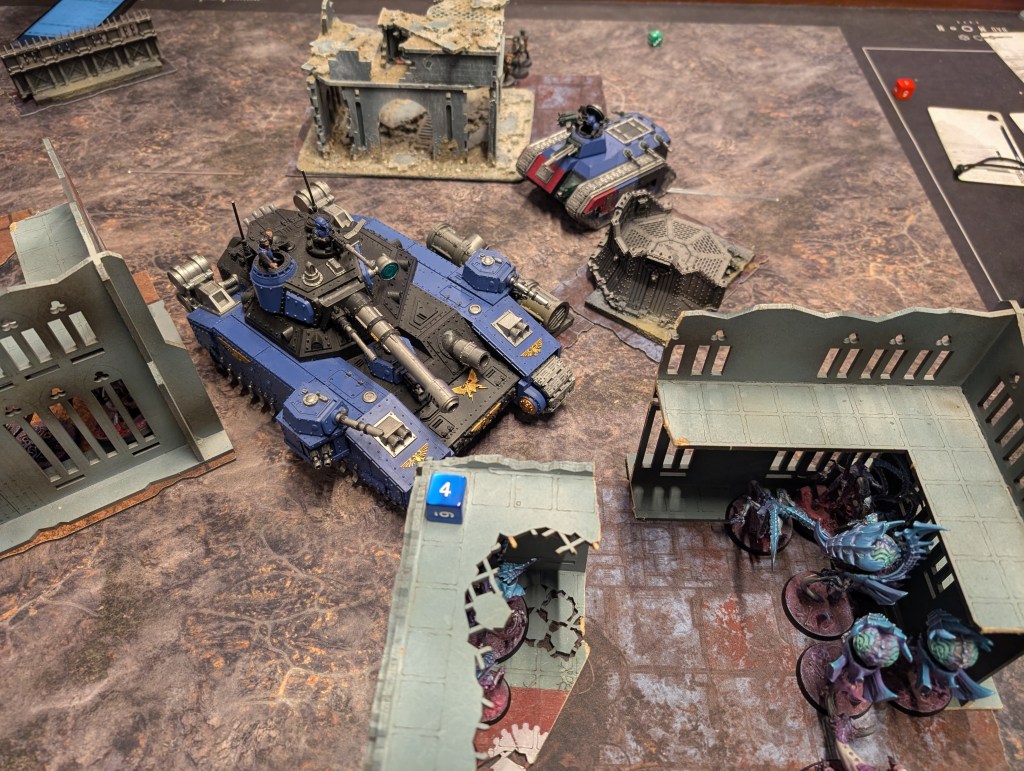
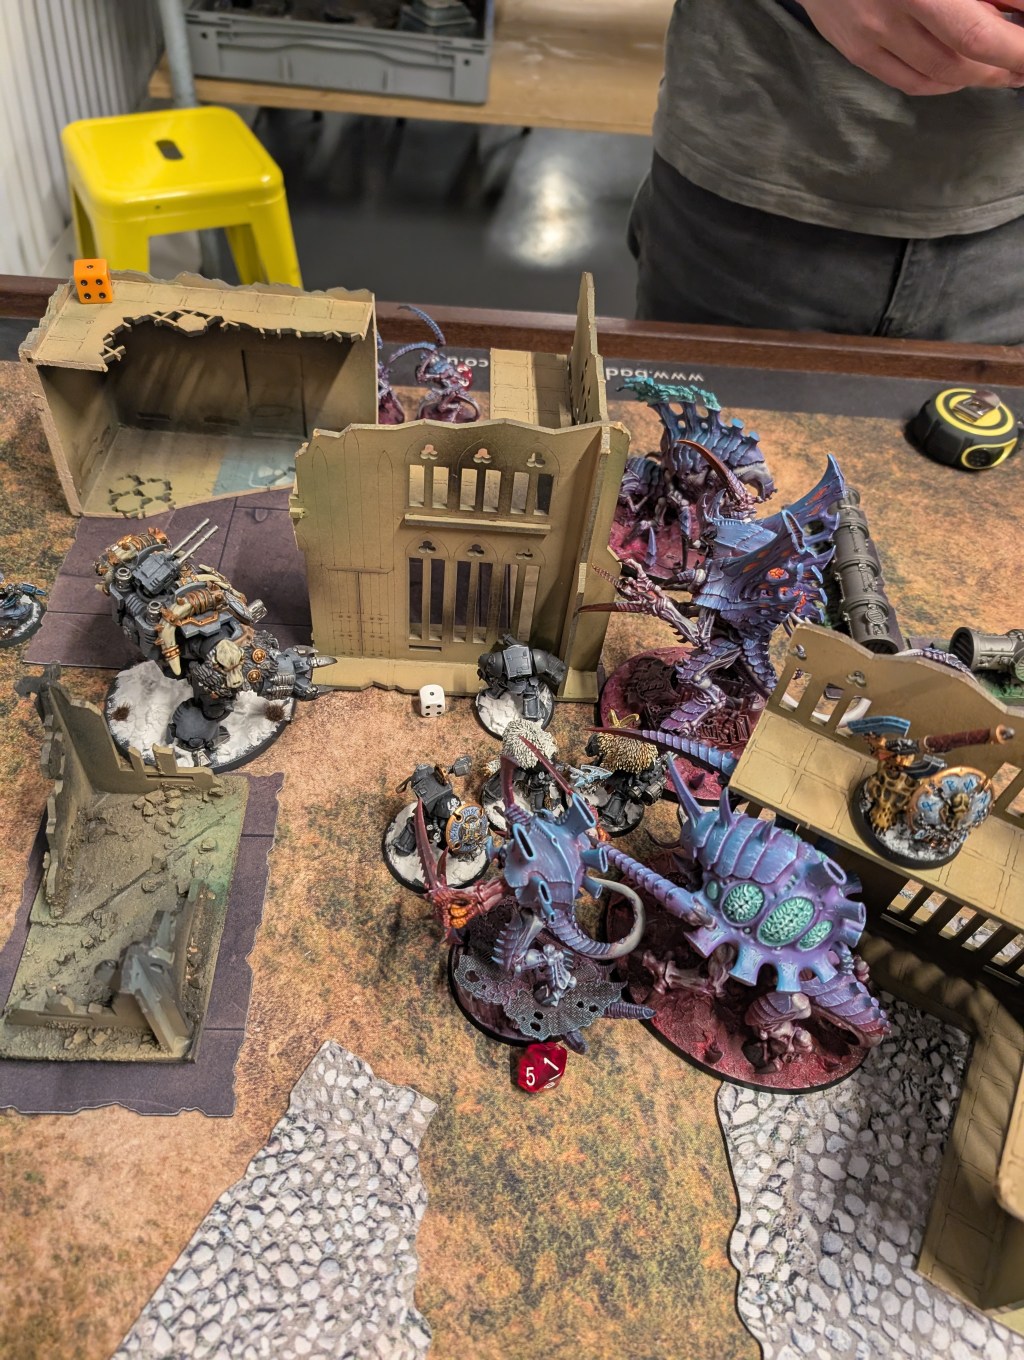
I was especially terrible at remembering to take photos this time around, so this recap will be even more truncated than usual.
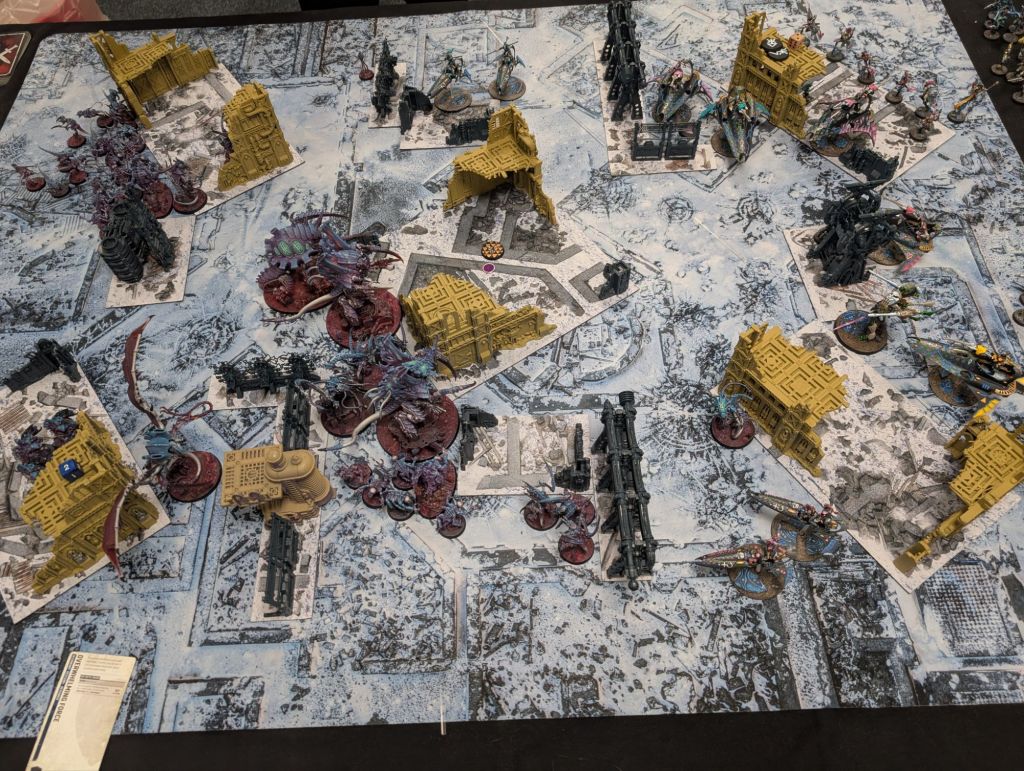
I got first turn and immediately moved to park two Norns on the centre objective – useful for this mirror match since it gained me 6VP turn one while denying the same to my opponent unless they could somehow counter 34 OC (they could not).
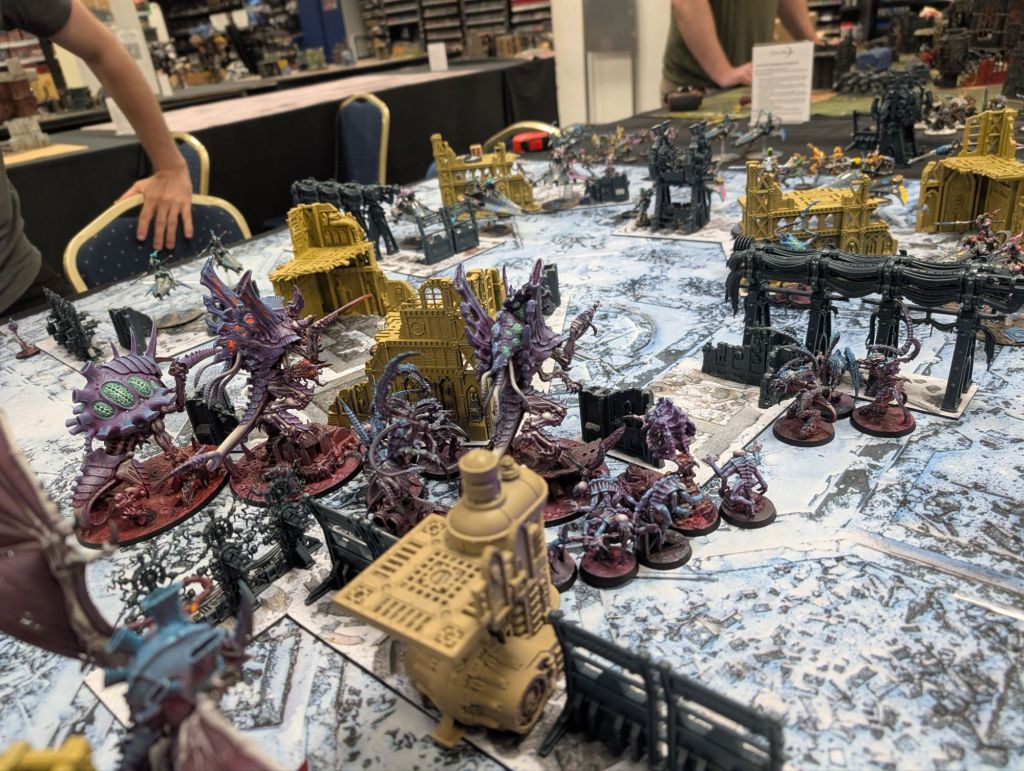
My general strategy here was to push the big monsters up to hold the board and absorb fire, while my much more fragile Vanguard invaders followed behind more cautiously to pick off targets of opportunity without exposing themselves too much.
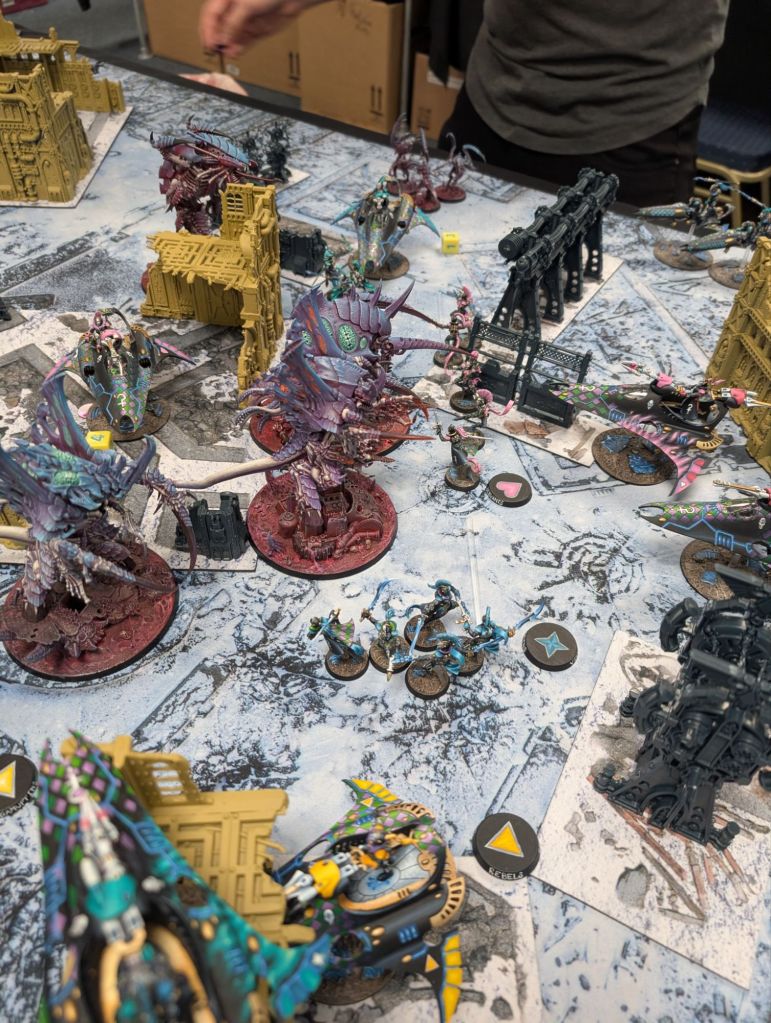
This worked well, my Norns weathering the storm and holding back the bulk of the Harlequin forces until turn 3. The Mawloc managed to make its points cost back simply by arriving, its mortal wound bomb doing damage across multiple expensive units.
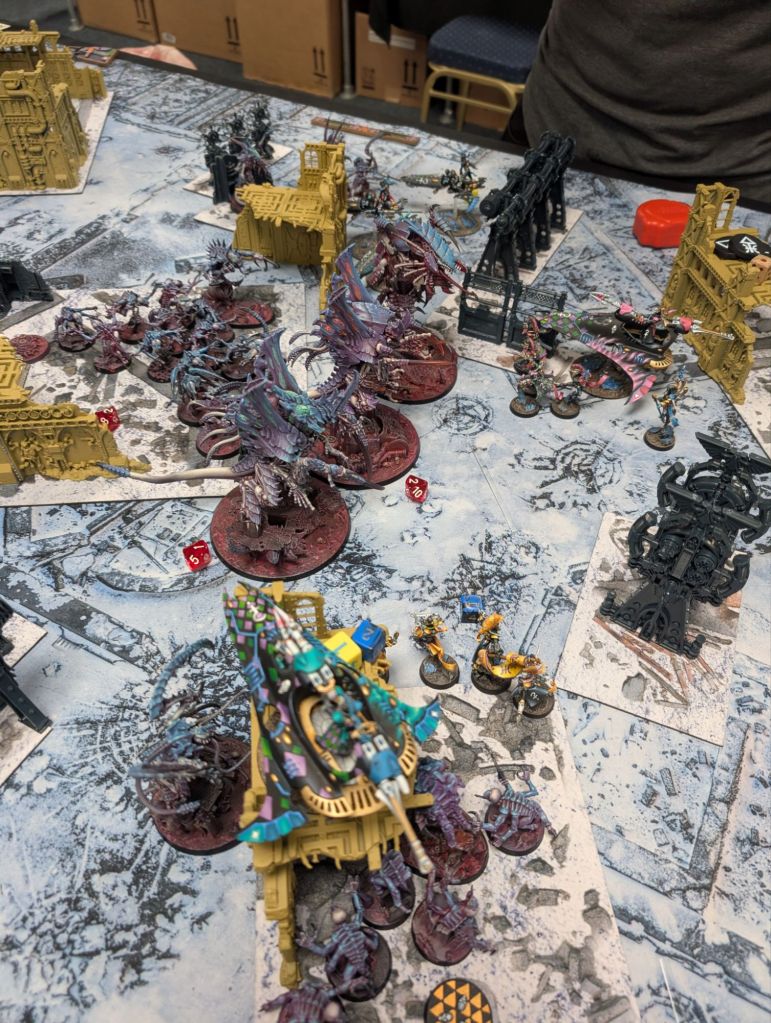
My front line of monsters was eventually whittled down – the two Norns clinging on to one and two wounds for a decent length of time before both being brought down almost simultaneously – but by that point the next wave of genestealers had arrived and the Harlequins were in tatters.
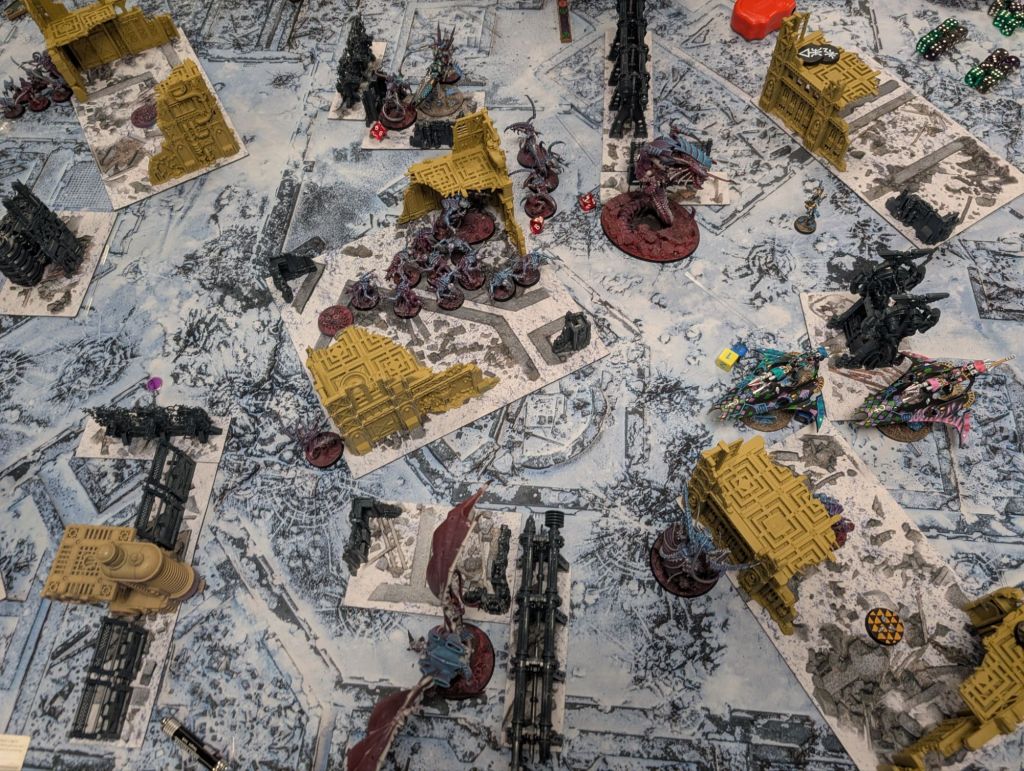
Final result: Tyranid victory 100-32
Analysis
- For this game I intended to tone down the ‘oops all monsters’ lists I’ve been running recently. I couldn’t quite bring myself to give up my beloved pair of Norns, though and they performed as well as they always do – whiffing most of their attacks but being an immovable object that I can stick on an objective, say ‘this is mine now’ and soak up an enormous amount of incoming attacks that could easily cripple the rest of my force were they directed elsewhere.
- I haven’t run Vanguard Onslaught for a while, mainly because I never quite gelled with it previously. However, having learned from past mistakes and also now having the ability to pair it with the Norn mini-detachment things went a lot better. My main error previously is that having the ability to throw a lot of fast skirmishers forwards turn one meant that I threw a lot of fast skirmishers forwards turn one, where they usually ended up unsupported and dying very easily. This time I resisted that urge and advanced much more cautiously with my glass-cannon VANGUARD INVADERS, using their improved speed not to alpha strike but instead to keep them back in safety until needed to rush forwards. This works better.
- More generally, I was a bit more strict with myself this game about ‘woolly’ movement.
- To this end, my plan was essentially to have three waves:
- Wave 1: Norns and a Maleceptor, to seize control of the centre-ground, draw fire and force the enemy to expose themselves.
- Wave 2: Von Ryan’s Leapers just behind, to heroically intervene and countercharge anything trying to threaten the monsters. Plus Neurolictors for actions and a Mawloc as a pop-up mortals bomb and infantry mincer.
- Wave 3: Genestealers and a Winged Hive Tyrant to come in and wipe the board clean.
- This worked well – so well in fact that Wave 3 didn’t have much left to do by the time they came forwards. Possibly I could’ve brought them out sooner, and positioned my big blob of ‘stealers more centrally for an easier run up the middle, but I think on the whole keeping them safe and as a looming threat was the right call.
- MVPs of this game were the 3 squads of Von Ryan’s Leapers, whose Heroic Intervention ability makes them a potent instant counter-punch with the new version of that stratagem. Fights First, while definitely worse than it was, is also not useless (though they should really rewrite the ability to just give a free use of Counteroffensive, it would make it much cleaner). Not only did they kill a bunch of clowns and save several other units from getting deleted, they did all that while also action monkeying around and scoring a bunch of points. I think they’d do significantly less well against more durable opponents, but regardless for 55 points they’re amazing. I’m considering buying 15 more while they’re still relatively cheap.
- The Mawloc was a close second. I’ve been running this (magnetised) model as a Trygon in its last couple of games without it achieving basically anything. I thought the Mawloc might at least be able to do some mortal wounds when it arrived, and indeed it did – enough to justify its cost alone in fact. It then followed up to shred three squads of Harlequins. Again, it would probably fare less well against tougher targets; Harlequins have such a ridiculously low number of wounds for their cost that every mortal wound is worth a lot and 16 D1 attacks are… very good. Still, Mawloc: 1, Trygon: 0 so far.
- This mission is a little weird since there’s 6VP available in turn 1 for holding the centre objective at the end of your turn, meaning that whoever goes first (me) pretty much just… gets those points, and can deny the same to their opponent fairly easily, especially if they park two Norns on it (also me). Feels like a slightly unfair design.



Leave a Reply