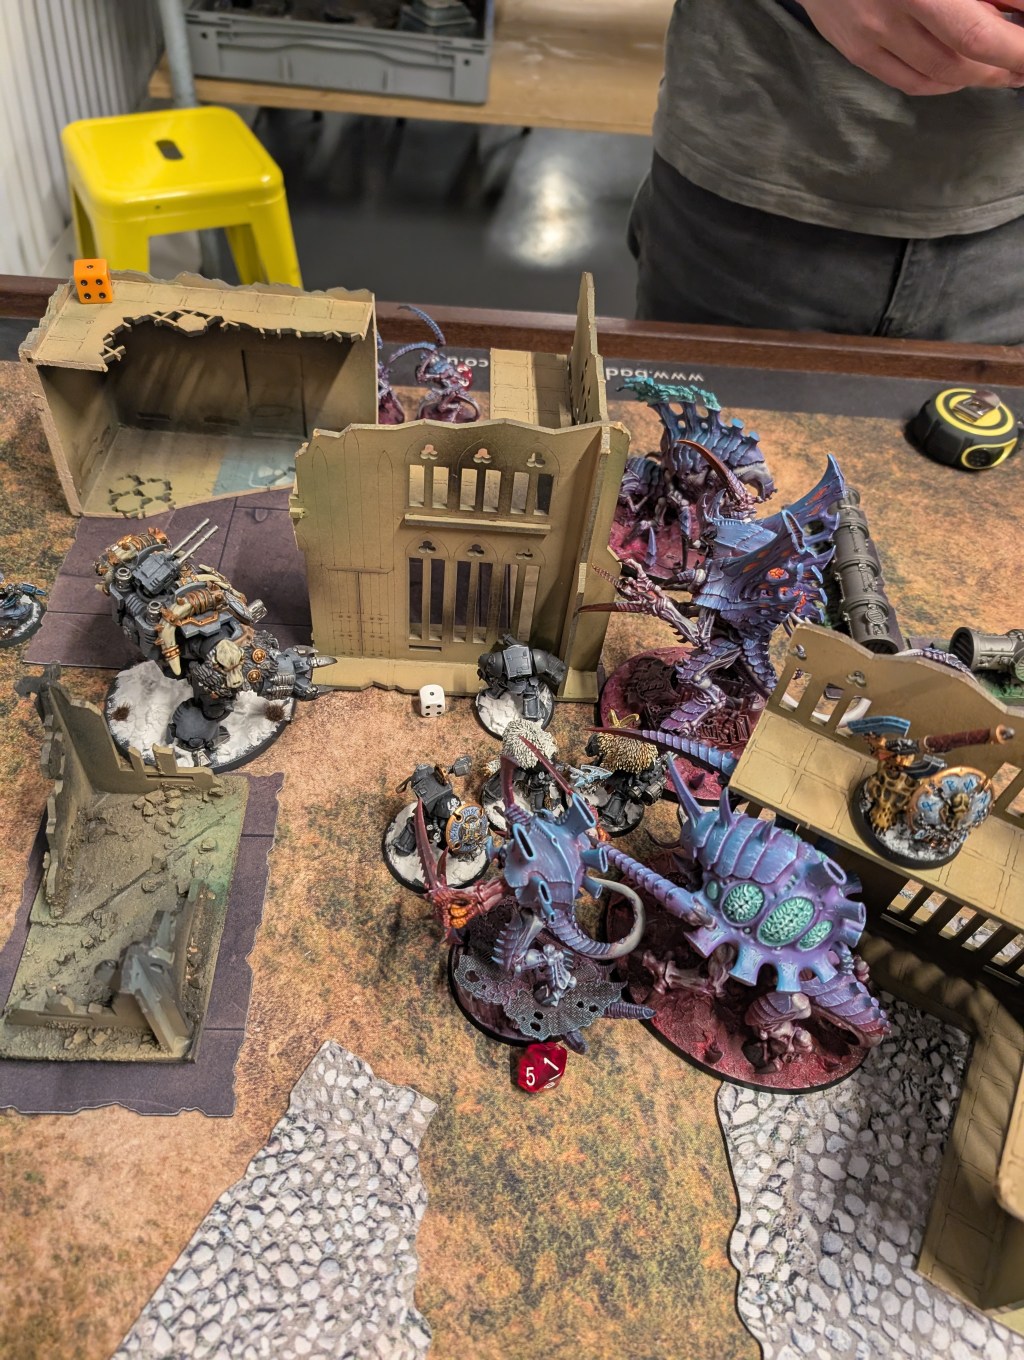

Tyranids – Assimilation Swarm + Talons of the Norn Queen – Priority Assets (Me): Swarmlord, Norn Emissary, Norn Assimilator, Maleceptor, 2 x Tyrannofex, 2 x Psychophage, Haruspex, 2 x 5 Barbgaunts, 3 x 3 Von Ryan’s Leapers.
Space Wolves – Saga of the Great Wolf + Librarius Conclave – Take and Hold (Mike): Logan Grimnar + 10 Wolf Guard Terminators, Arjac Rockfist + 10 Wolfguard Terminators, Terminator Librarian + 10 Assault Terminators, Bjorn the Fell-Handed, Iron Priest, Razorback, 5 Intercessors, Brutalis Dreadnought, Venerable Dreadnought, 5 Scouts
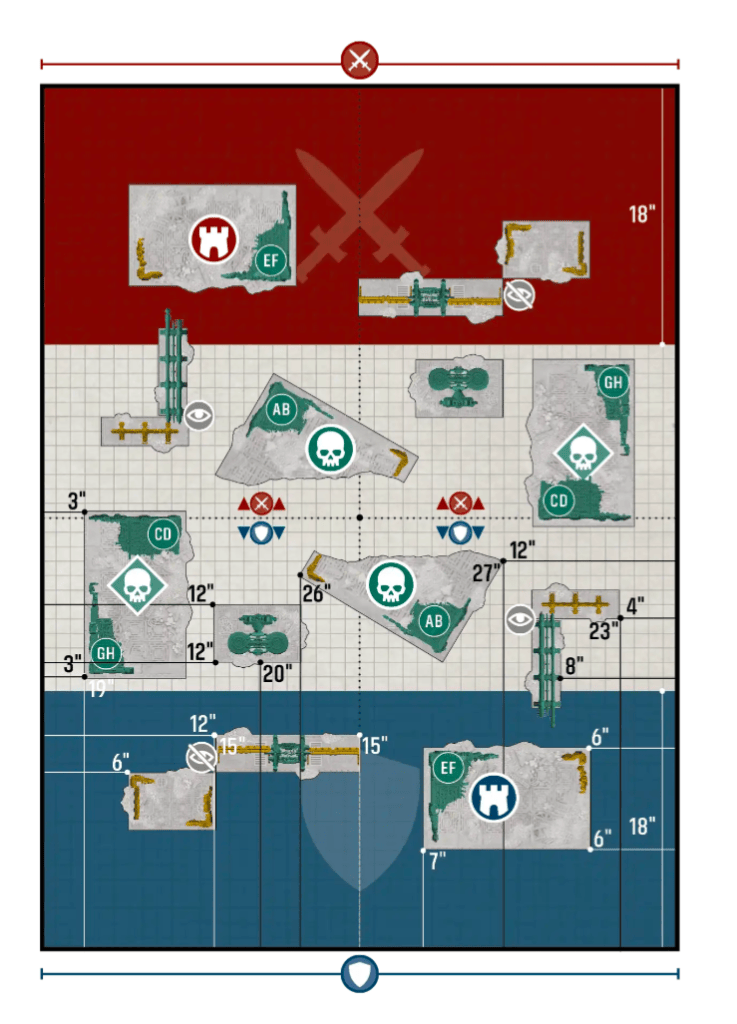
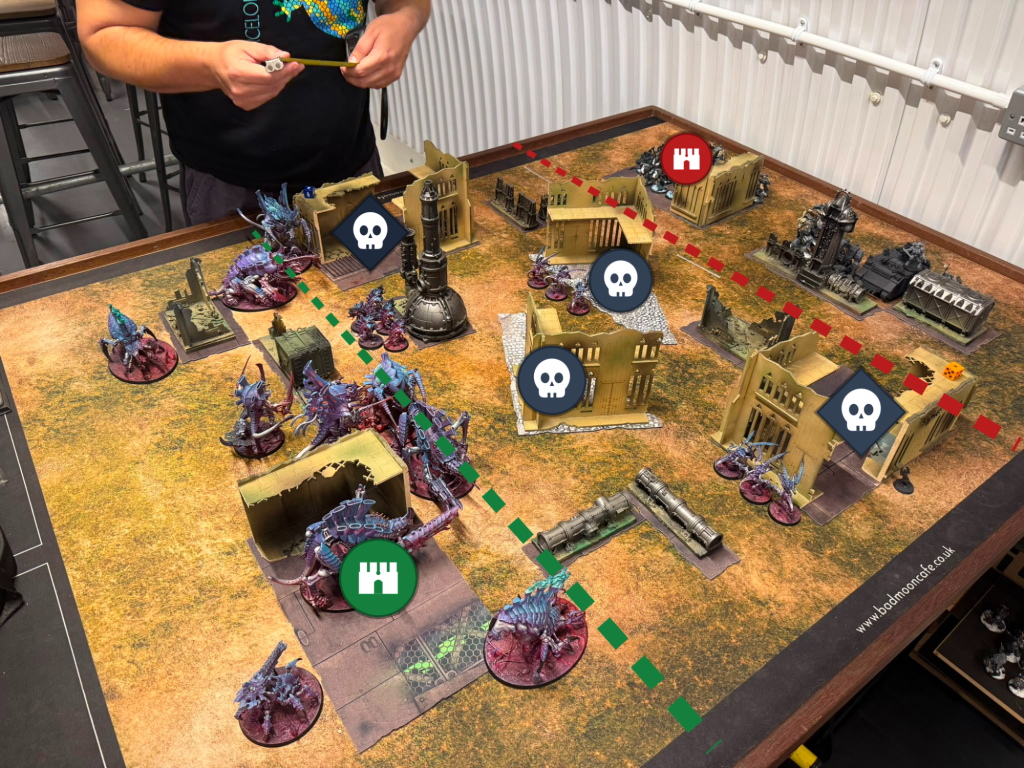
Turn 1
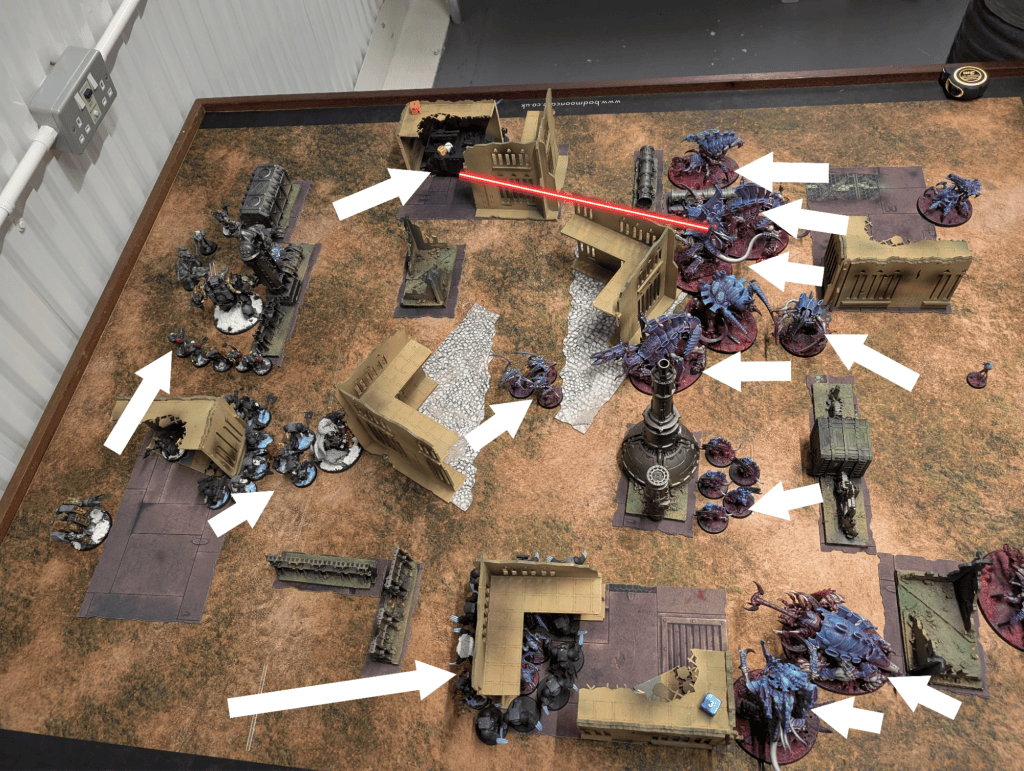
Turn 2
Turn 3
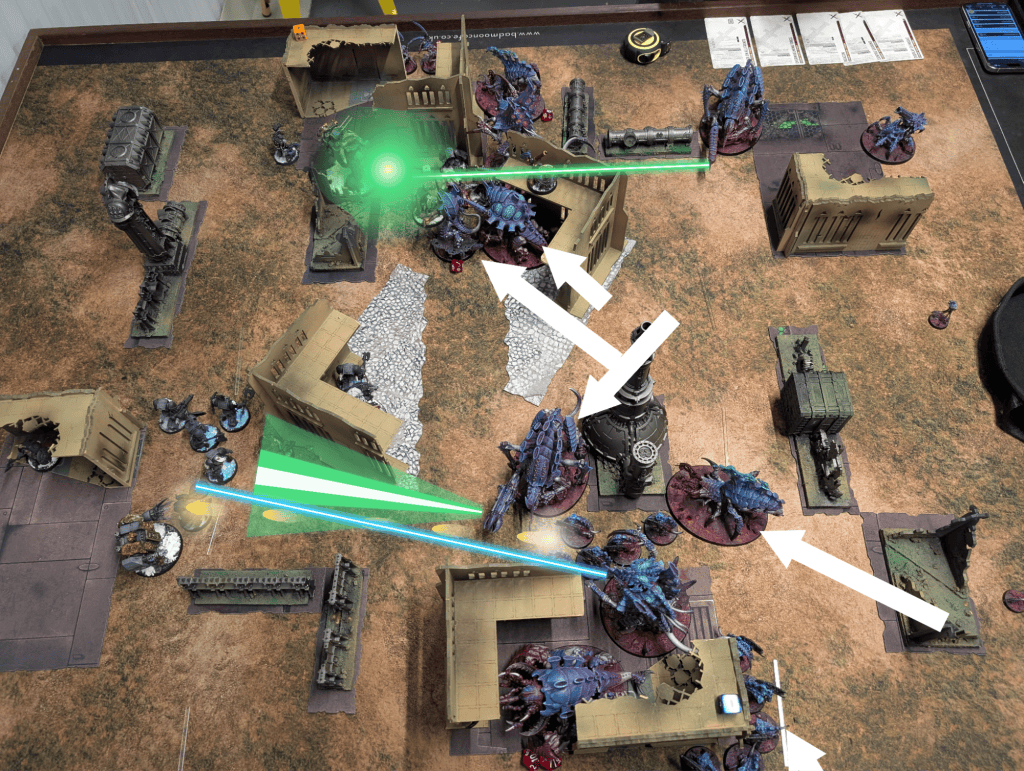

Turn 4
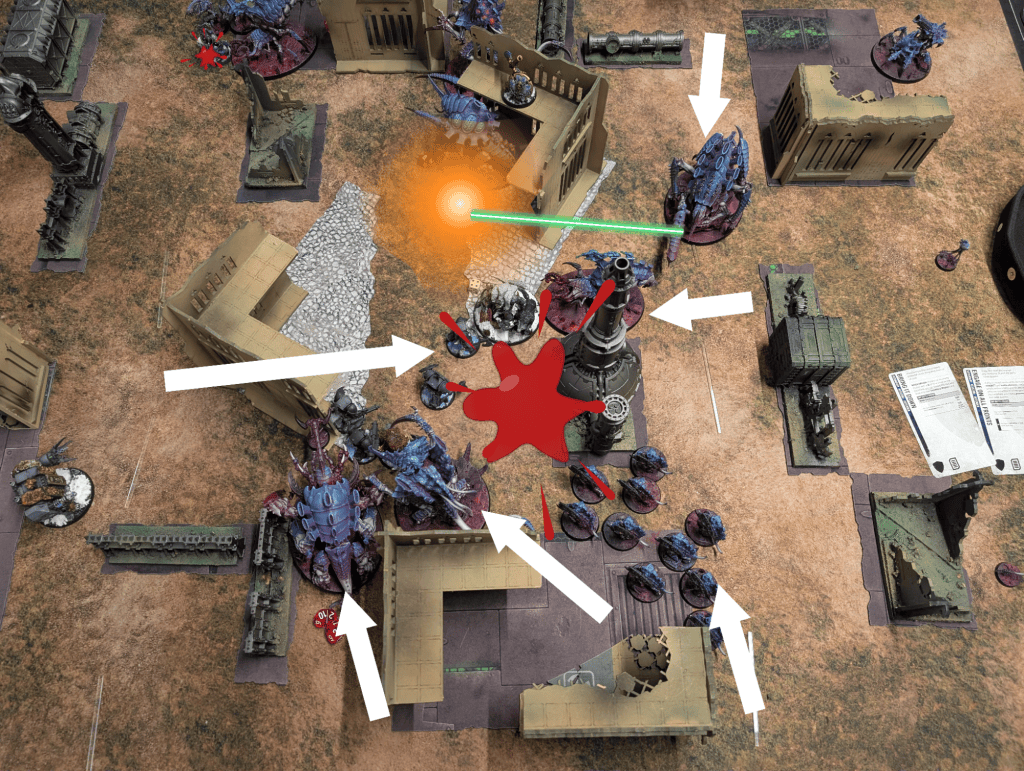
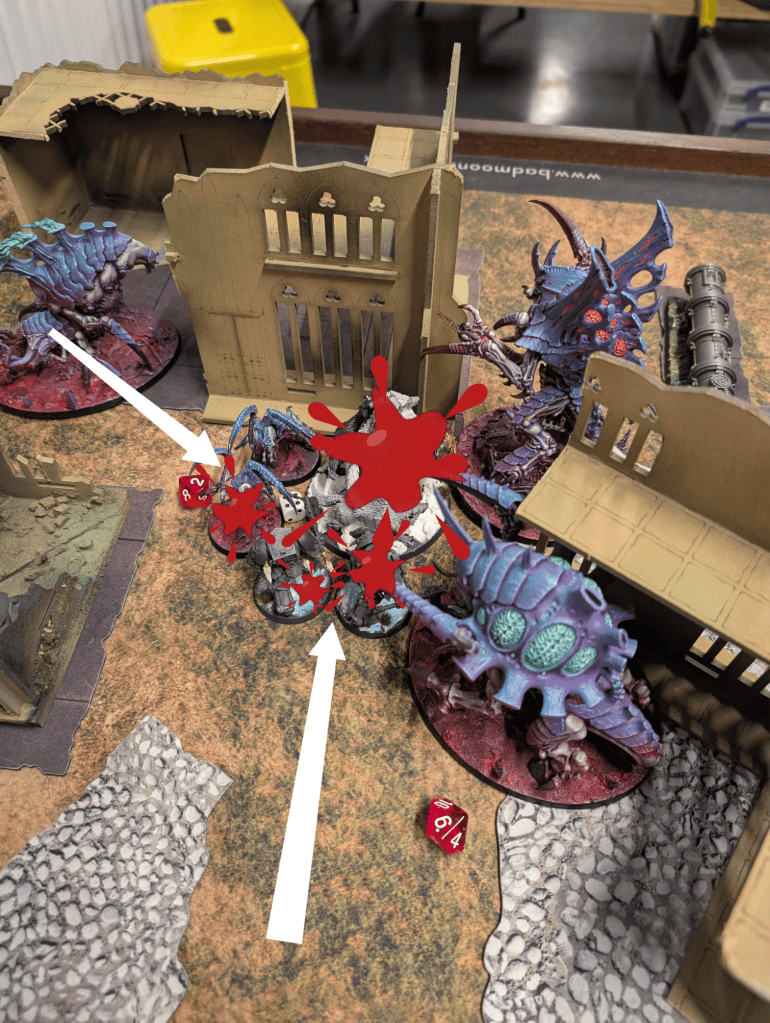
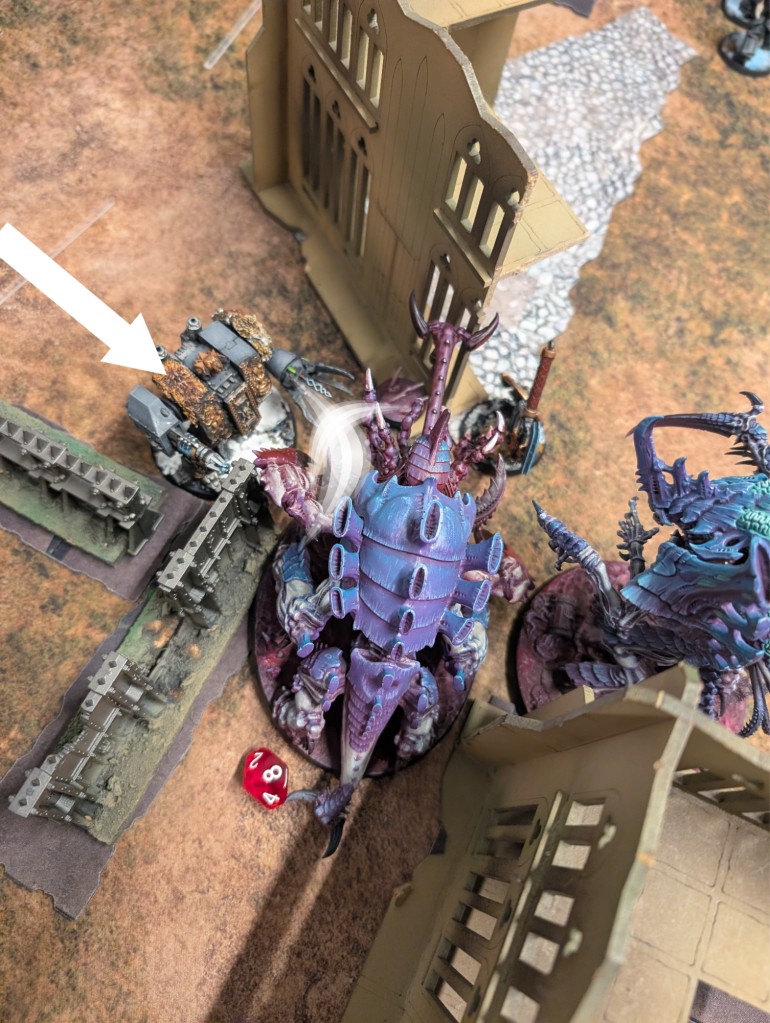
Turn 5
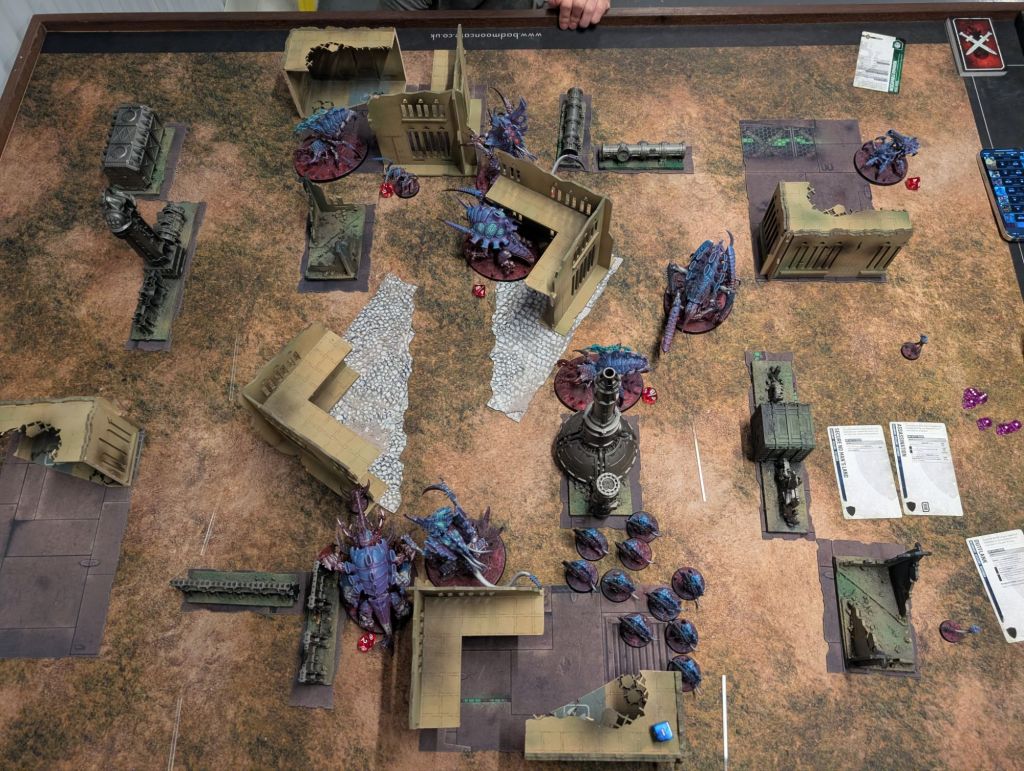
Final Result: Tyranid Victory, 100-35!
Analysis
- These were both lists that worked on similar principles – big tough things with insane durability. My big tough things had a few advantages in a war of attrition, however:
- Literal higher Toughness.
- Healing. Several of my big monsters, particularly the Norn Assimilator, bounced back from near-death several times. When his stuff died it was dead.
- When his stuff died it also reduced the damage output of their unit. My monsters stayed at full power until fully dead (or bracketed).
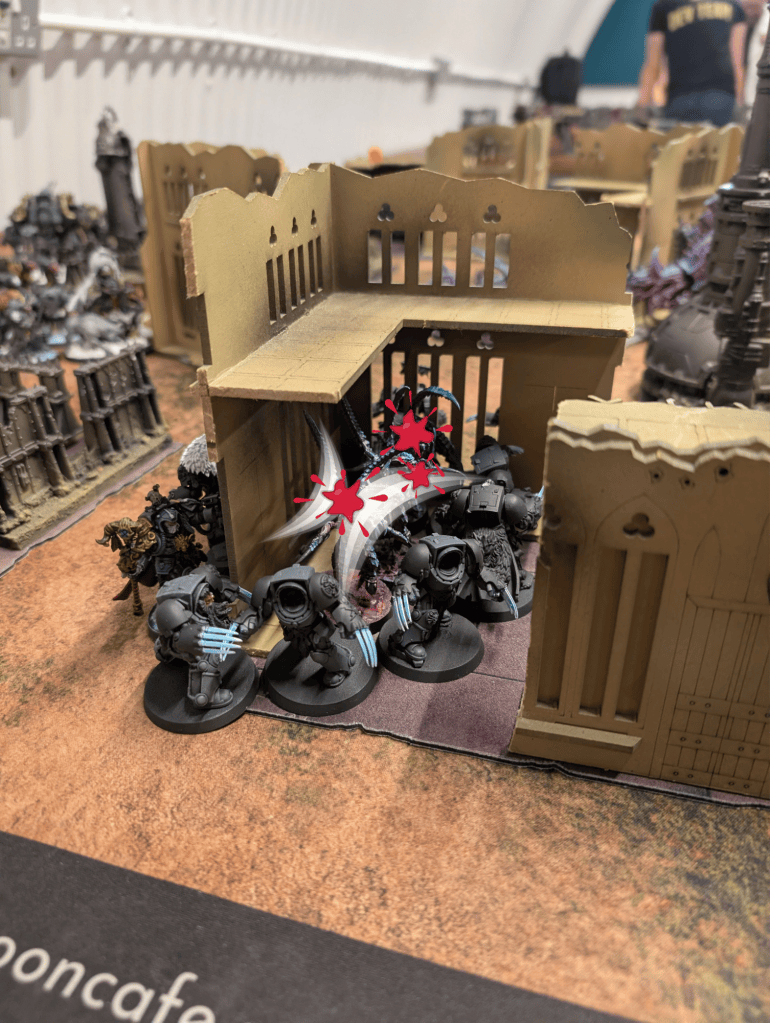
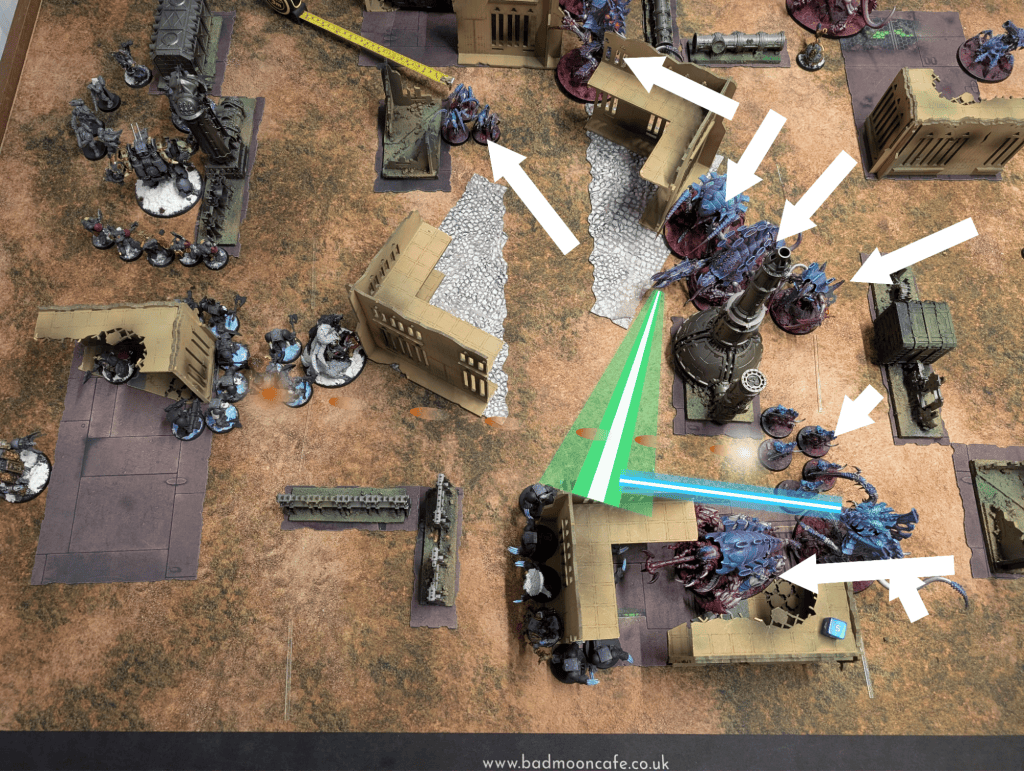
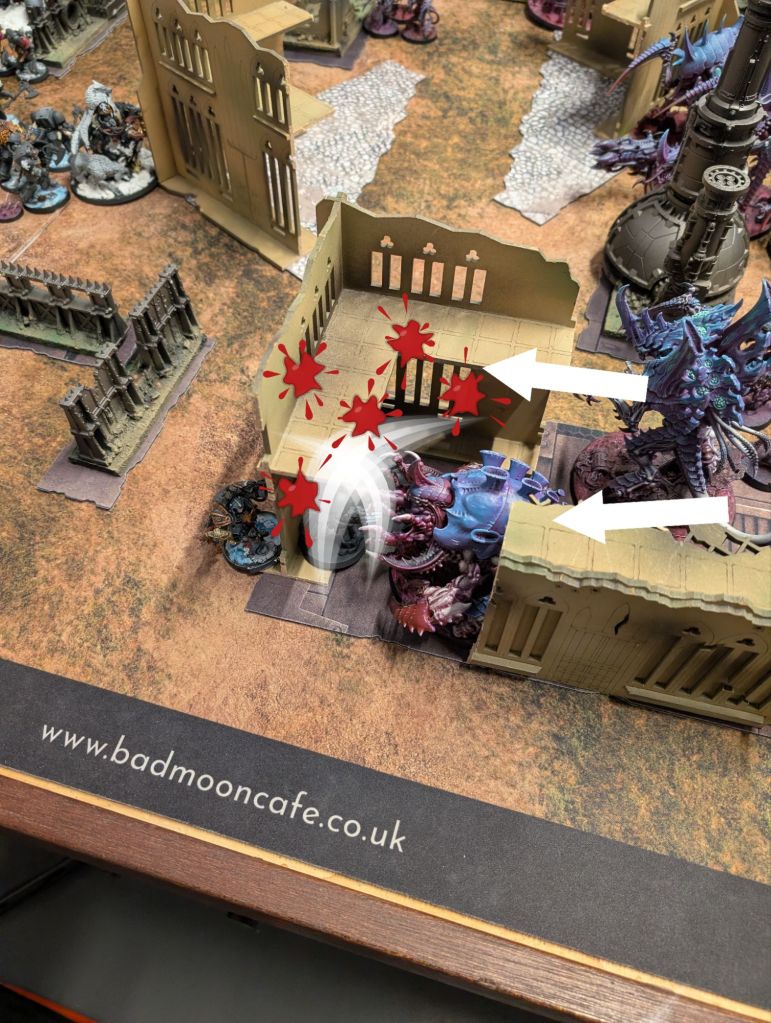
- That said, in a stand-up fair 1:1 fight, I think 10 terminators kill anything of mine in 1-2 activations. The real reason that I came out on top is that I was careful to avoid stand-up fair 1:1 fights. By keeping several monsters in close formation, positioning in natural choke points and charging both ends of a formation simultaneously I could limit the number of attacks going into any one target.
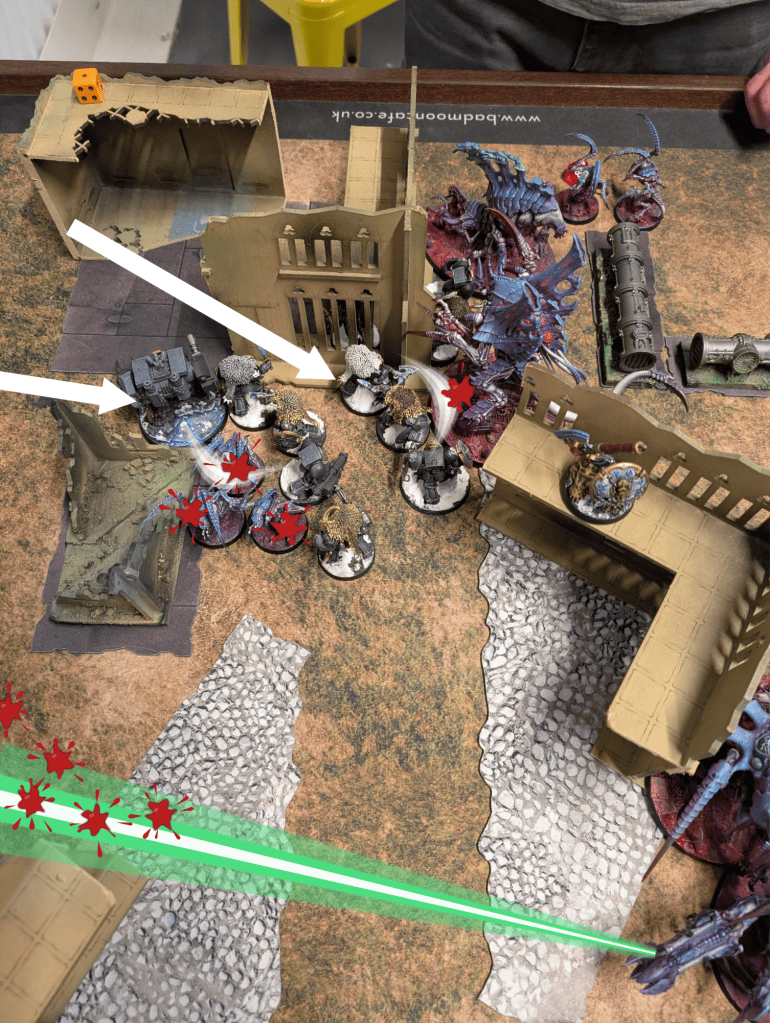
- On a more macro scale, I was able to mostly deal with his big terminator bricks one by one. This was the job of my 55-60 point infantry utility units – Von Ryan’s Leapers and Biovore-laid spore mines for screening and preventing terminator bricks popping up where I didn’t want them and Barbgaunts to slow stuff down and keep them from footslogging to where I didn’t want them. This all worked really well, even if I do say so myself. A 55 point barbgaunt unit keeping a 435 point unit out of combat for two extra turns is *chef’s kiss*, even if they did basically no damage.
- I was also very fortunate that this map layout had two objectives close enough that I could straddle one Norn across the gap between two of them. A Norn giving a guaranteed 15 OC on one objective is great. On two objectives at once it’s coco bananas amazing. In this matchup it let me deny both the ‘Hold three’ and ‘Hold more’ conditions of my opponent’s primary mission essentially all game long. If I wanted to be a prick about it (or if that Norn had died), I could have even done the same thing on the other side of the board as well. However, it’s only possible on certain layouts.
- I made a relatively low number of mistakes by my standards, but one possible one was throwing my (CHARACTER, MONSTER) Swarmlord into Arjac Rockfist, who has both anti-character and anti-monster rules. Losing him cost me the CP bonus and chicanery that had been working really well for me up to that point. Another was leaving a screening gap towards the end of the game that left my home objective open to uppy-downy Scout shenanigans.
- I’ve been mostly playing variations on an ‘Oops all Monsters’ list so far in 11th… and I’m currently on a 5:1 win rate so I can’t see much reason to stop. Other than not really wanting to be seen as the kind of jerk who brings a stat-checky Oops-all-Monsters list to every game. This particular game was explicitly tournament practice so I feel no shame for bringing the dirtiest bullshit I could muster. But, in more casual matches I should probably mix it up a bit. He who fights with Oops-all-Monsters should take care, lest he become an Oops-all-Monster himself.



Leave a Reply