

This is a twofer based on a trip a few friends and I took to Warhammer World in Nottingham, during which we got a pair of games in.
We also met minor Warhammer celebrity Nick Bayton, who was just out there working on the floor and not in some green room somewhere being fed grapes in between videos as I imagined he should be. He was nice!
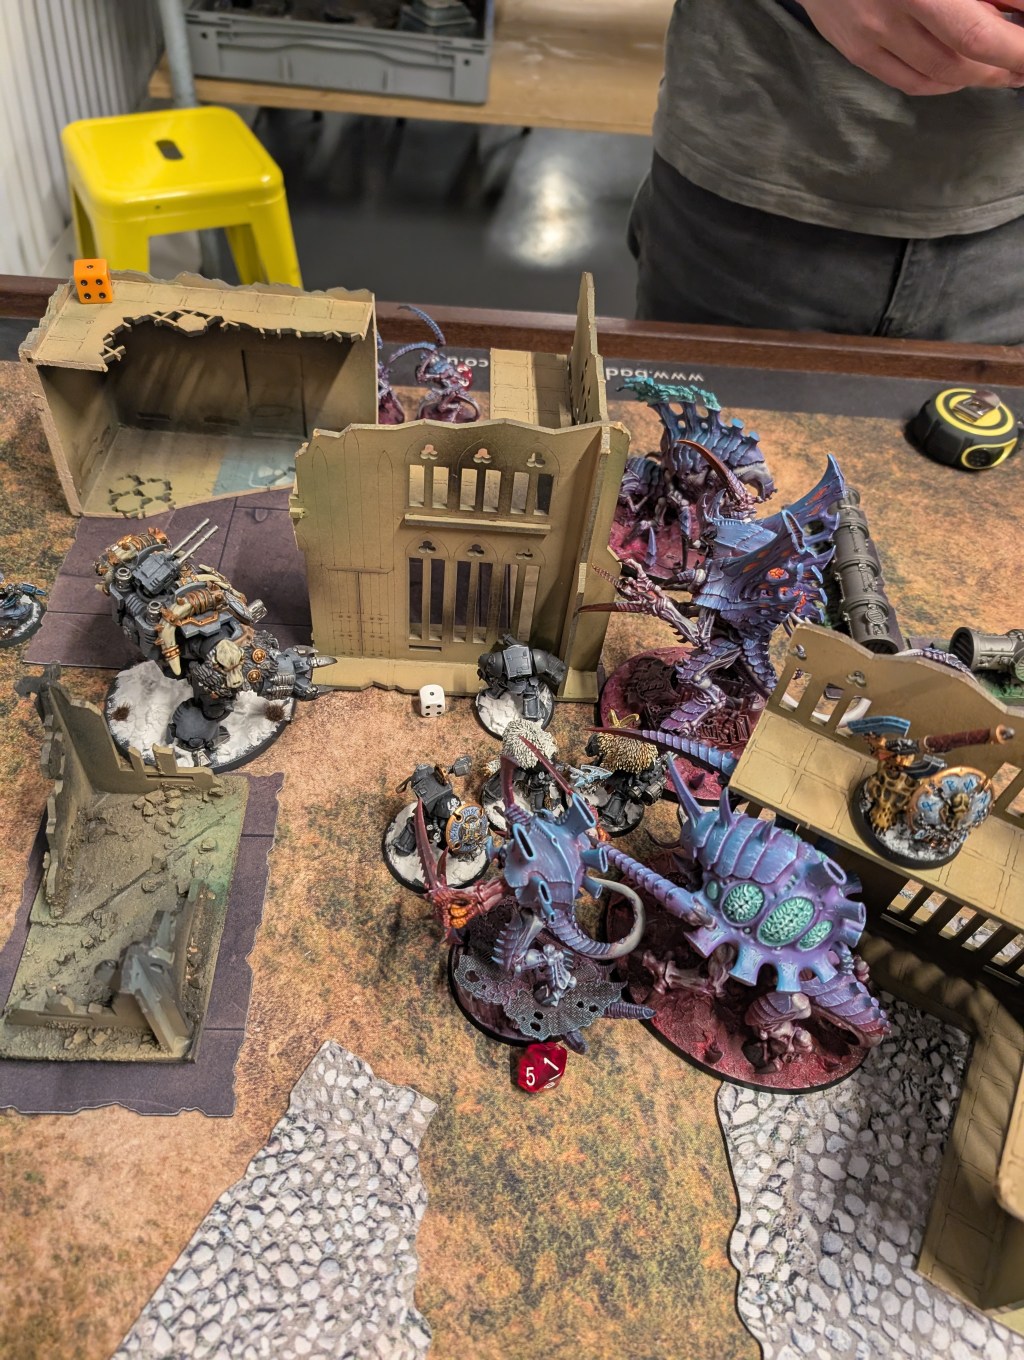
Game 1: Tyranids vs Astra Militarum
Tyranids – Assimilation Swarm + Talons of the Norn Queen – Take & Hold: Lashwhip Prime + 20 Hormagaunts, Norn Emissary, Norn Assimilator, Maleceptor, Psychophage, 2 x Tyrannofex, Haruspex, Neurolictor, Lictor, Trygon
Astra Militarum – Hammer of the Emperor + Inhuman Auxiliaries – Purge the Foe: 2 x Rogal Dorn Commander, Commissar + 6 Bullgryn, 3 x Leman Russ, 2 x Hellhound, Scout Sentinel, Recon Squad
For all that these are very different armies this was weirdly almost a mirror match in some ways, with a very tank-heavy Militarum force going into my very monster-heavy Tyranid list.
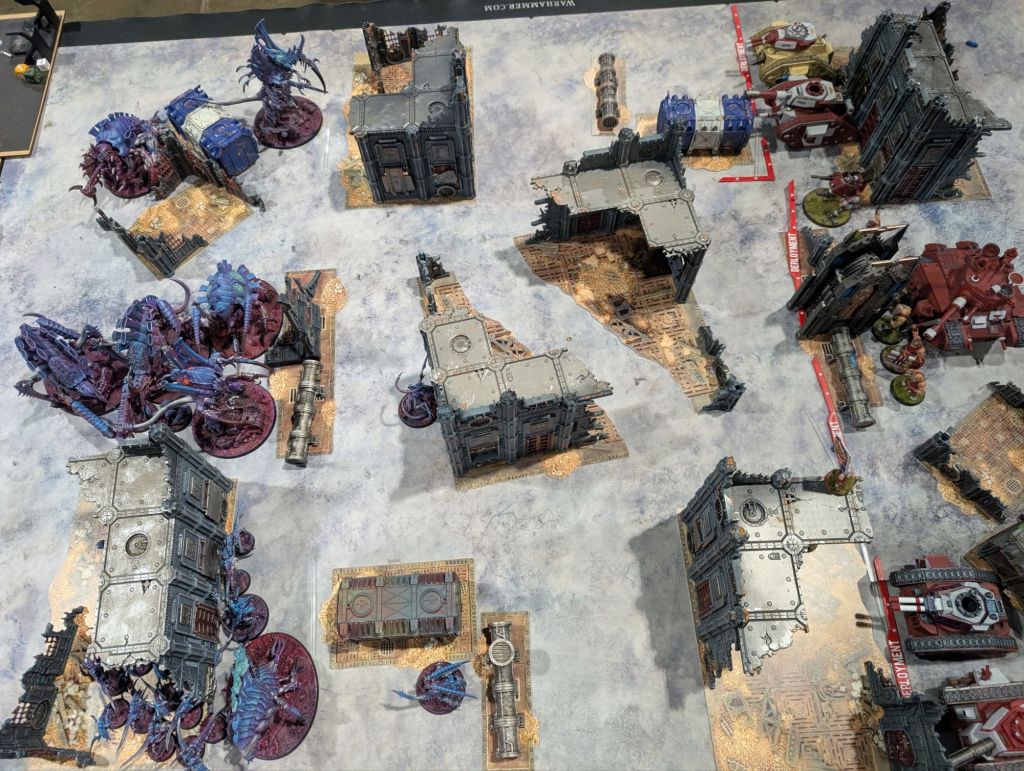
We both played fairly cagily for most of the game – me not wanting to get into line of sight of his big guns and he not wanting to get inside of charge range of my big claws.
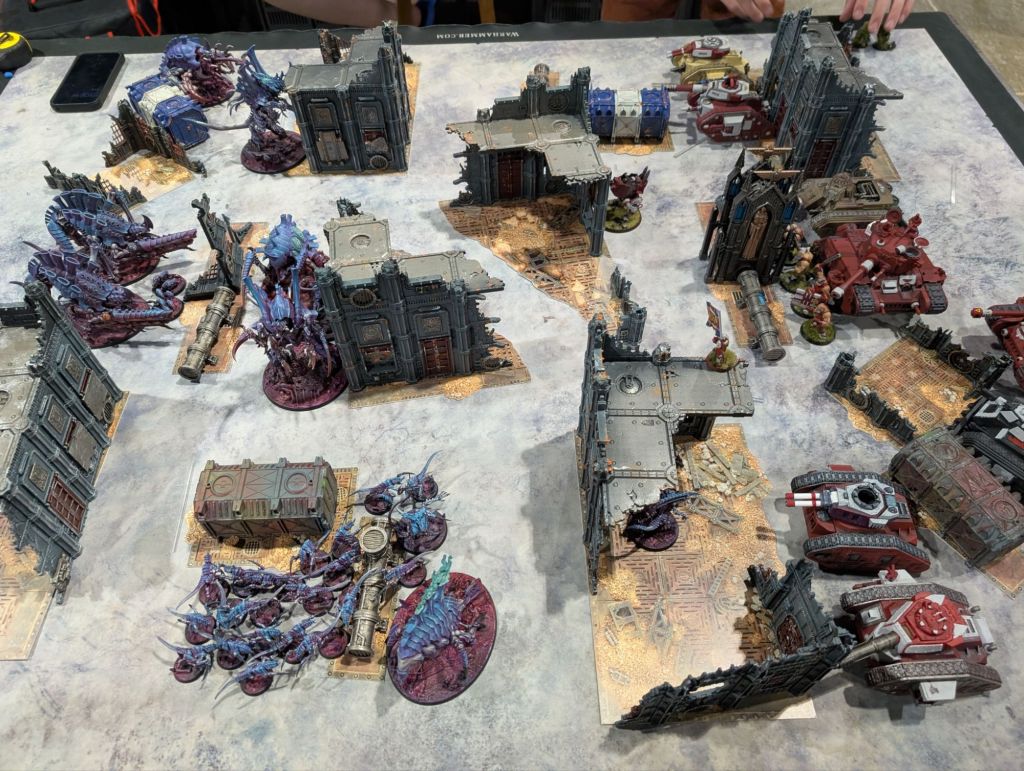
I sent my right flank, consisting of the cheapest stuff I wouldn’t miss, forwards with the aim of causing disruption and drawing my opponent’s forces to the southern end of the board while I concentrated on holding the northern triangle of objectives. This worked, but not for long enough to make much difference since they were wiped out pretty quickly.
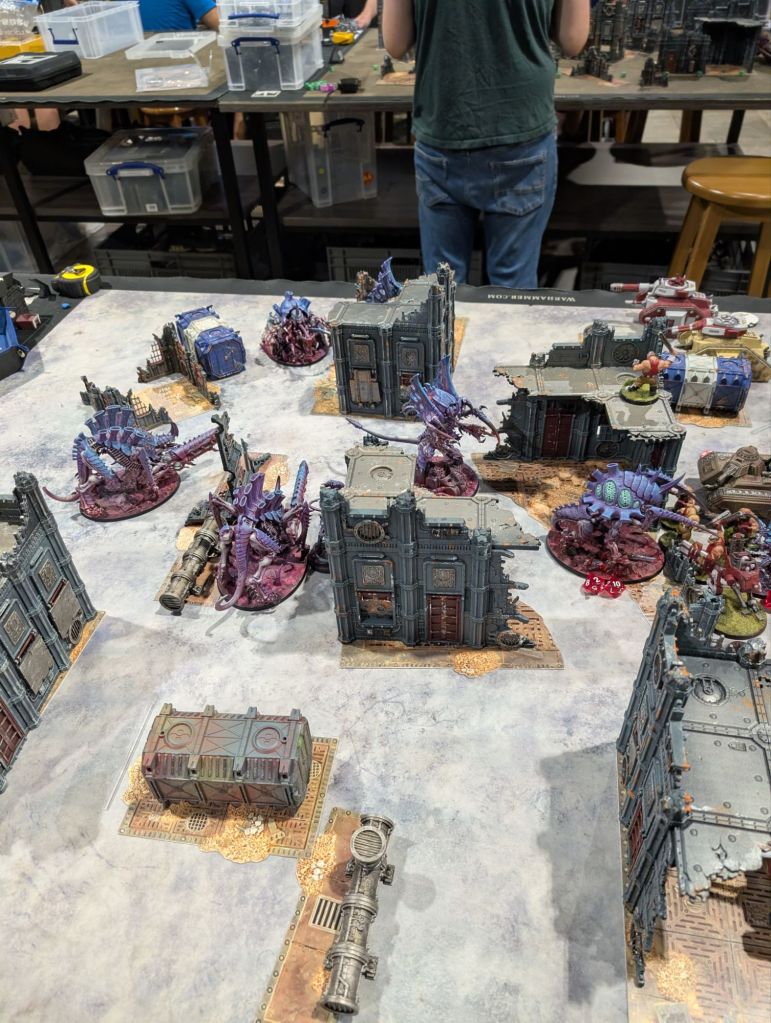
My next foray forwards was in the centreground, but the line of bullgryns there proved too tough and I was forced to pull back into a more defensible position.

However this allowed a hellhound to zoom up the flank and the Bullgryns to move up into the centreground.
On the plus side a Rogal Dorn finally exposed itself to get blown up by my Tyrannofexes.

Towards the end of the game one Tyrannofex made a Hail Mary dash for the expansion objective but wasn’t quite able to kill the tank guarding it.
Final Result: Astra Militarum victory, 100 to 77
Intermission: Tyranids vs Lunch in Bugman’s

Final Result: Lunch victory
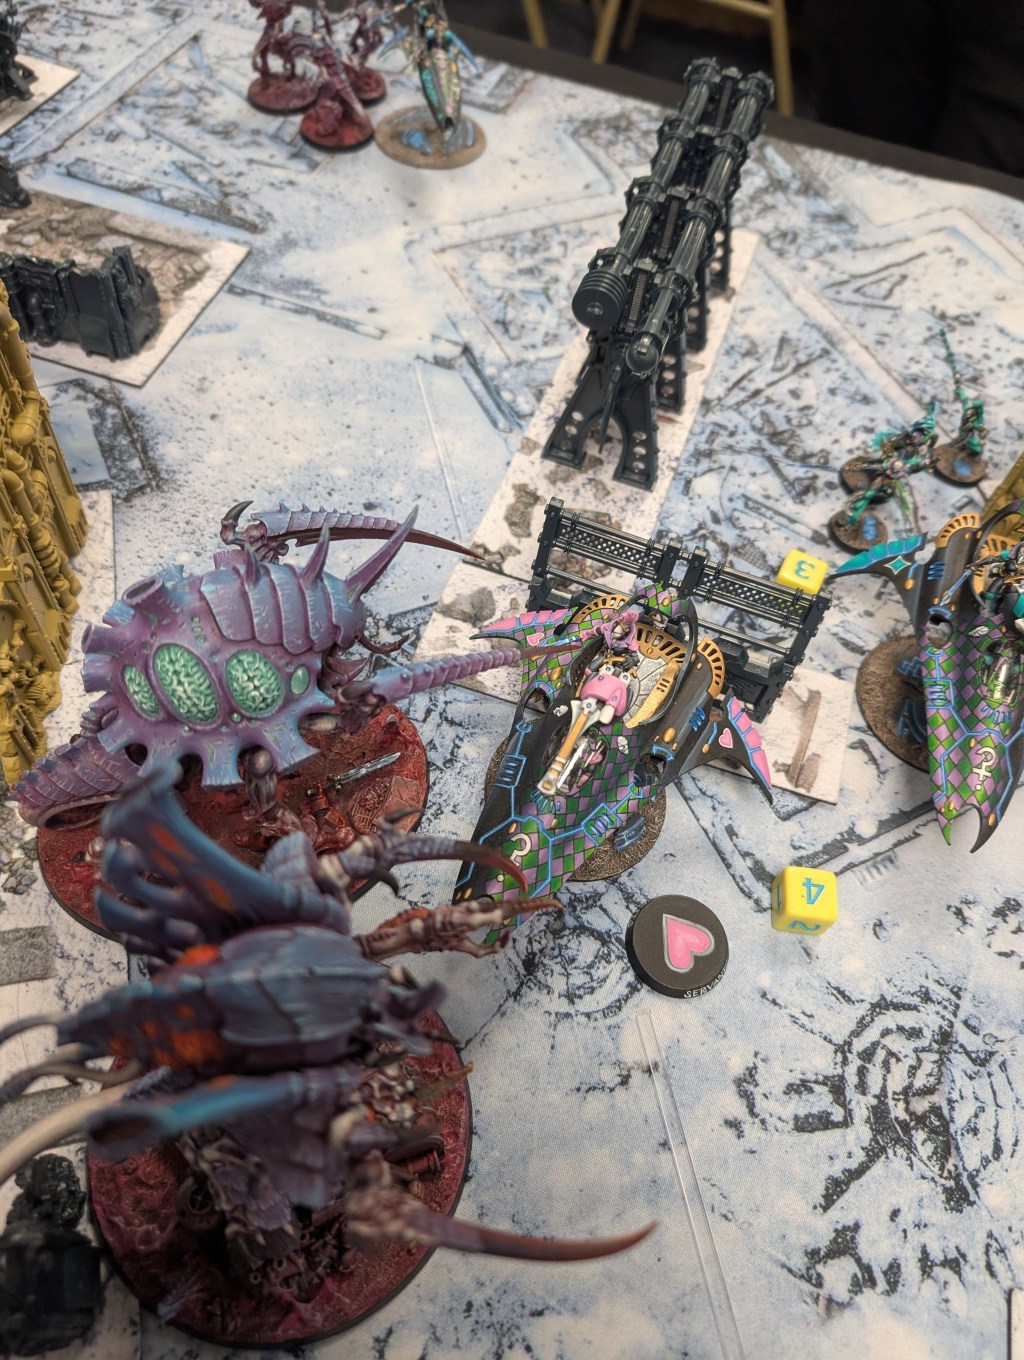
Game 2: Tyranids vs Orks
Tyranids – Assimilation Swarm + Talons of the Norn Queen – Priority Assets: Lashwhip Prime + 20 Hormagaunts, Norn Emissary, Norn Assimilator, Maleceptor, Psychophage, 2 x Tyrannofex, Haruspex, Neurolictor, Lictor, 2 x 3 Von Ryan’s Leapers, 5 Barbgaunts
Orks – War Horde – Take & Hold: Ghaz + Makhari + Painboy + 20 Boyz, Warboss + 20 Boyz, Weirdboy + 6 Breaka Boyz, 2 x Warboss + 5 Nobz, 2 x 5 Flash Gitz, 2 x Trukk, 3 x 11 Gretchin, 10 Kommandos.

This game I wanted to run a little bit more infantry so I swapped a Trygon for two lots of Von Ryan’s Leapers and some Barbgaunts. I also thought I’d give the Priority Assets disposition a go.

This time I was a bit less wasteful with my big hormagaunt blob, only pushing the Leapers forwards to do some skirmishing. Between them and assorted bits of firepower I managed to clear most of the enemy Grot and Kommando skirmish lines.

The Tyrannofexes managed to pop both trukks, but thereafter were a bit useless, having no other suitable targets. The Flash Gitz and Nobs that popped out were fairly well mopped up by a combination of ‘gaunts, Maleceptor, Leapers and the Norn Emissary.

The retaliatory Waaagh turn was brutal but not as bad as it could have been, wiping both squads of Leapers and the Hormagaunts, but failing to completely finish off the Norns or Psychophage.

Unfortunately we ran out of time and had to call it there halfway through turn 3, however by that point I had a fairly large points lead and we agreed it was unlikely (though not impossible) that the Orks were going to be able to catch up.
Final Result: Tyranid victory 61:29
Analysis
- As it turns out, not even Warhammer World has suitable terrain for 11th edition table layouts and we had to fudge it with older pieces of slightly-too-large terrain. I get there are certain practical restrictions on how these things work, but perhaps it would’ve been better to release the new terrain kits *before* the standardised layouts which require them?
- On the subject of terrain layouts, even after only four games of 11th the standard layouts are starting to feel a bit predictable. There’s lots of variants, but they all boil down to the same zig-zag pattern of objective/ruins. Having terrain and objectives be one cuts down the possibility space for genuinely unique arrangements significantly. Hopefully GW will release some updates to these throughout the edition to prevent things going stale. Since they’re matched to disposition matchups there’s the opportunity to have some more asymmetric layouts and I hope they lean into that.
- My main mistake in game 1 was that I was either too aggressive or not aggressive enough – by hovering in the middle and just pushing forwards with a few units at a time I just fed bits of my army piecemeal into the Guard gunline. I should’ve either hidden and forced them to come to me or put together a more coordinated assault that would’ve incurred more casualties sooner but got more stuff into melee range where I might’ve done more damage. Throwing away the right flank the way I did wasn’t worthwhile because I wasn’t in a position to capitalise on the disruption.
- This went better in game 2 because I used the (much cheaper) leapers as skirmishers instead and moved the rest of my army in a more coordinated way. I prioritised taking out the Orks’ only real ranged threat (the flash gitz) which gave me a bit more freedom to move where I wanted without having to care about cover. I knew the Orks would have to charge and I could position so that this was on my terms. I did this OK, but could’ve done this better – for example by keeping the Assimilator further back so that it wouldn’t be possible to charge into it without also bringing in the Haruspex. It’s harder to defend against melee altogether using walls in 11th, but the increased engagement range does still leave some avenues for defensive play.
- In both games I didn’t have a great handle on my stratagems. AS gives healing opportunities both when friendly and enemy units are destroyed, lethal hits in melee, sticky objectives and FNP on harvesters, none of which I used. The one I did remember to use (+1 to wound vs something that killed a harvester) didn’t help much.
- Norns are great in this edition, but game 1 did expose their weakness – once they’re on their objective they don’t really want to come off of it. I probably should’ve used the detachment ability to change their Singular Purpose and push up the board a bit more.

 Victory Pointless
Leave a comment