
Taking a break from my Orky crusade I thought I’d take my Tyranids out for walkies and into a 2000pt Pariah Nexus game vs Necrons.
The Forces
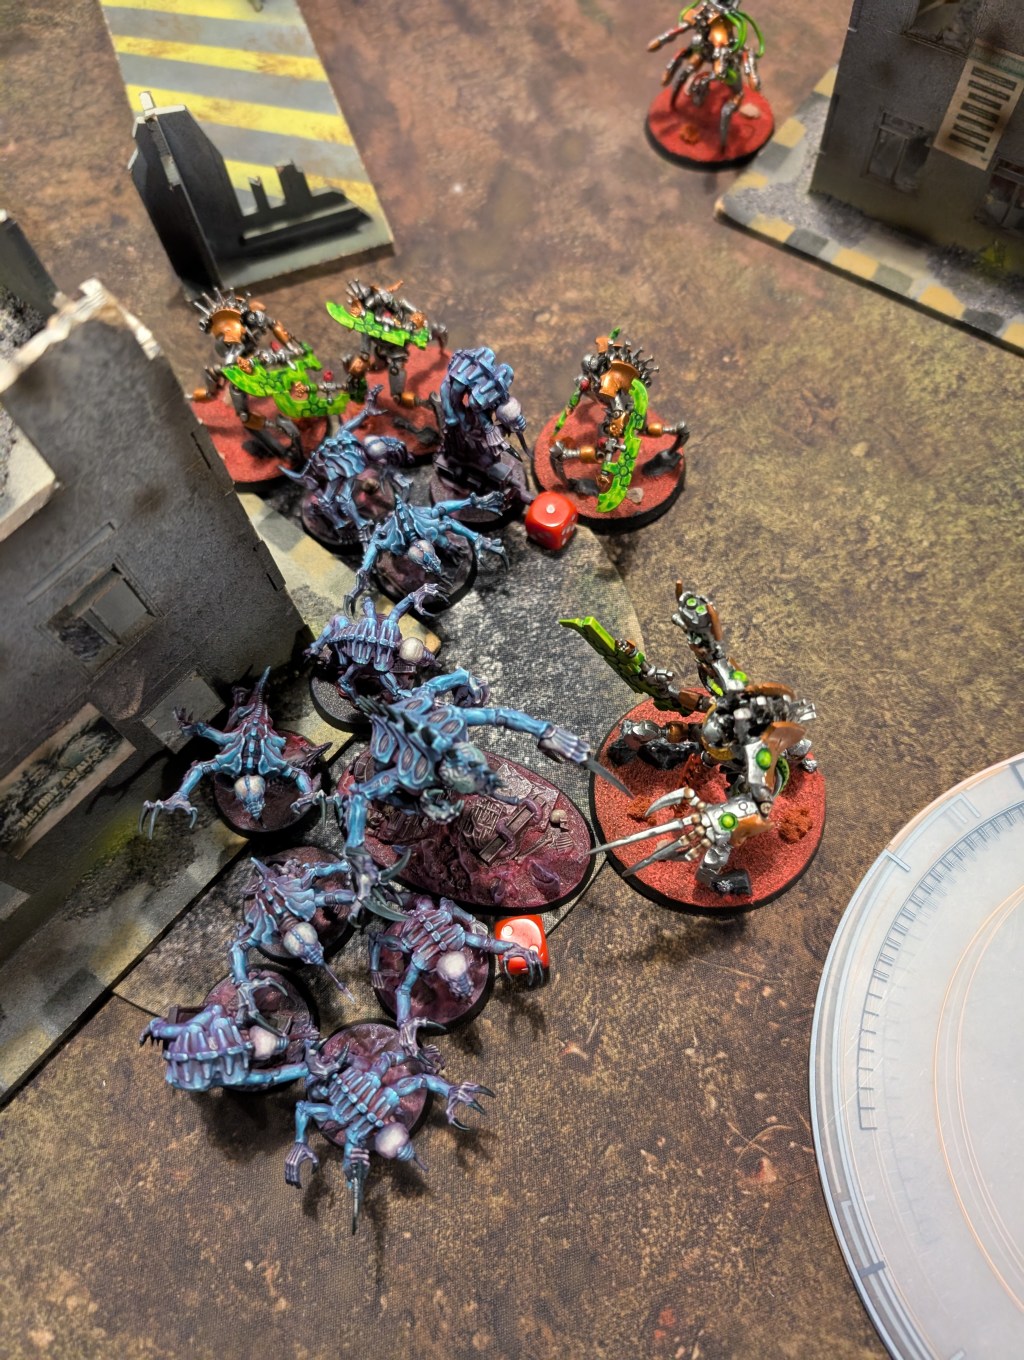
Tyranids: Invasion Fleet: Hive Tyrant, Neurotyrant + 3 Zoanthropes, Broodlord + 10 Genestealers, 2 x 10 Hormagaunts, 10 Gargoyles, 5 Barbgaunts, Norn Emissary, Norn Assimilator, Exocrine, Tyrannofex, Biovore
Necrons: Awakened Dynasty: Illuminor Szeras, Orikan + Royal Warden + 20 Necron Warriors, C’tan Shard of the Nightbringer, Technomancer + 6 Wraiths, Hexmark Destroyer, 2 x Skorpekh Lord, 2 x 3 Skorpekh Destroyers, 5 Deathmarks, Reanimator, Ghost Ark, 5 Flayed Ones, 3 Tomb Blades
The Mission
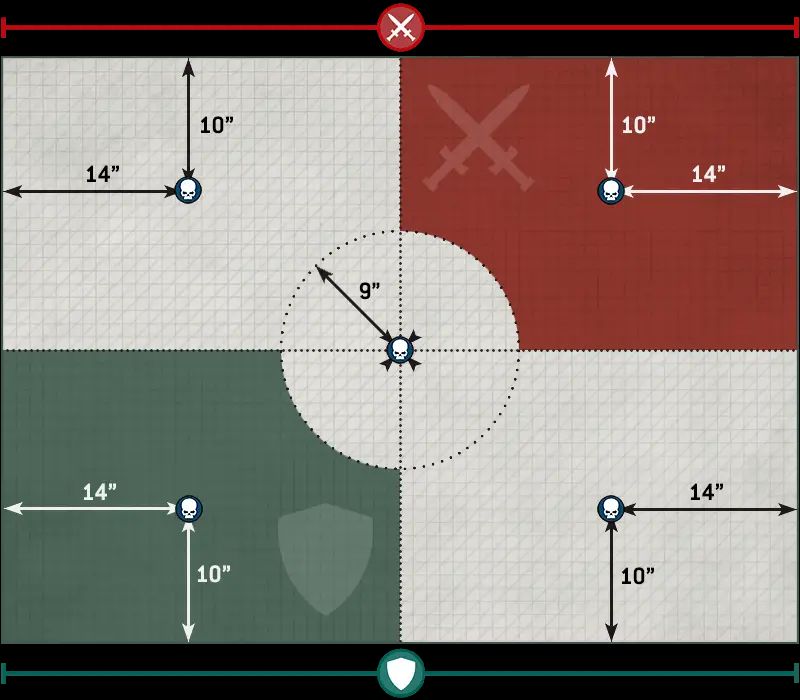
We drew Lynchpin, Fog of War, Search & Destroy
Deployment
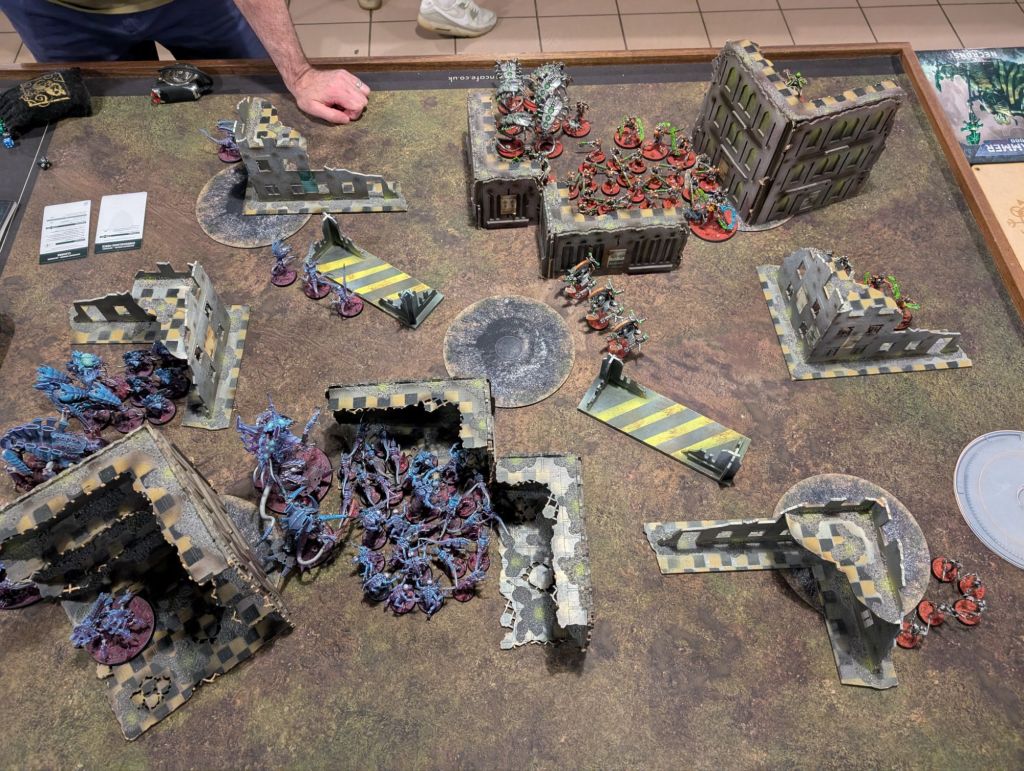
The Game
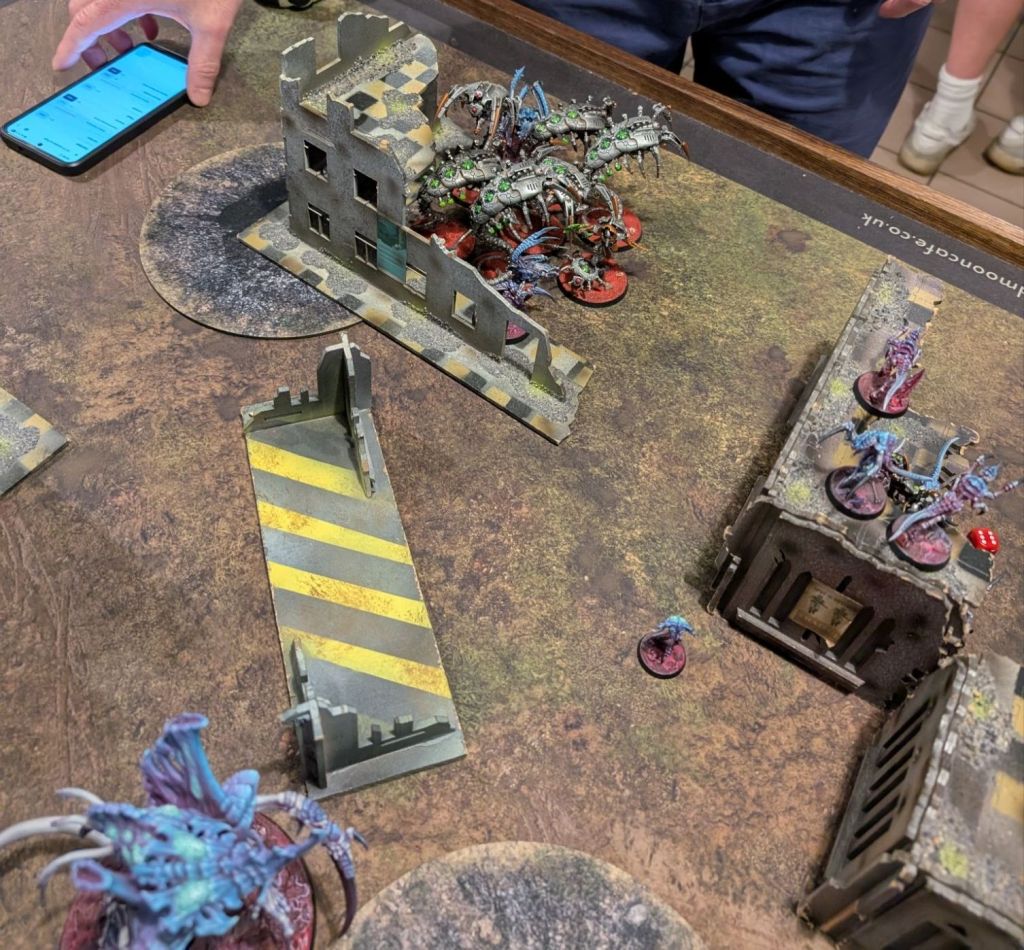
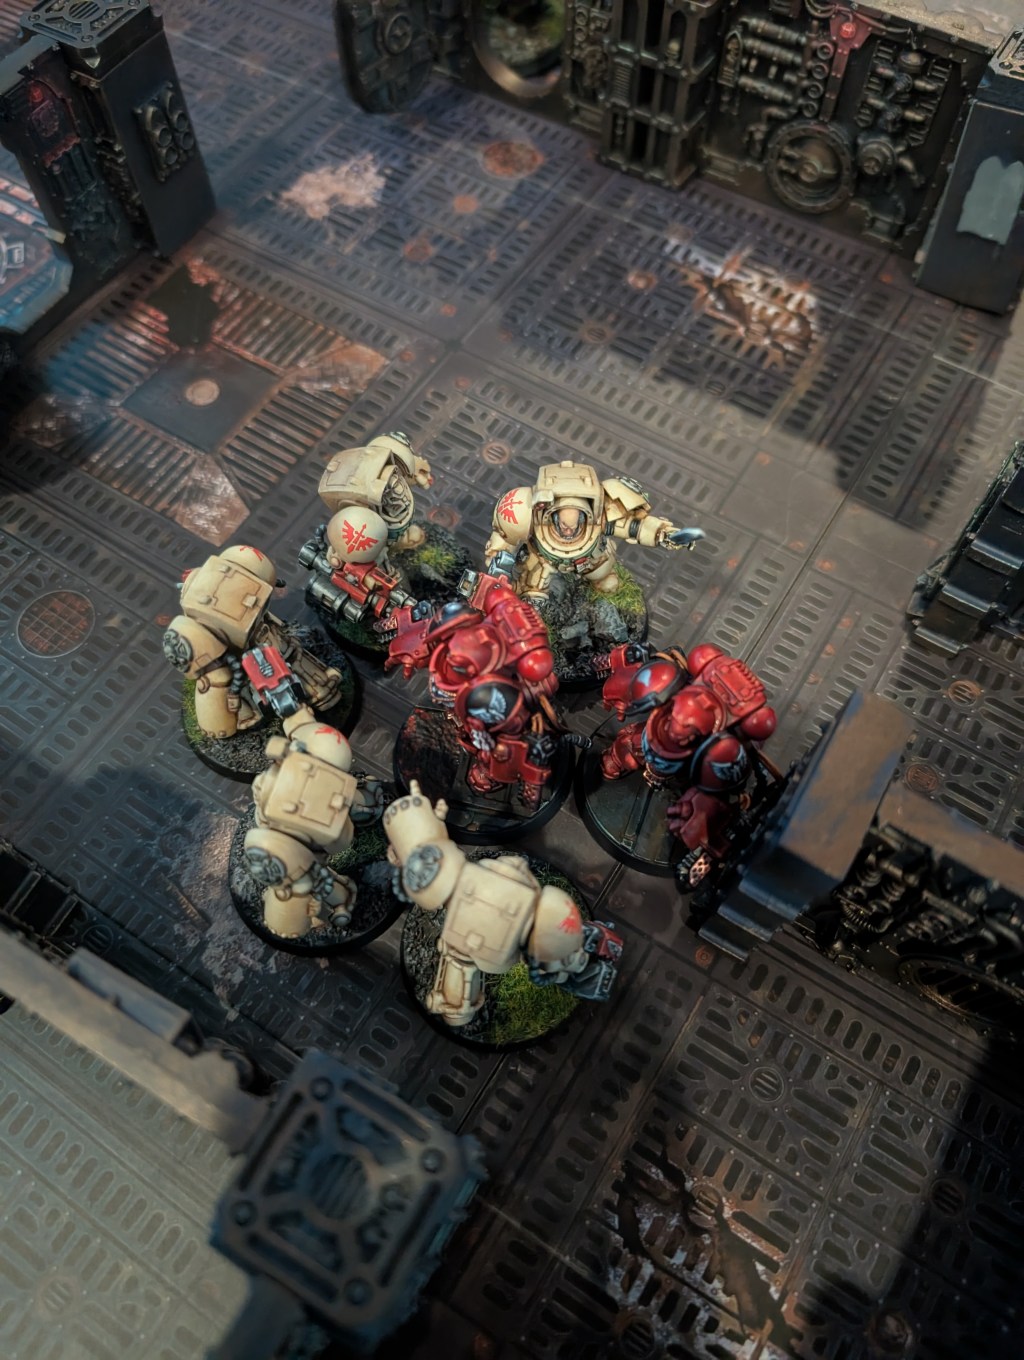
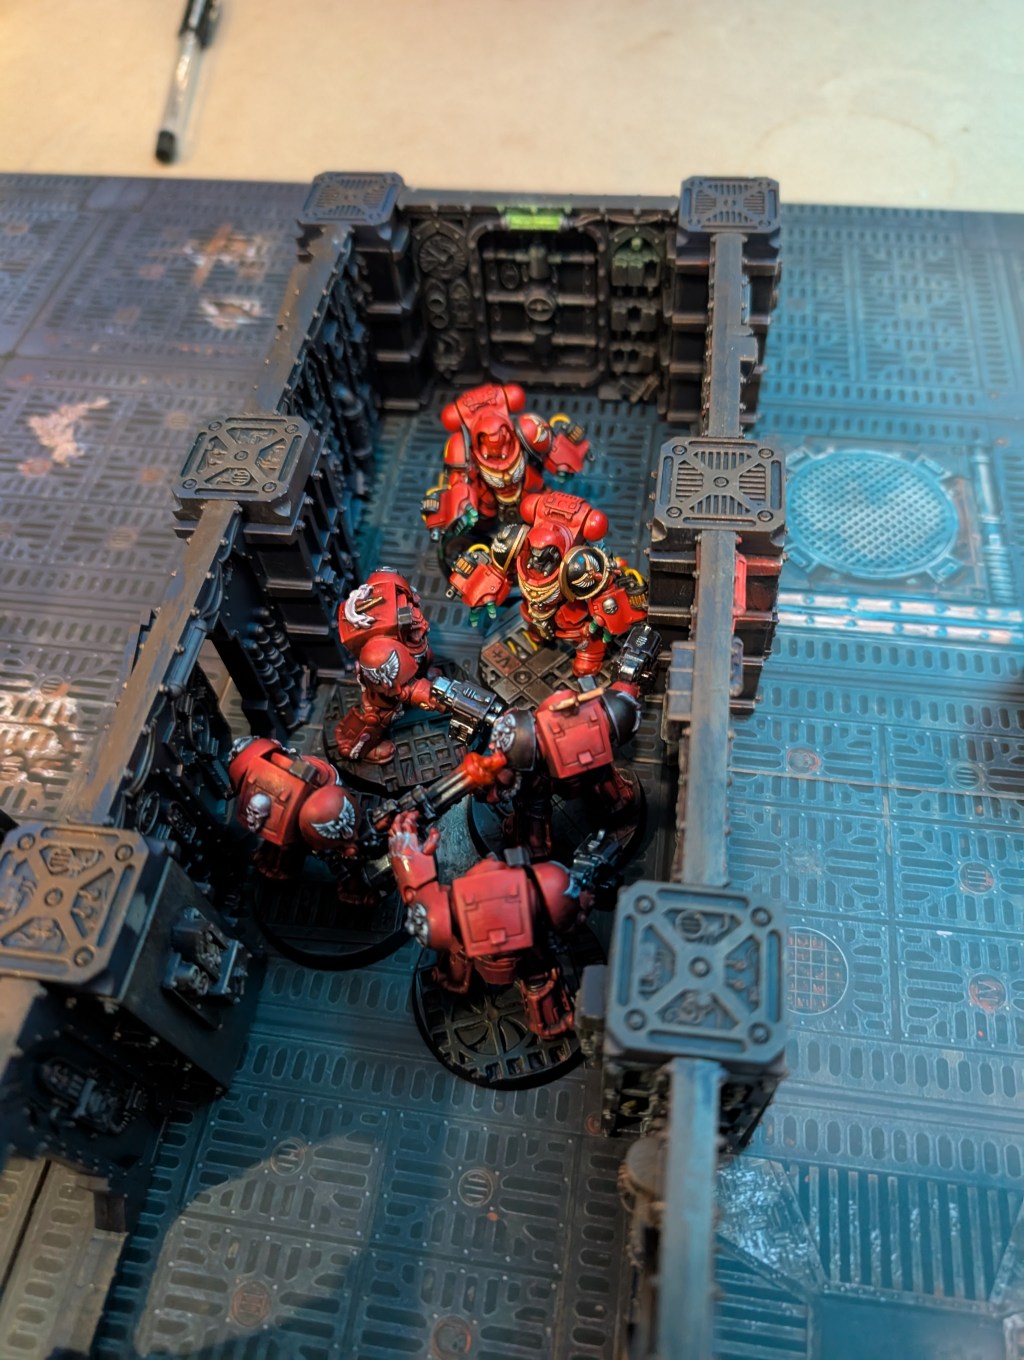
Necrons got first turn. The Tomb Blades scouted and then moved onto the centre objective but got promptly shot off in my turn. The flayed ones moved onto the right no-man’s land objective and the Wraiths onto the left. I moved the Norn Emissary onto the centre objective and the two Hormagaunt broods charged forwards into the flayed ones and one of the Skorpekh lords, but failed to kill either and were promptly wiped out in reprisal by Skorpekh destroyers and massed warrior shooting.
My Lictor and Von Ryan’s Leapers charged the wraiths and the Lictor killed the attached Technomancer. He popped back up again but the Lictor just killed him a second time. The Lictor and his mini-mes then got wiped out by the Wraiths, but mission accomplished.
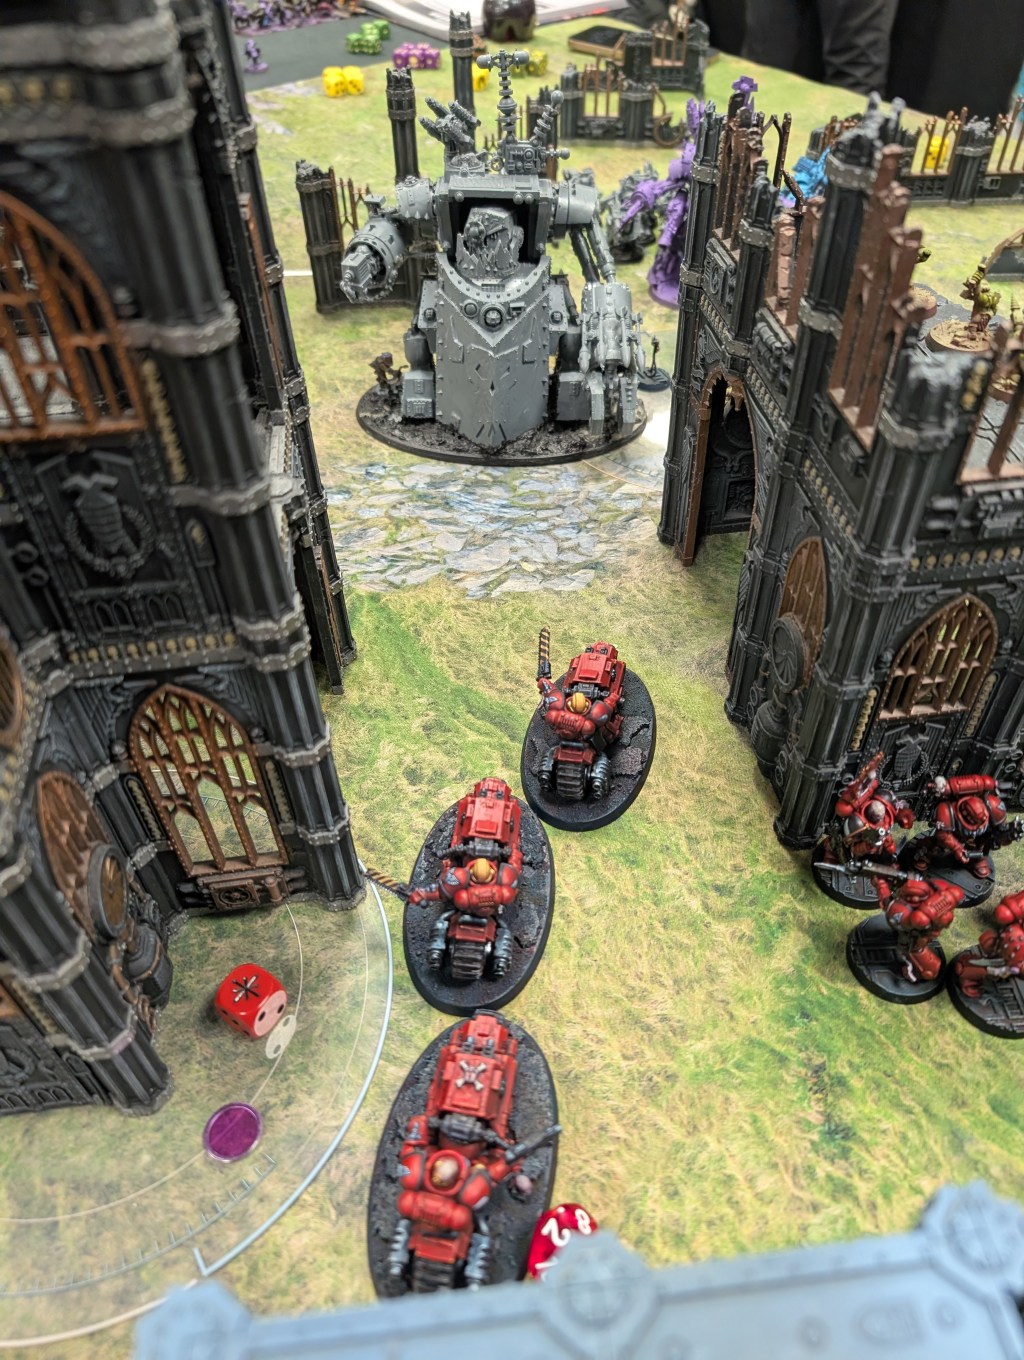
I rapid ingressed my Norn Assimilator and it took up the fight against the Wraiths. A Nightbringer C’tan shard followed behind it but failed its charge and got shot to pieces by the combined firepower of the rest of my army.
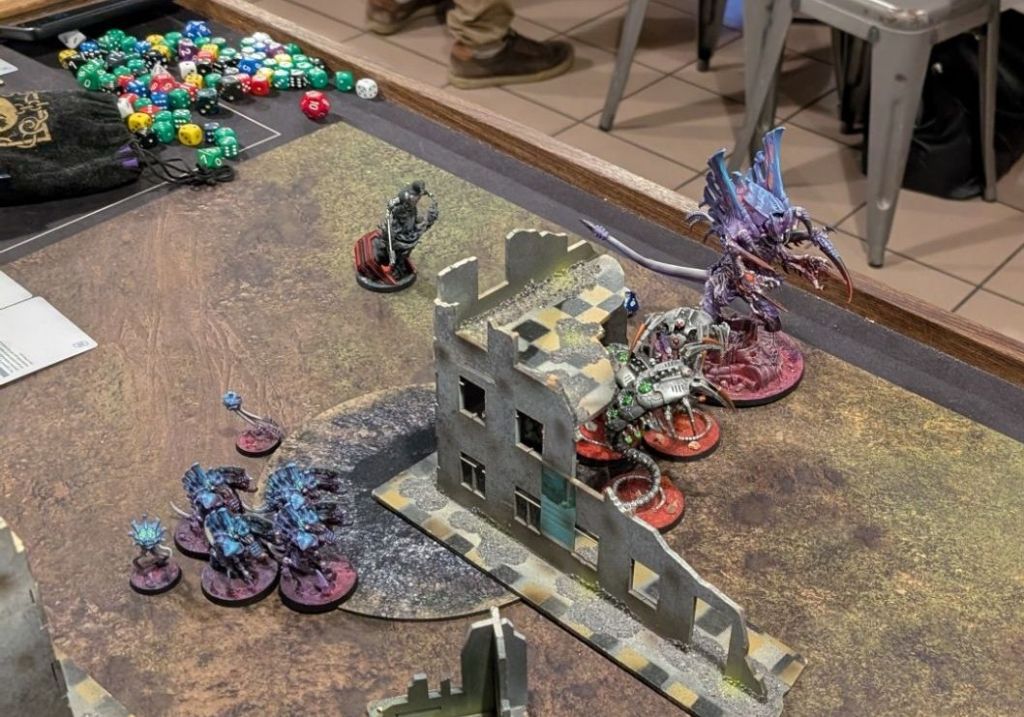
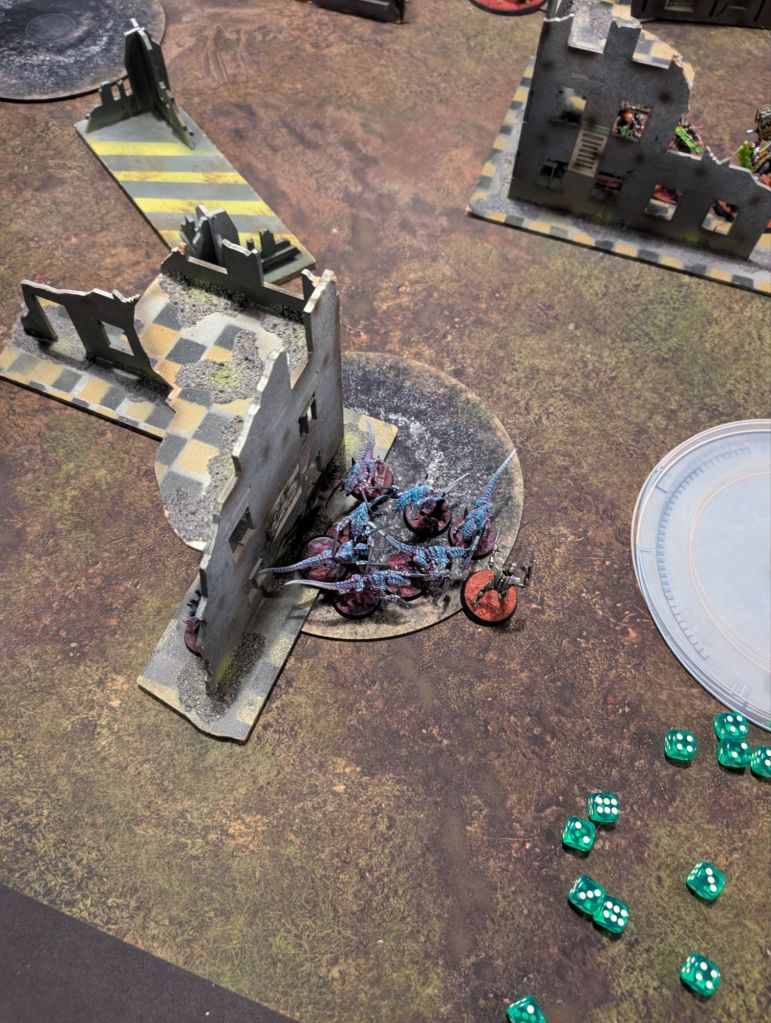
On the other flank my Genestealers finished off the Flayed Ones and after some back-and forth took out the Skorpekhs and their Lord as well. Ultimately they got gunned down by Deathmarks, however. Next up were my Gargoyles who took back the objective temporarily but were then promptly gunned down in turn.

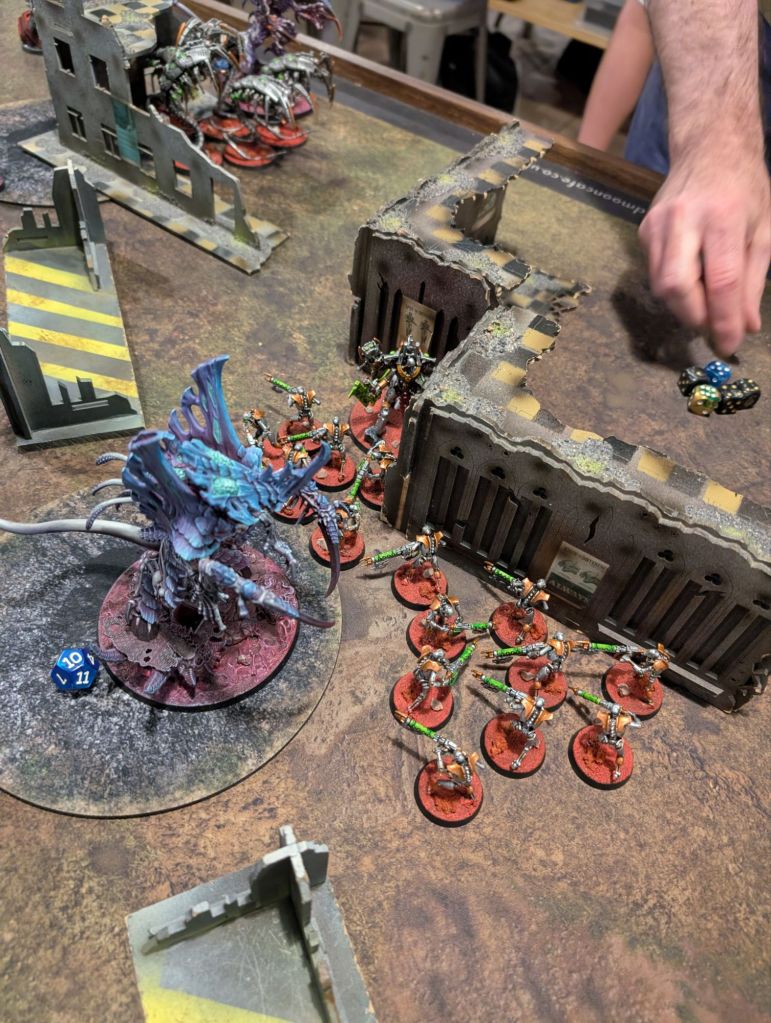
In the centre of the board my Norn Emissary held out for a while and scored some points but was eventually gunned down. The Warrior Blob then moved in. This was a 20-man block of warriors chained back to a Ghost Ark and Reanimator and proved basically impossible to shift; the warriors were regenerating faster than I could kill them.
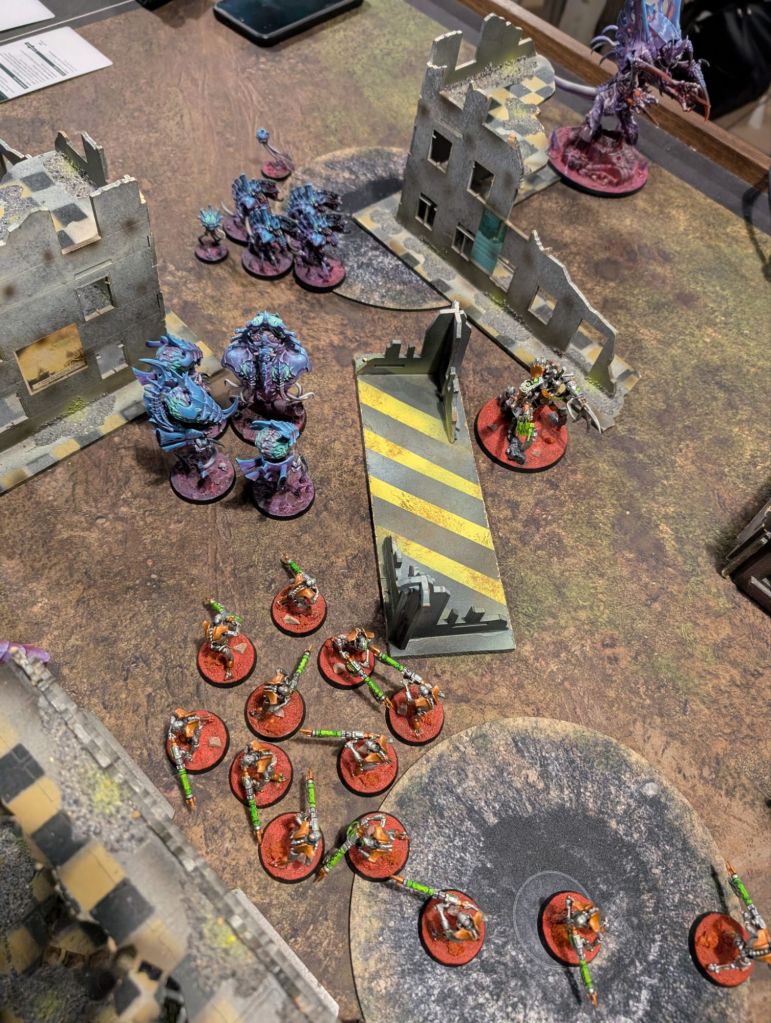
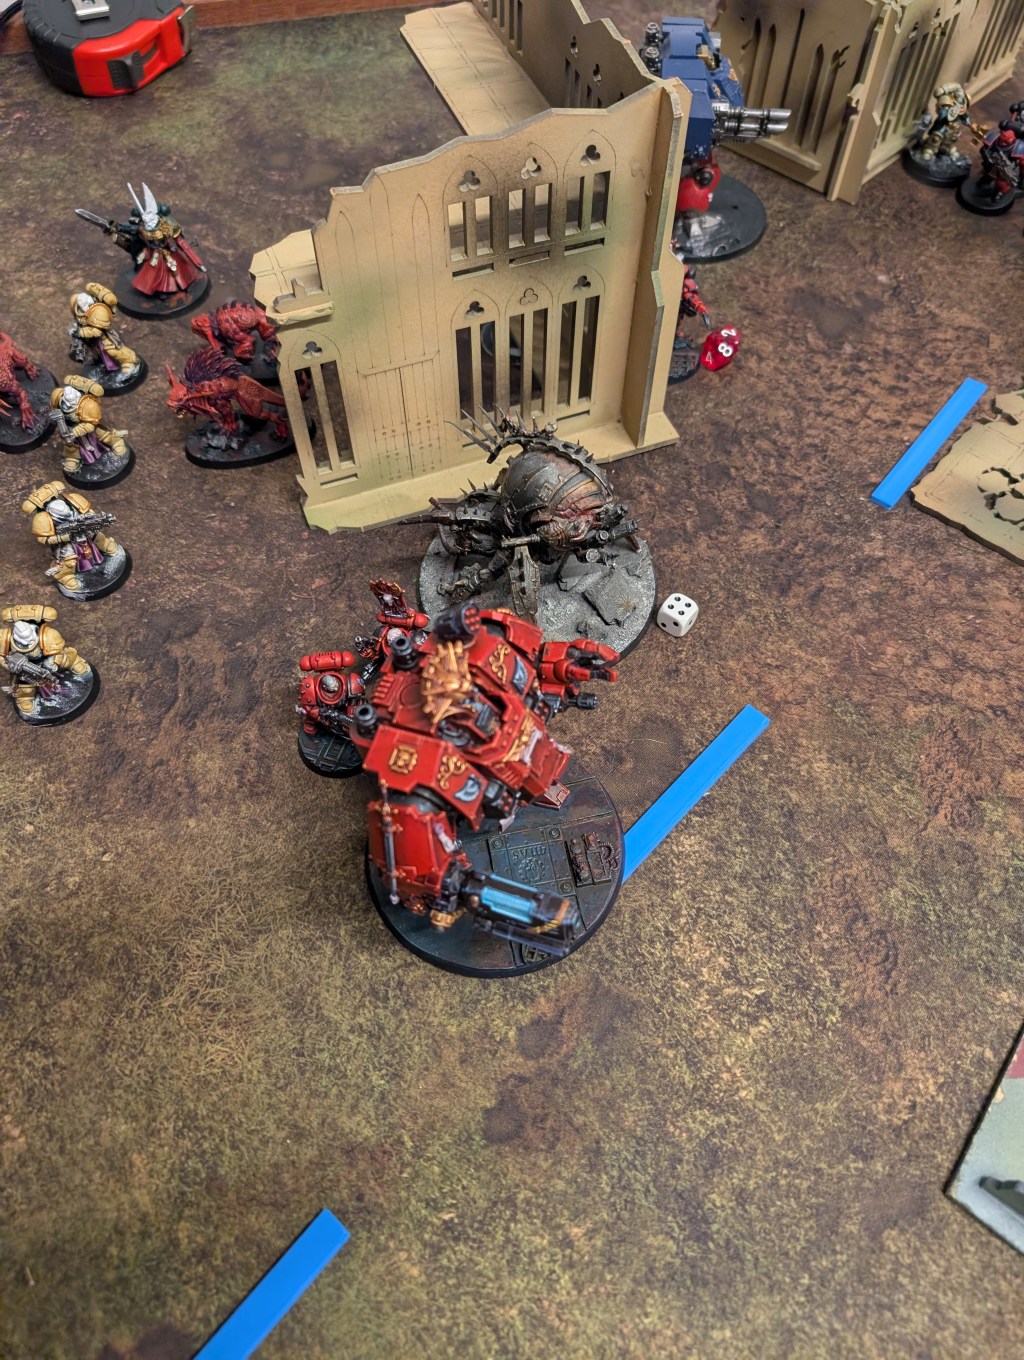
Come the final turn the scores were practically neck-and-neck – it came down to whether I could kill the remaining Skorpekh Lord to score Assassinate. It took the combined efforts of the Norn Assimilator and Neurotyrant but between them they *just* pulled it off, netting me the win by one point.
Final Result: Tyranids win, 69-68
Post-Mortem
- This being a very narrow victory there are any number of things that might’ve swung it the other way. But the biggest component was undoubtedly my opponents bad luck on certain key rolls – in particular the Nightbringer’s failed charge (with reroll!) into my Norn. Had he made it probably the Norn would have died and the Nightbringer wouldn’t have been left in the open looking down the barrel of a Rupture cannon. This would’ve dramatically shifted the power balance in that corner of the table and almost definitely lead to a Necron victory.
- This was an interesting and unusual army to play against, consisting as it did of a large number of -mostly unattached- characters. This is somewhat unconventional but all makes sense when you realise they can be resurrected with a 1CP stratagem. So, a lot of the army you have to kill twice. Meanwhile, the main warrior blob sits in the middle of the board and gets instantly replaced faster than you can kill it. It’s clever, I like it.
- This unusual list structure, along with the mission, rendered a lot of my usual tactics fairly moot. My list is built around delaying tactics – I identify the big scary tough things in my opponents army and bog them down via hormagaunts, barbgaunts, gargoyles and spore mines while my big bugs kill the more vulnerable stuff. This didn’t really apply here, because there wasn’t anything all that vulnerable nor (besides the Nightbringer) too big and scary. If anything rather than delaying them I wanted the Necrons to come forward to let me focus-fire more easily and possibly create an opening to get at their home objective. As a consequence some parts of my list ended up feeling a bit under-utilised.
- In particular I think I wasted at least one squad of Hormagaunts. I should probably have held it back on the centre objective to bait out more stuff I could shoot or alternately sent them to one of the side objectives to give an extra big chunk of OC. Flinging it straight into the enemy deployment zone by themselves didn’t really accomplish anything.
- Learning Ork rules seems to have pushed a lot of Tyranids rules out of my brain. Here’s a list of things I forgot:
- To shoot my Biovore (twice). There weren’t any obviously great positions for spore mines but I could’ve at least screened my own deployment zone.
- Free strats from my Hive Tyrant (I did remember this towards the end of the game, but I could probably have made more use if it).
- The Tyrannofex’s Stinger salvos exist.
- Bringing my gargoyles out of reserves – fortunately my opponent was very nice and reminded me!
- Lictor’s/Von Ryan’s’s stealth should’ve applied even when being shot by Wraith pistols in combat.
- The Death Frenzy (4+ Fights On Death) stratagem – would’ve been useful especially when Skorpekhs were killing my Genestealers.

Leave a reply to Tyranids vs Necrons – Victory Pointless Cancel reply