

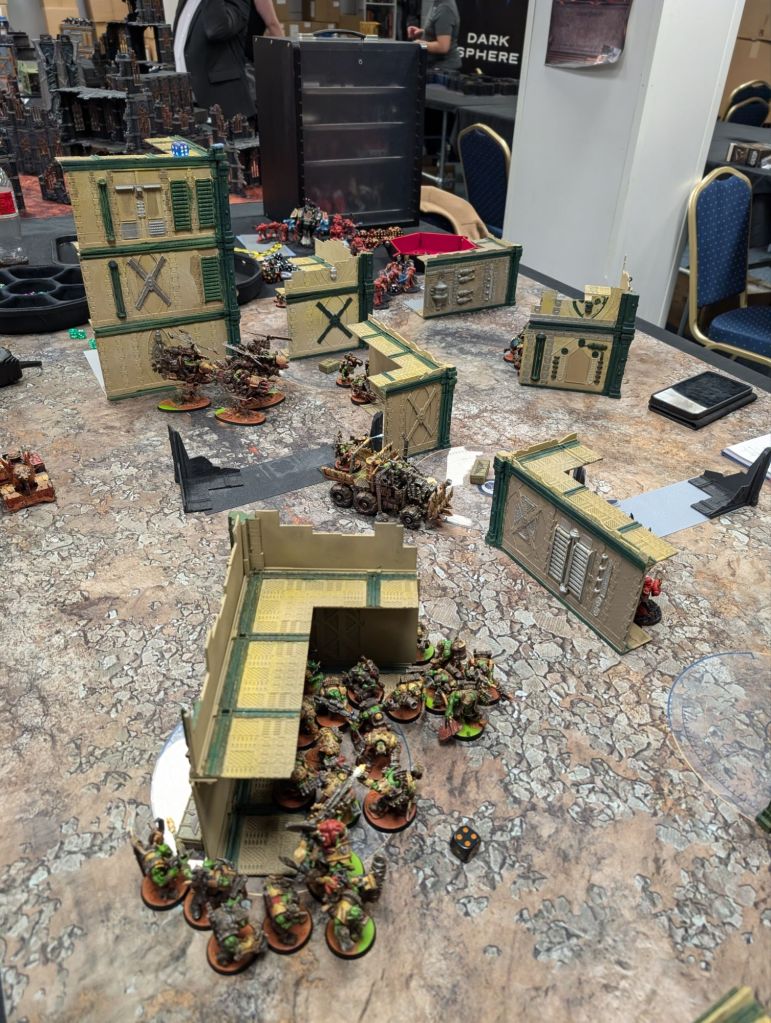
This was my first phase 3 crusade game, versus Blood Angels again, but this time these Blood Angels, not these Blood Angels. These Blood Angels have grown a lot since the last time I played them at the start of the campaign and are now the overall current leaders of the league on points. They are also very upgraded and have almost double the Crusade Points of my army. I feel like my boyz have had a relatively easy go of it so far so I was looking forward to the challenge. We were playing the mission Dig Site Raid.
Tok scampered up. “Boss, Blood Angels approachin’!”
Uzblitz grinned. “Blood Angels? Last time we fort dem we beat ’em quick enuff. Dis shud be easy!”
“Uh, well dese are a different lot. Dese are da wunz whose ship we boarded an’ then ‘ad ta run awa-“
“Shud be easy!”
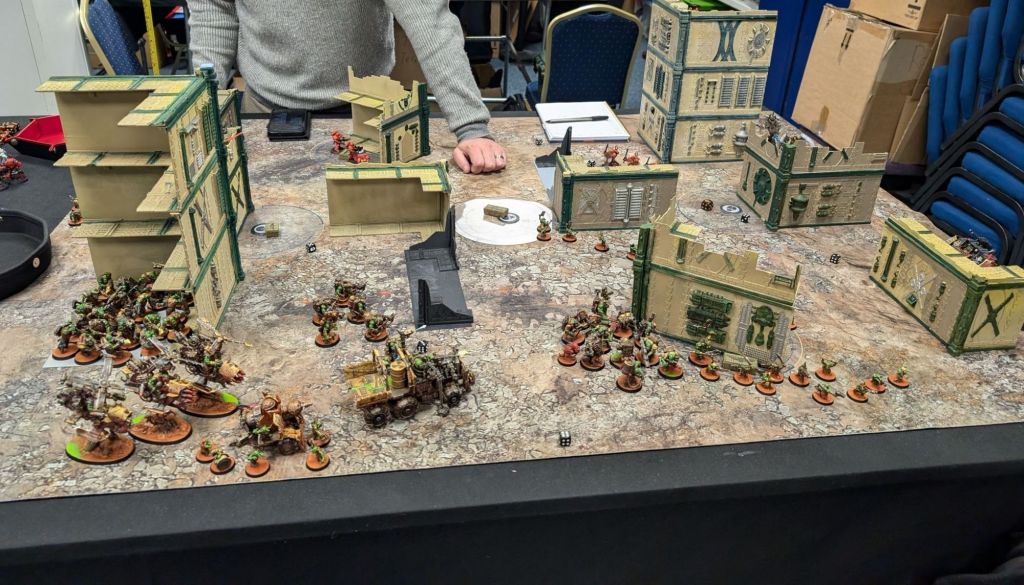
Deployment took a while as we both had a fair amount of infiltrators, scout moves and redeploys.
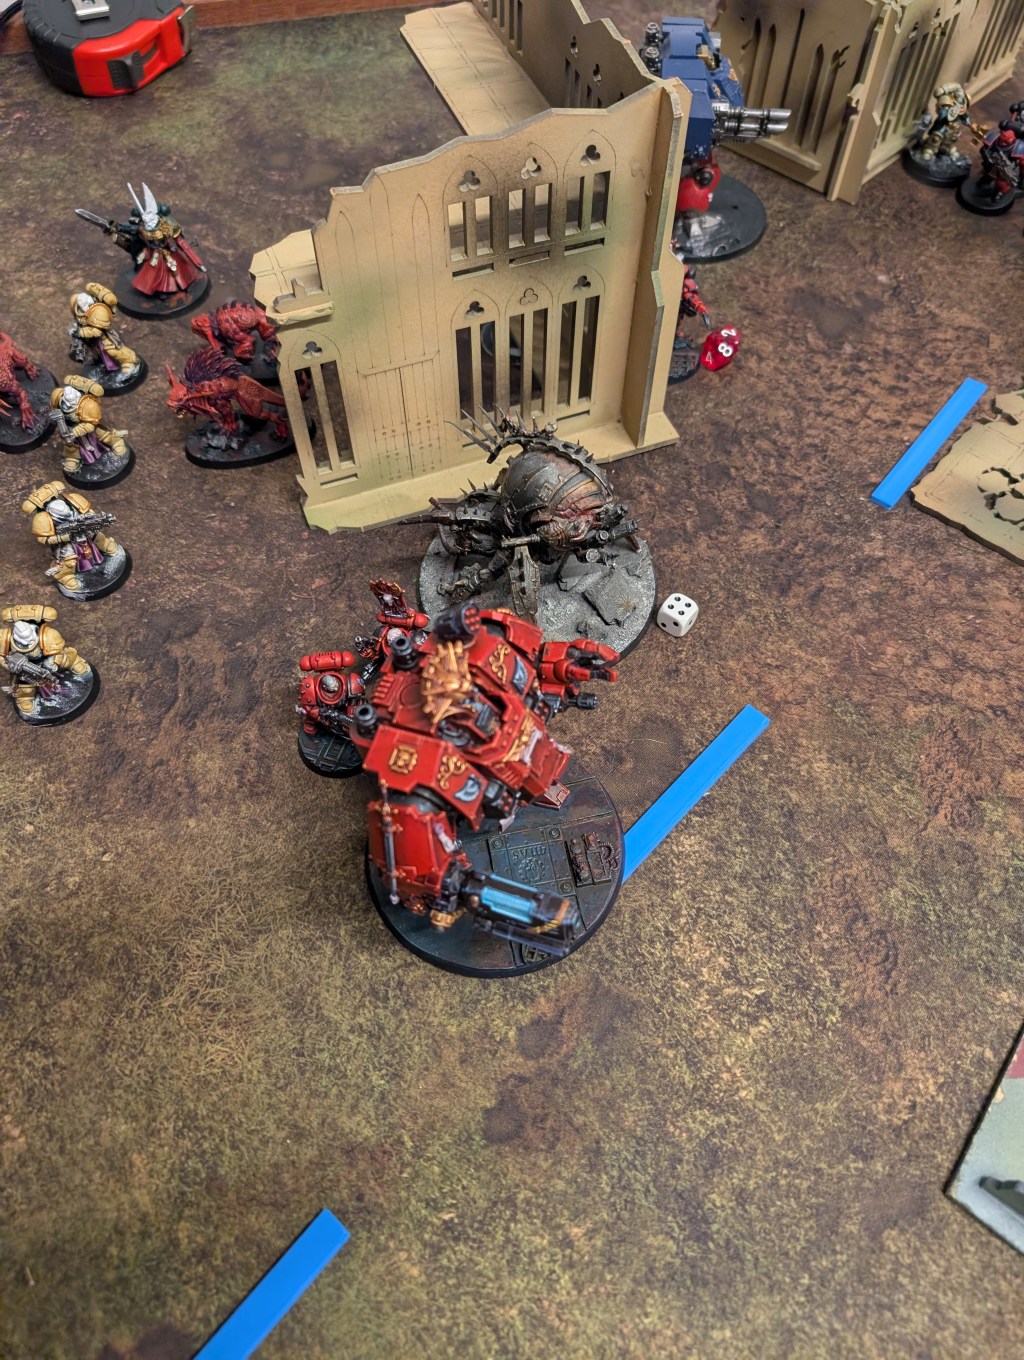
Blood Angels took first turn. Infiltrating Infernus Marines and Assault Terminators took out my Lootas and Flash Gitz and the terminators followed up and tagged my Mek Gun and SAG. My two squads of infiltrating Gretchin were also all killed by Hellblasters and a Death Company Dreadnought.
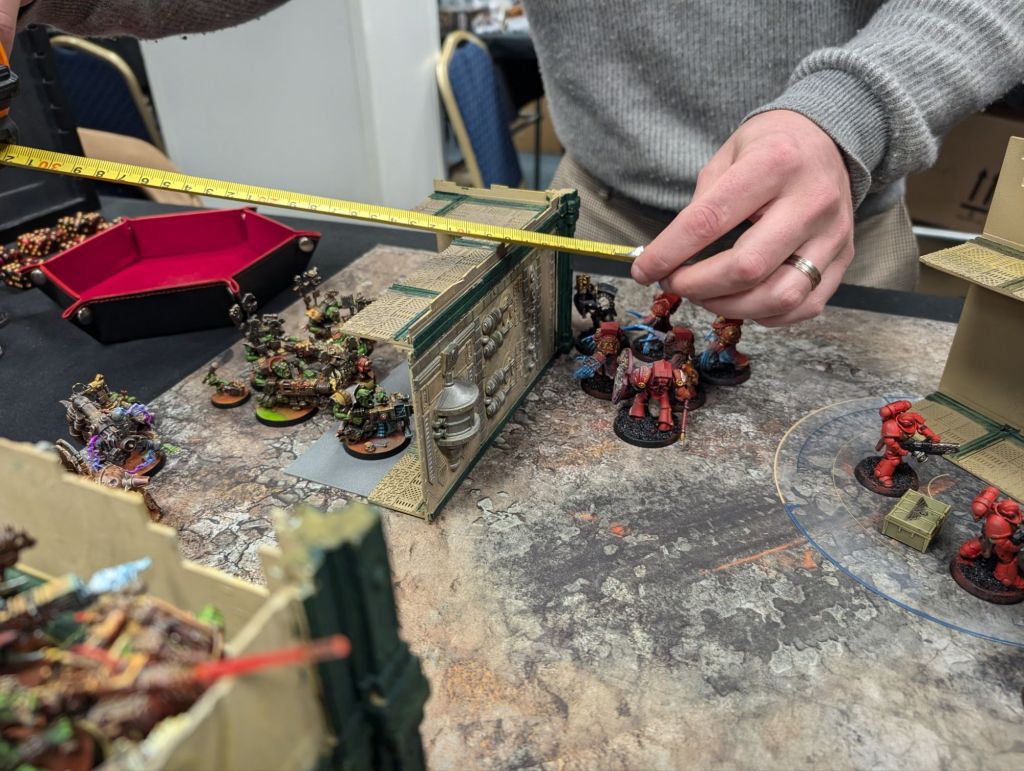
I Waaagh’d and managed to charge and kill the Dreadnought with the Nobz, a squad of Assault Intercessors with the Kommandos & Breaka Boyz and the Infernus Marines with the Beast Snagga Boyz.
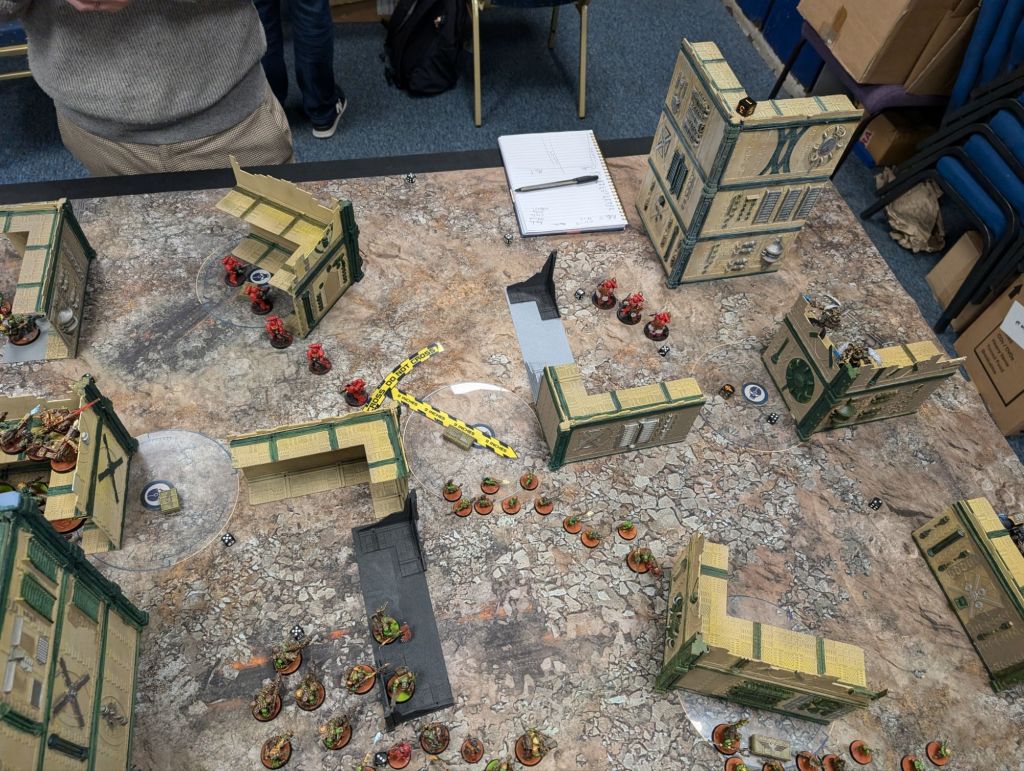
I used Ere We Go on the Boyz and Da Jumped them into the back of the enemy deployment zone. The plan was to have the Weirdboy snipe the enemy Warlord and then charge the Hellblasters (thanks to various bonuses, effectively only a 6″ charge) to put a stop to their shoot-on-death shenanigans. Unfortunately the dice weren’t with me and both failed. The Boyz then got charged by the Sanguinary Guard and most died.
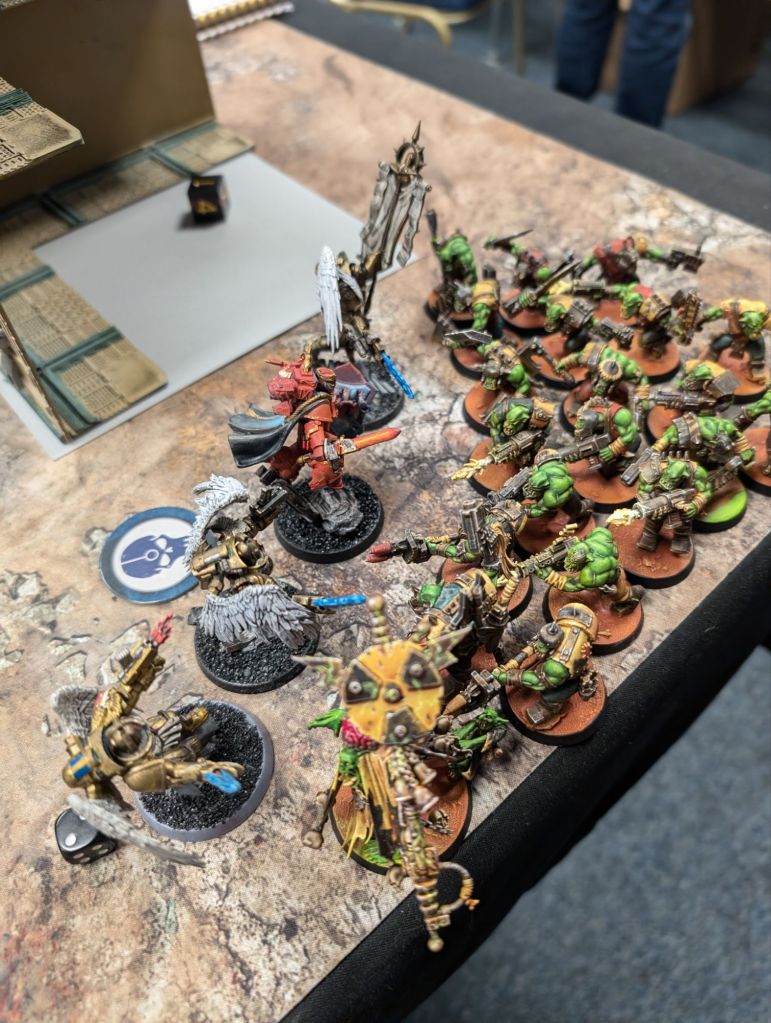
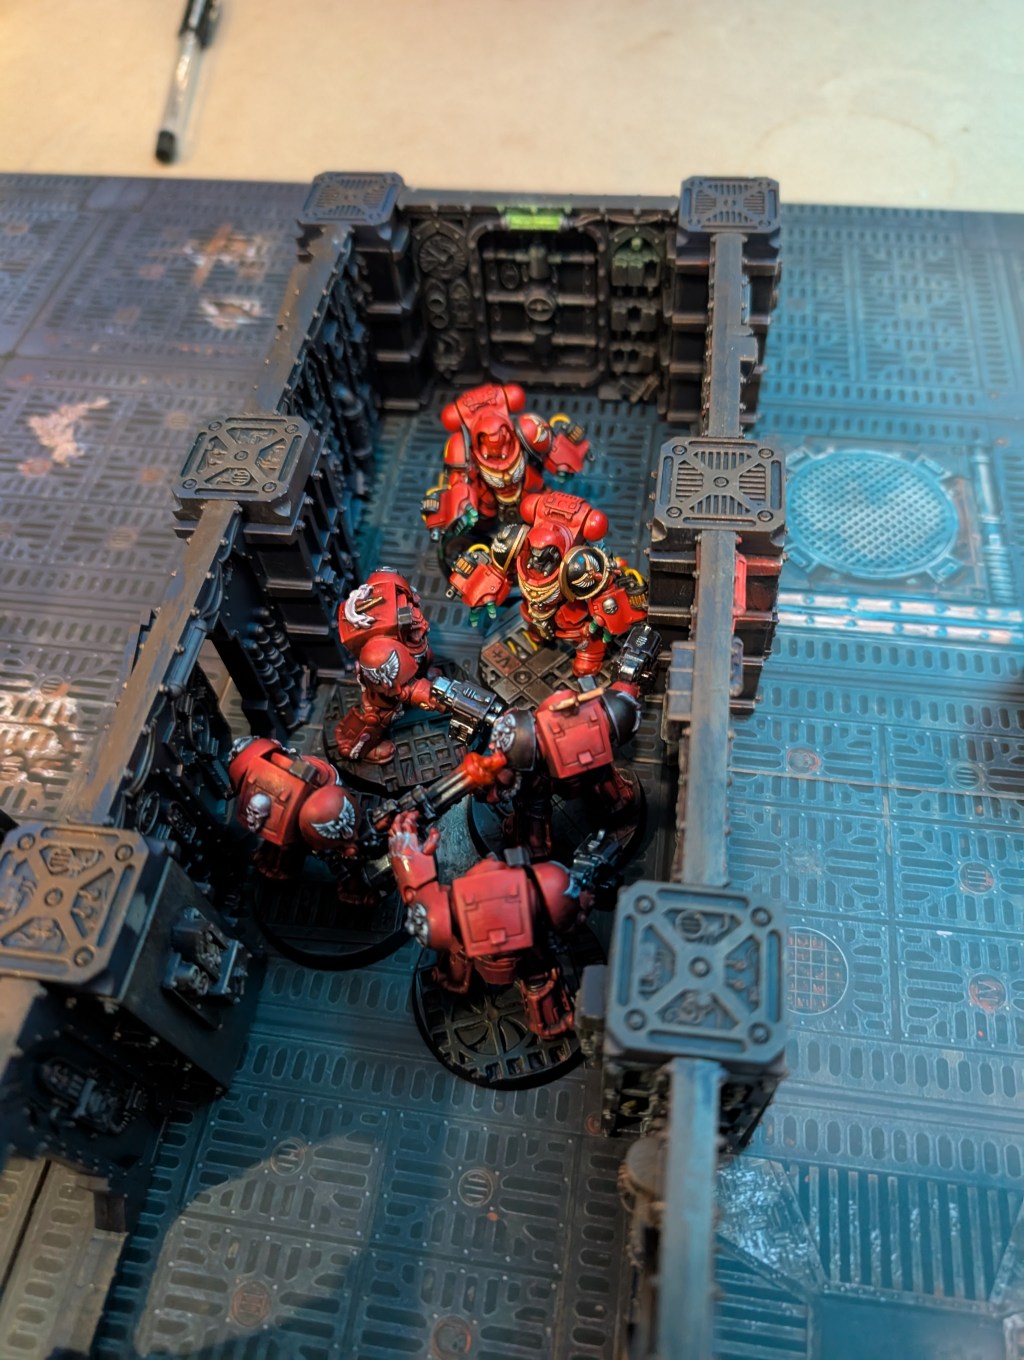
The Hellblasters gunned down the Breaka Boyz, the Bladeguard killed my Kommandos, the Death Company killed the Nobs & Uzblitz, the Terminators killed the Beast Snagga Boyz & Beastboss.

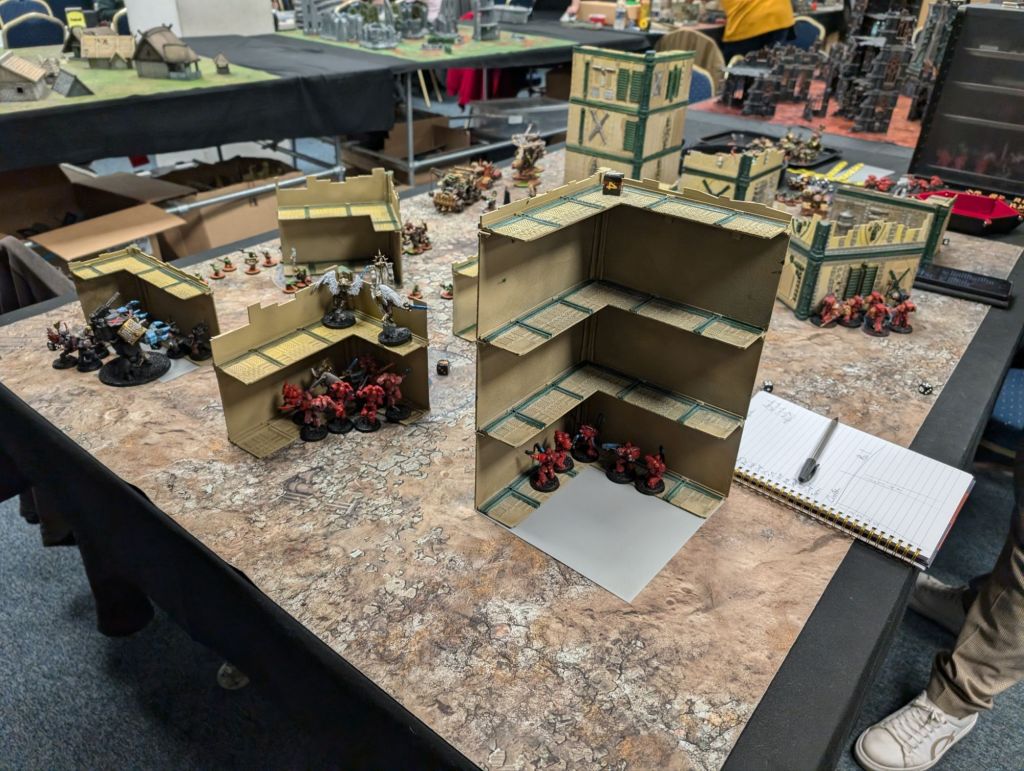
The offensive power of my army thus mostly eliminated for comparatively few losses from the Blood Angels the rest of the game was largely a mop-up operation for the Marines.
Combined firepower from the SAG, Mek Gun, Burna Boyz and Deffkoptas took out most of the Terminators but didn’t kill the unit. My Trukk tank shocked and ran down a few Hellblasters but they used a stratagem to fall back and shoot anyway. But, other than this minor damage the Blood Angels were able to steamroller over the rest of the Ork forces. By the end of turn 3 only the Burna Boyz were left on the table.

Final result: Blood Angels Victory (100 to 25)
Post-Mortem
This is my first ever 1v1 loss in 10th edition, ending a 12-game streak (admittedly, there were a couple of draws in there as well, and I have lost a lot of multiplayer games for reasons that were mostly my fault). Since I attribute that win rate more to luck than judgement this was probably long overdue!
Usually in these write-ups I have a number of ideas on how I could’ve played better. I find it a bit more difficult this time to say what I could have done differently to ensure victory. But, here are some thoughts:
- I’ve said previously that sometimes I think some army rules can be a trap that encourage un-optimal play in pursuit of optimising the army rule alone (for instance, Oath of Moment encouraging marine players to focus-fire everything onto one tough target, even when that may not overall be the best tactic). I think this time I fell into the Waaagh trap. I called it too early and in an effort to get as much of my army as possible into combat in one turn over-committed and over-extended on the right flank, leaving all my most elite units exposed somewhere they could easily be picked up by charging Blood Angels.
- Instead of pushing so far forward in turn one it may have been better to redirect more of my troops to the right flank to punish the infiltrating terminators and eliminate them rather than leaving them to run amok in my backlines. Since a lot of the Blood Angels held back turn 1 this would have kept most of my army out of the threat range and forced them to move up. I could *then* have Waaagh’d and counter-attacked.
- I’ve realised my list doesn’t have enough transports. One trukk isn’t really enough and led to the ‘all eggs, one basket’ approach that went so wrong. Orks rely on transports a lot more than other armies both for maneuverability and protection. I do have more transports already planned for my phase 4 list, but I should’ve probably prioritised bringing them earlier.
- Some deployment mistakes:
- I deployed my gretchin infiltrators to block out a lot of the mid-board. However it would have been better to start them further to the left where my triangular deployment zone was thinnest. This would have prevented the alpha strike that cost me so much of my shooting. The important lesson is that the thinner part of the deployment zone is more vulnerable to infiltrators because there’s less depth to use to give a buffer against turn 1 charges.
- My Lootas should’ve been put somewhere less exposed, even if it meant them having to pop up turn 1 and lose Heavy. Lootas hitting on 6+ is still better than dead Lootas.
- My gretchin all died turn 1, which is their job, but it did leave me without any CP generation. Possibly I should only have thrown away one unit to screen infiltrators and popped the others on an objective to farm CP in relative safety.
- My heavy-hitters in the trukk I should’ve deployed more centrally so they could respond more dynamically rather than being essentially committed to one flank.
- I think Blood Angels are always going to be a swingy matchup for Orks, especially in this case where most of the army was hyper-upgraded with crusade honours. Pretty much any Blood Angels unit getting a charge off on an Ork unit is going to wipe that unit. This is only sometimes true in reverse; the trade-off being I have more on the table. That means I either get lucky and do enough damage early on to make my numbers advantage overwhelming (as happened last time I played BAs) or (as happened this time) my initial assault fizzles out and the punch-back inevitably wipes me out.
- My usual tactics for dealing with melee armies are to carefully manage threat ranges and to throw forward chaff screens (i.e. gretchin) to ensure that my powerful but squishy melee units are the charger not the chargee. This was made a lot harder this time around because most of the enemy army was wearing jump packs. This both gives them an enormous effective threat radius and means they could just hop over anything I put in their way. I need to work out an alternate approach for dealing with these kinds of units.

Leave a reply to Mushrum Kloudz: Da Komplete Saga – Victory Pointless Cancel reply