
Around this time last year I set myself the challenge of painting the entirety of the miniatures that come in the Cursed City boardgame. So far I haven’t quite managed this – I still have some of the heroes to go – but I have managed to complete the ‘baddies’ side of the box. Perhaps when I eventually have them done I’ll do another post on the player characters, but for now here are the various undead forces of the evil (misunderstood) Vampire lord Radukar. This was a fun little project that took me back to my roots (teenage Paul had a Warhammer Fantasy Undead army) and I may even have learned a few things.
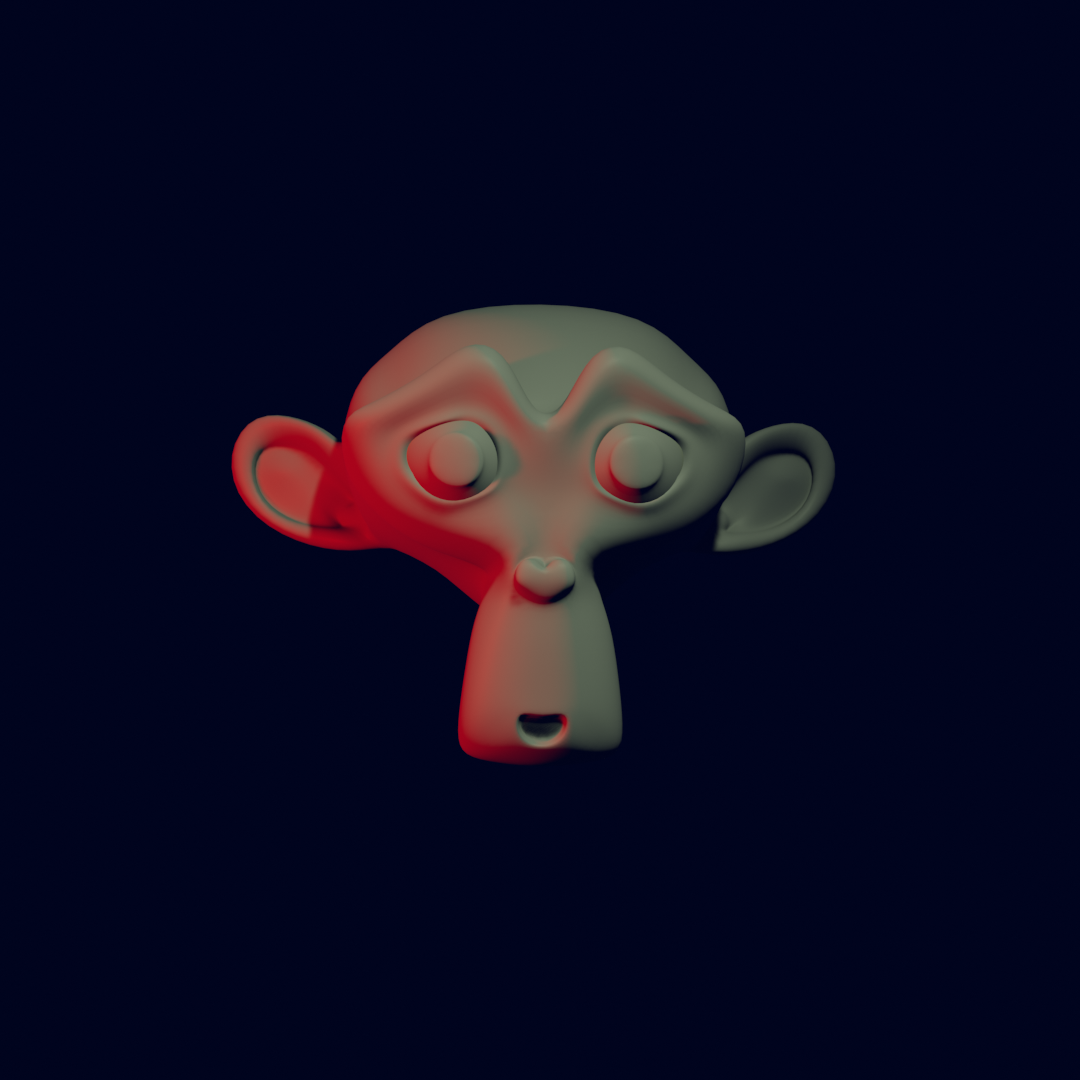
The choice of colour scheme was complicated/simplified by the fact that this is a shambling horde of undead monsters who likely wouldn’t have stopped by the quartermasters to be issued with nice matching uniforms after being dug up. However, I did want them all to look like they belonged together, so I decided to do this via lighting and atmosphere. Specifically; spooky slightly greenish moonlight from above, evil red glow from one side and blue-tinted shadows to add to the nighttime feeling.
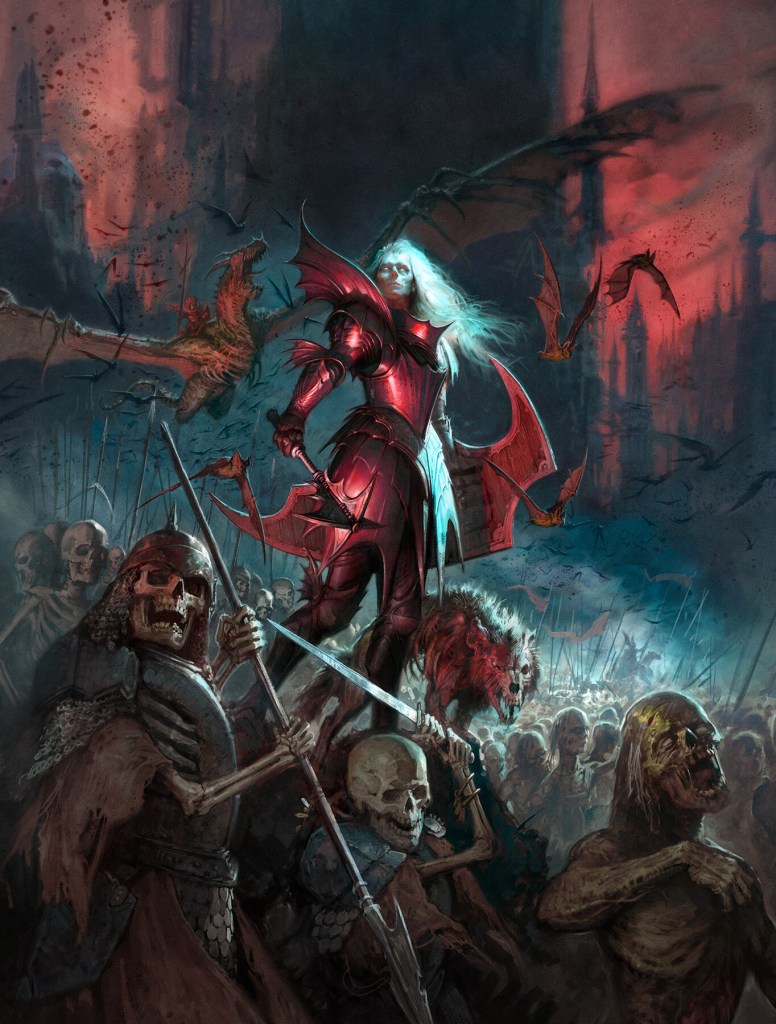
This was inspired mainly by this bit of artwork below. I’m not sure exactly what the source of the red glow is; possibly a sunset, burning orphanages, blood magic, or the reversing lights of a Ford Transit van. Judging from the reaction of the Skeleton on the left, I suspect the latter.
Besides this, I chose red and cyan as my two contrasting main full-saturation colours. The balance between these would shift depending on the model; more cyan for cold dead skellies and more red for blood-crazed vampires.
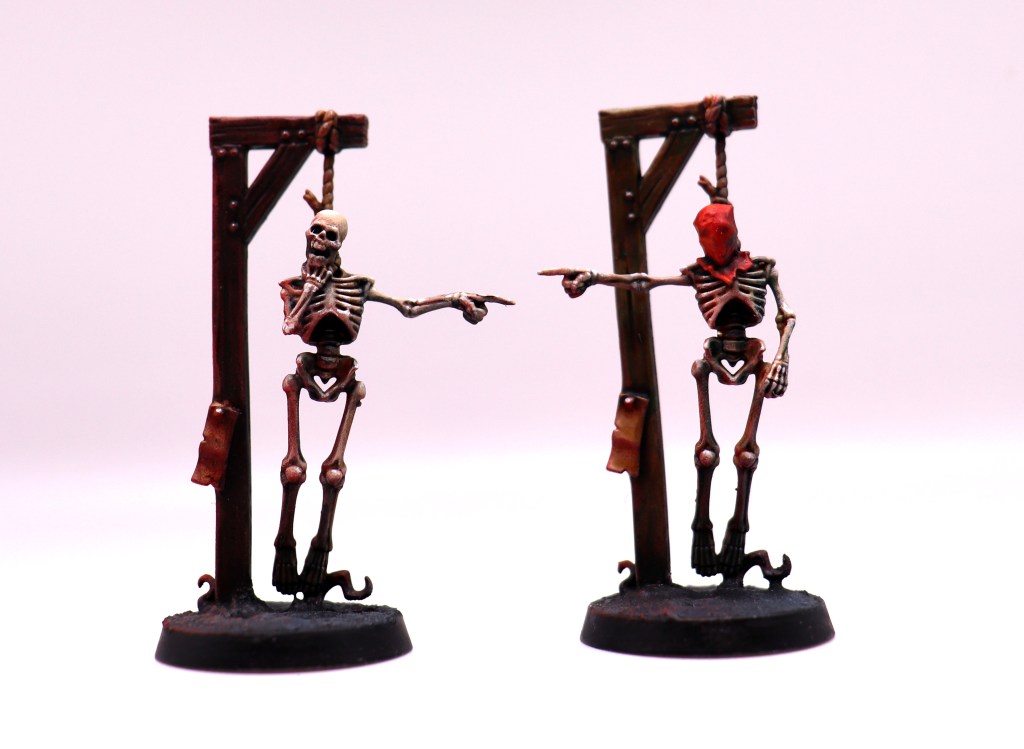
The hanging skeleton ‘objective markers’ were the first thing I painted as a bit of practice to get back into the swing of things. One of these was done ‘properly’ and one with mostly washes over a zenithal prime, but they ended up close enough that I forget which was which.
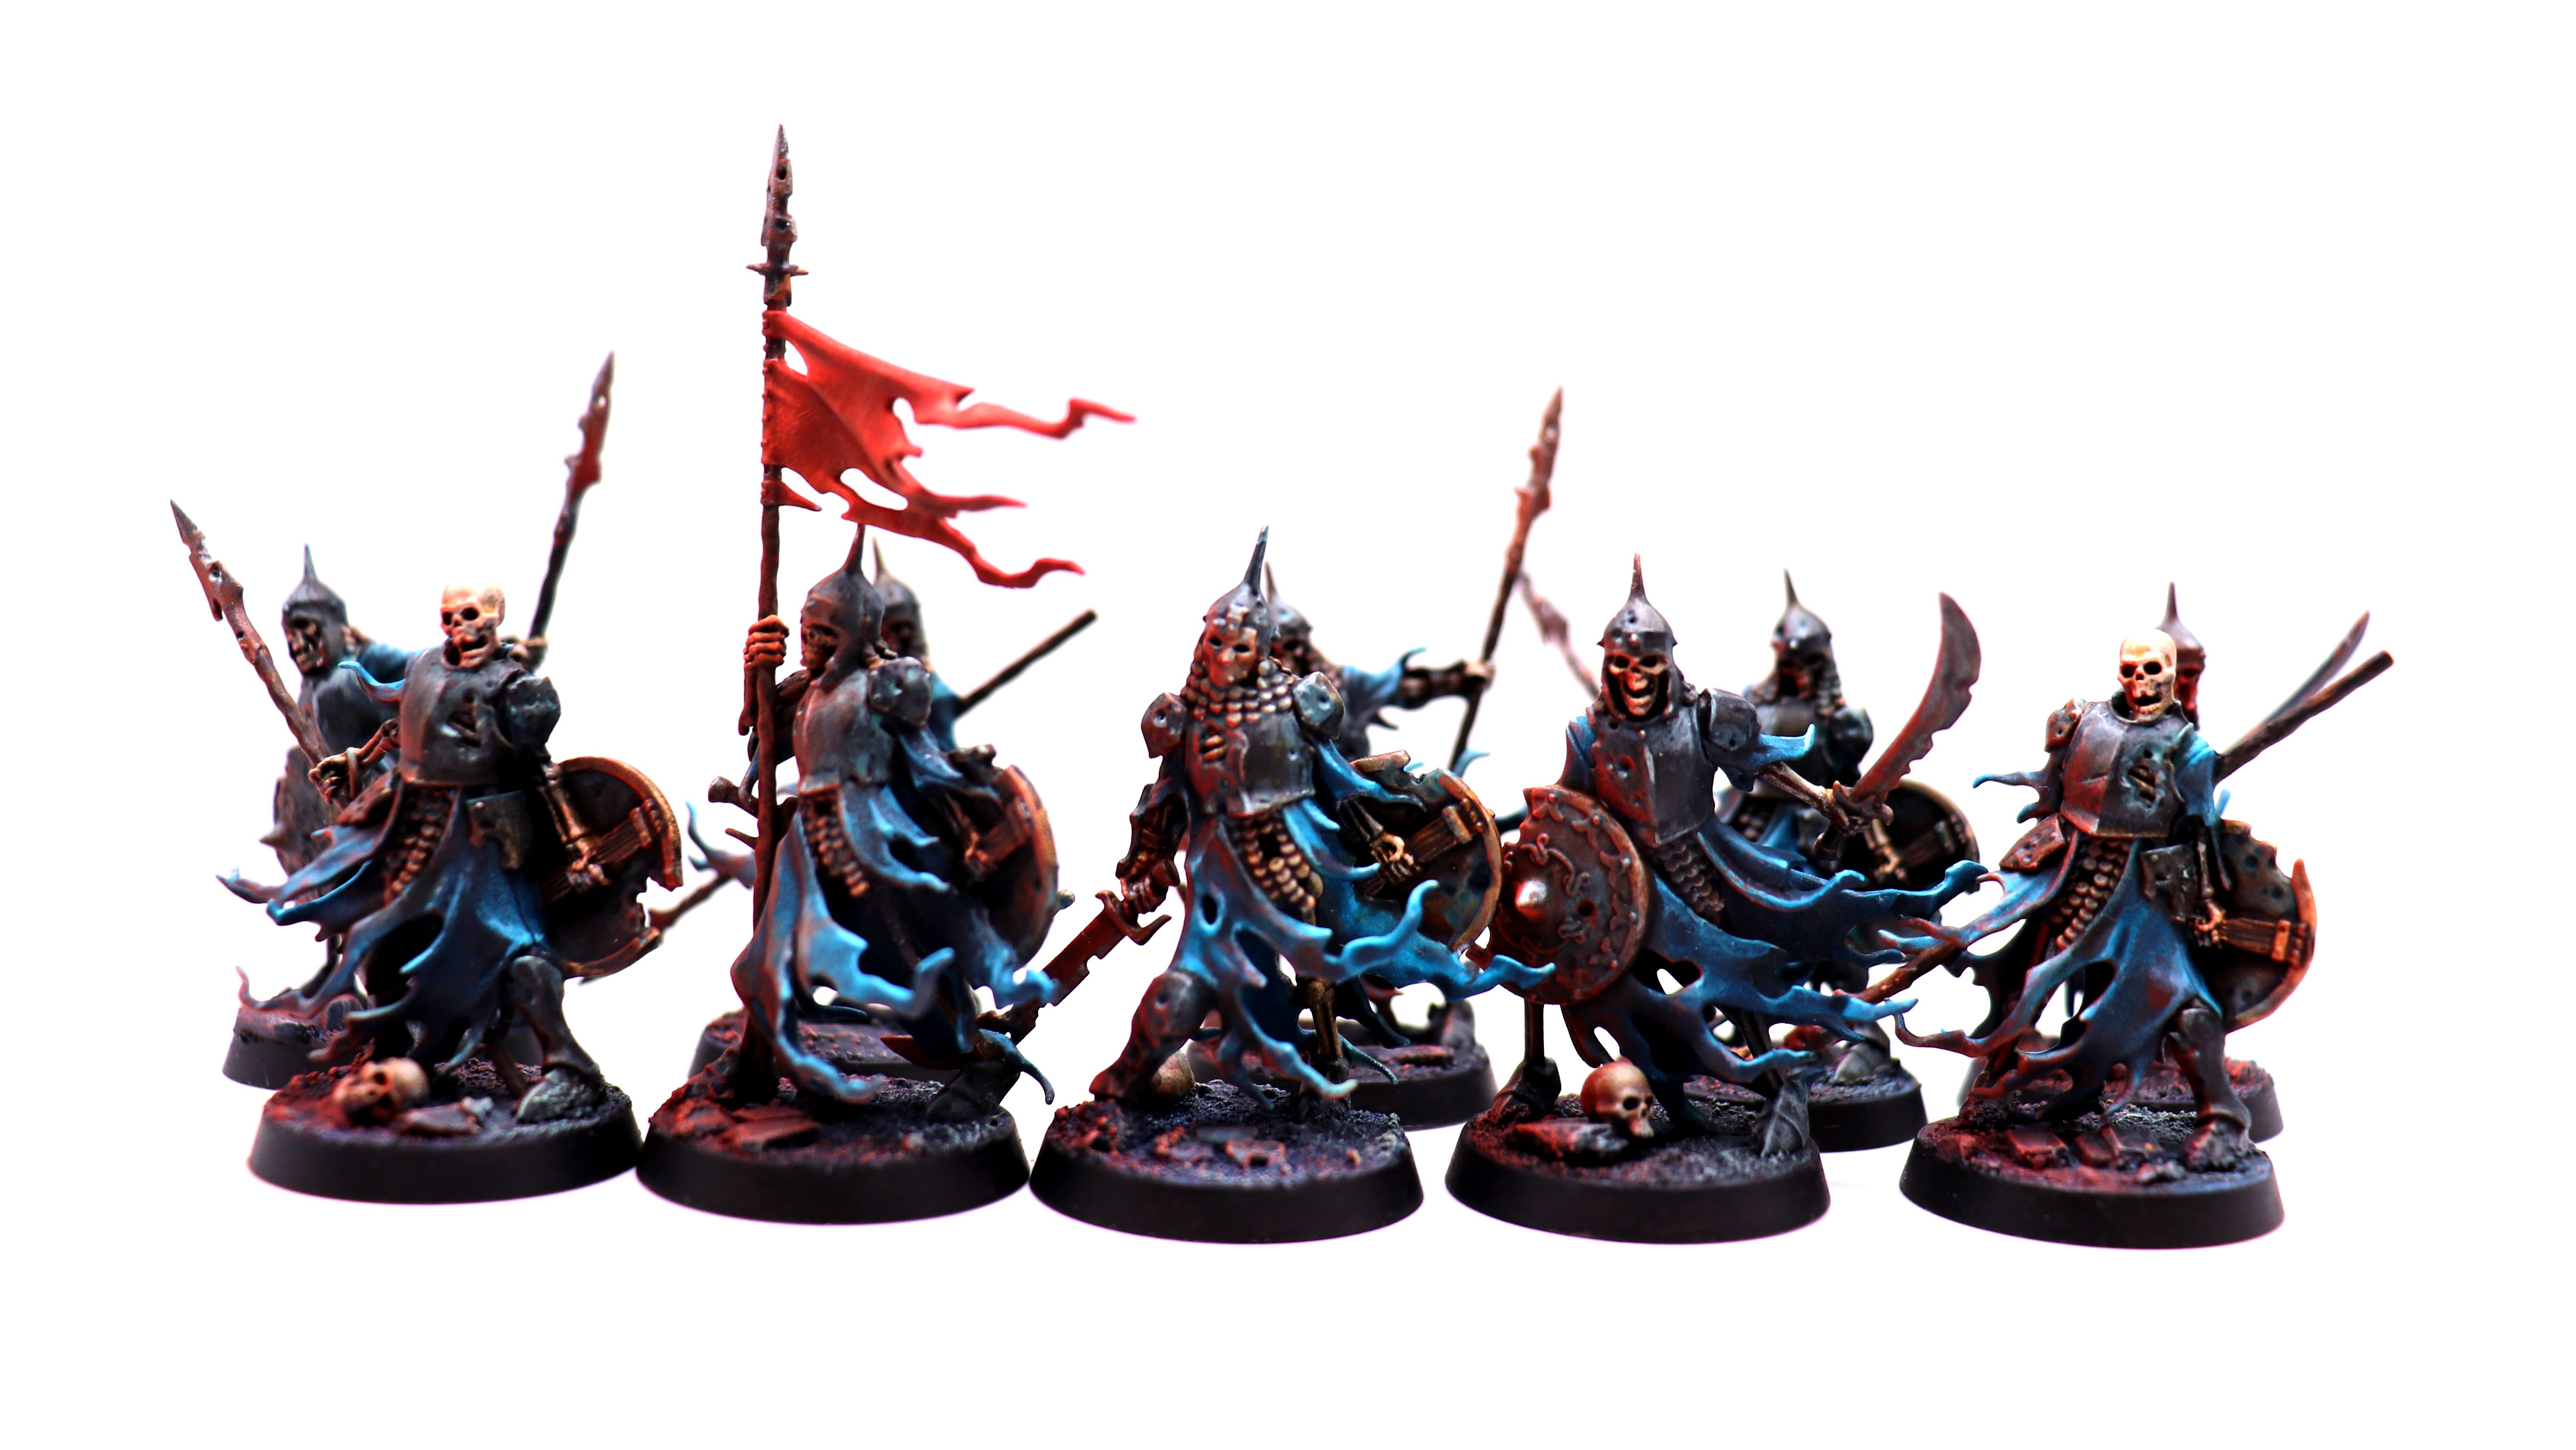
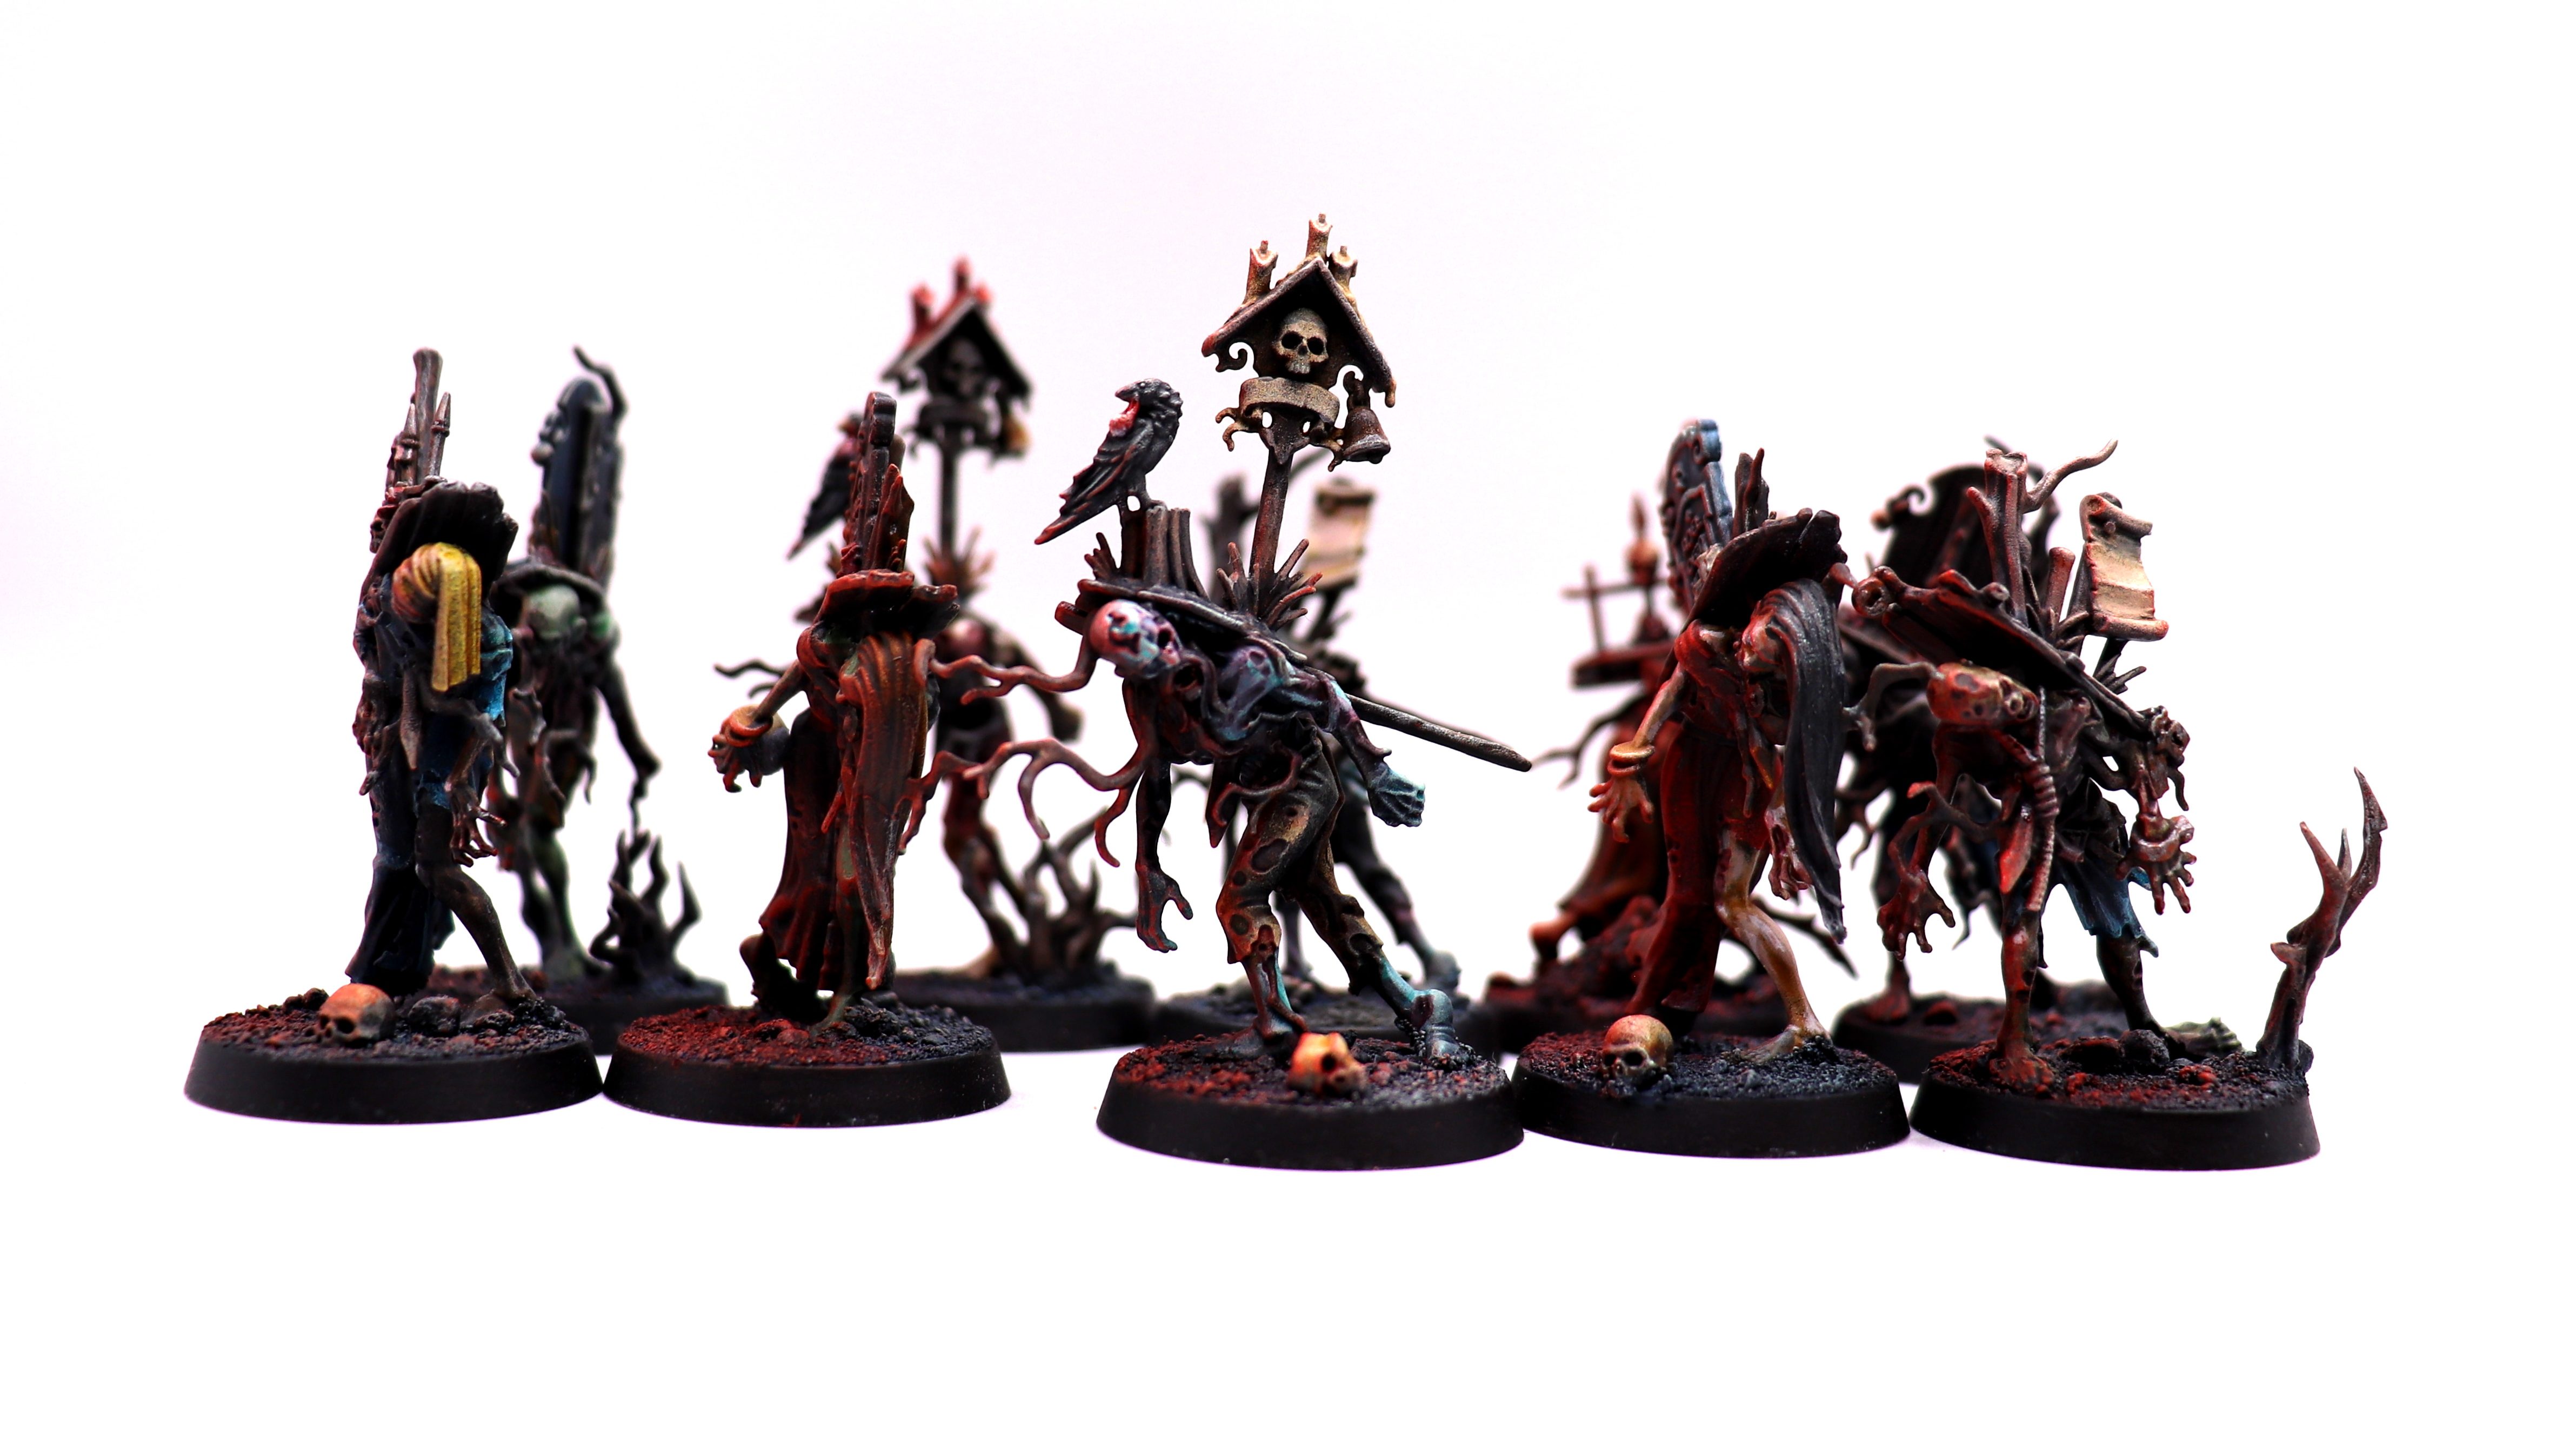
From hanging skeletons to walking ones – the Ulfenwatch. I’m pretty happy with how these came out, although the intensity of the red glow effect is a bit more variable than I would ideally like.
These are really nice models, but I do miss a bit the older, more naked skeleton kits. I have a vivid memory of 11-year-old me seeing a box of these little Ray-Harryhausen-esque bone dudes in my local toy shop and feeling a love of tiny painted men instantly flaring into being. Painting bones is quite good fun and its a shame the newer models cover up so much of the good stuff with armour and cloth.
These models (the new ones) were also my first on-ramp into Non-Metallic-Metal (NMM), since I wanted their breastplates to look duller than metallic paint would give me, but still read as metallic. I was obviously pleased enough with how this came out that it set in course a chain of events whereby I am now ill-advisedly painting an entire Chaos Space Marine army with NMM trim.

Boss skeleton: pretty much the same as his men, just with a bit more care and attention. Happy with it.
Zombies were next. I liked these models when I first saw them in photographs, but in 3D they’re a bit pants. It was fun playing around with different skin and cloth colours, but from above all you see is the gravestone nailed to their backs so that variety is for nothing when you’re actually using them in a game on the tabletop. They’re also very flat, which made it a bit difficult to do anything too interesting with the red glow effect on these.
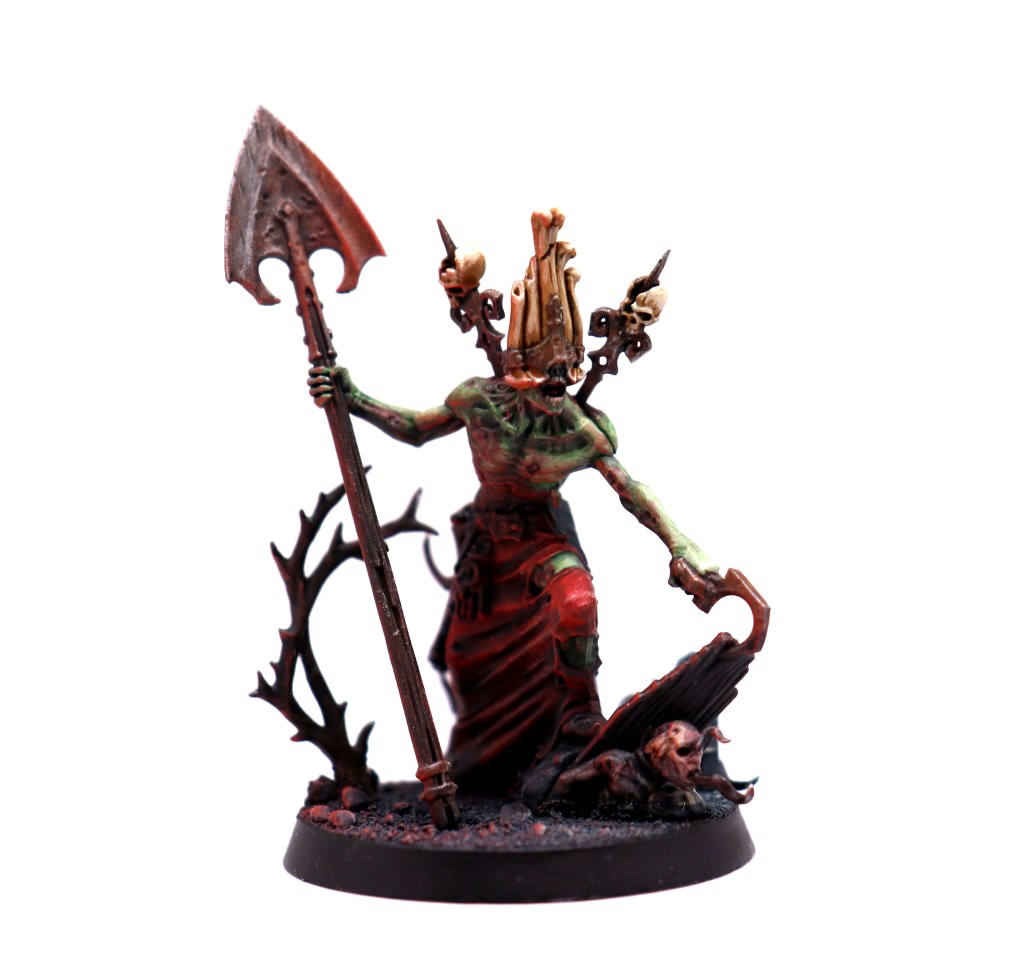
Gorslav the Grave keeper: I was looking forward to painting this one and was happy with how it was going… right up until I applied the red OSL effect and screwed it up by going slightly too far with it.
Lesson learned: With coloured OSLs you have to be careful that it is always pushing the brightness of an area up. Here I was applying red to areas of the skin that were already lighter that that red, and as a consequence it no longer really reads as a glow.
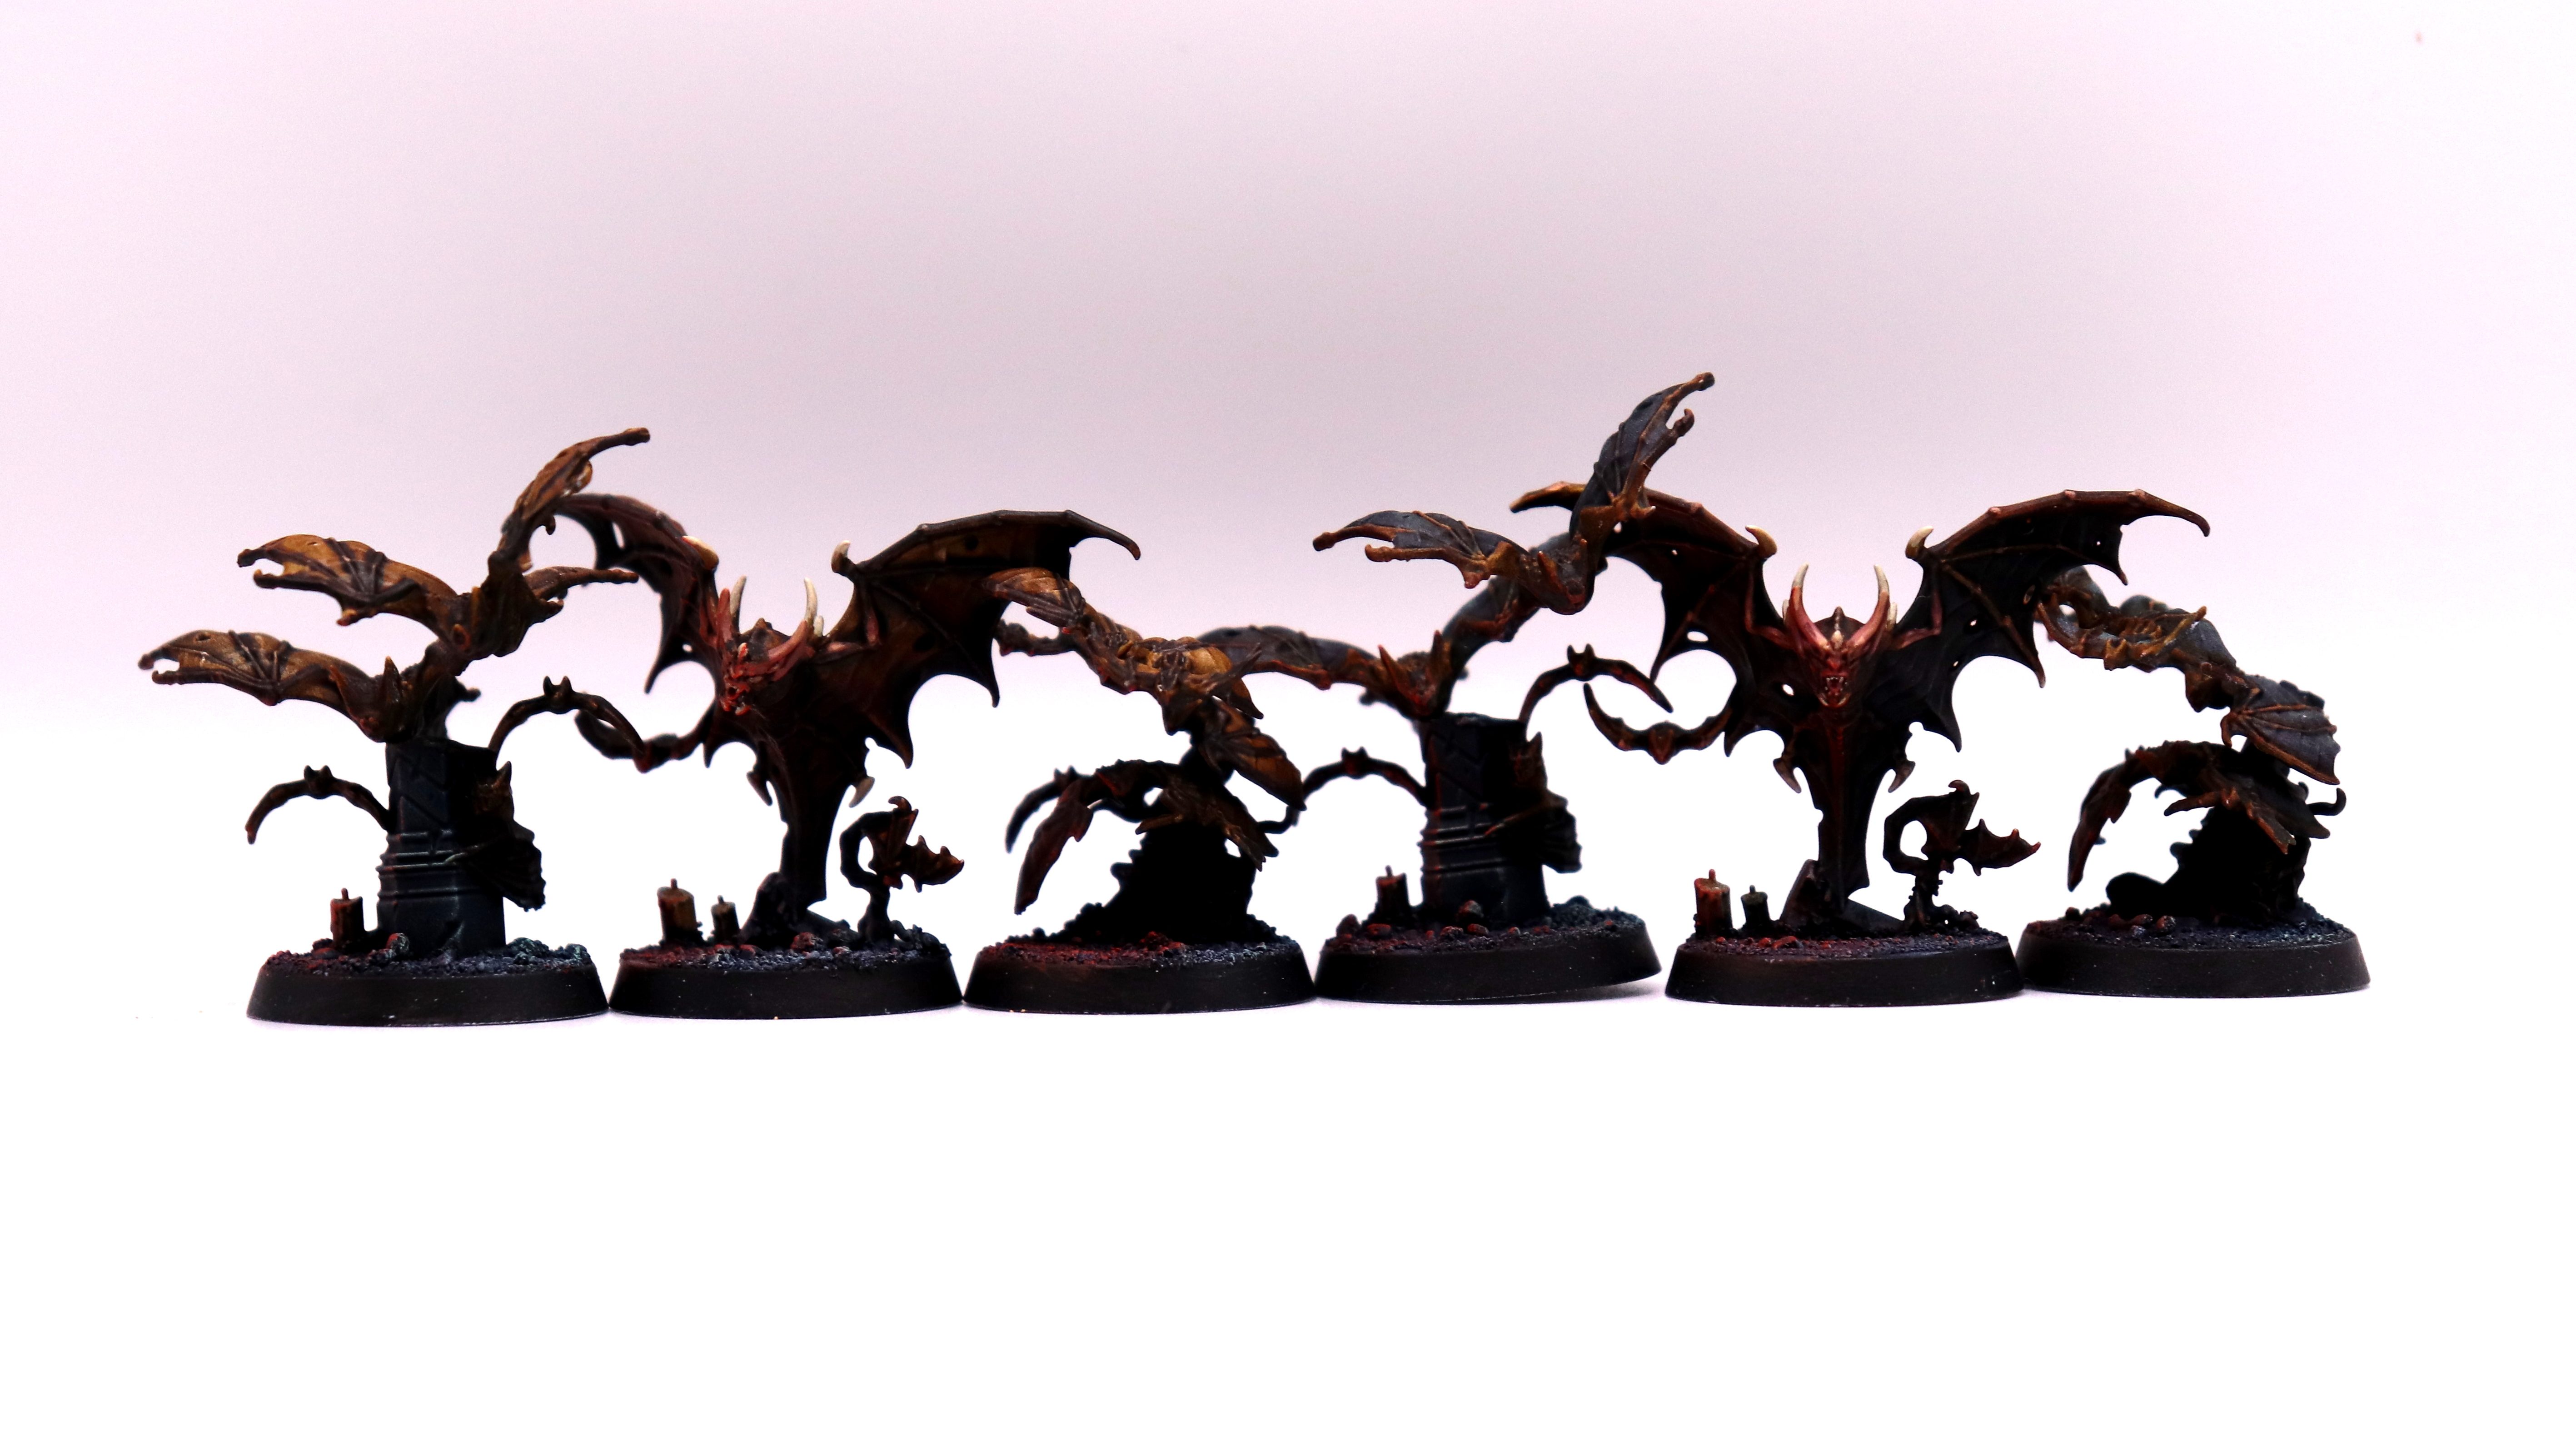
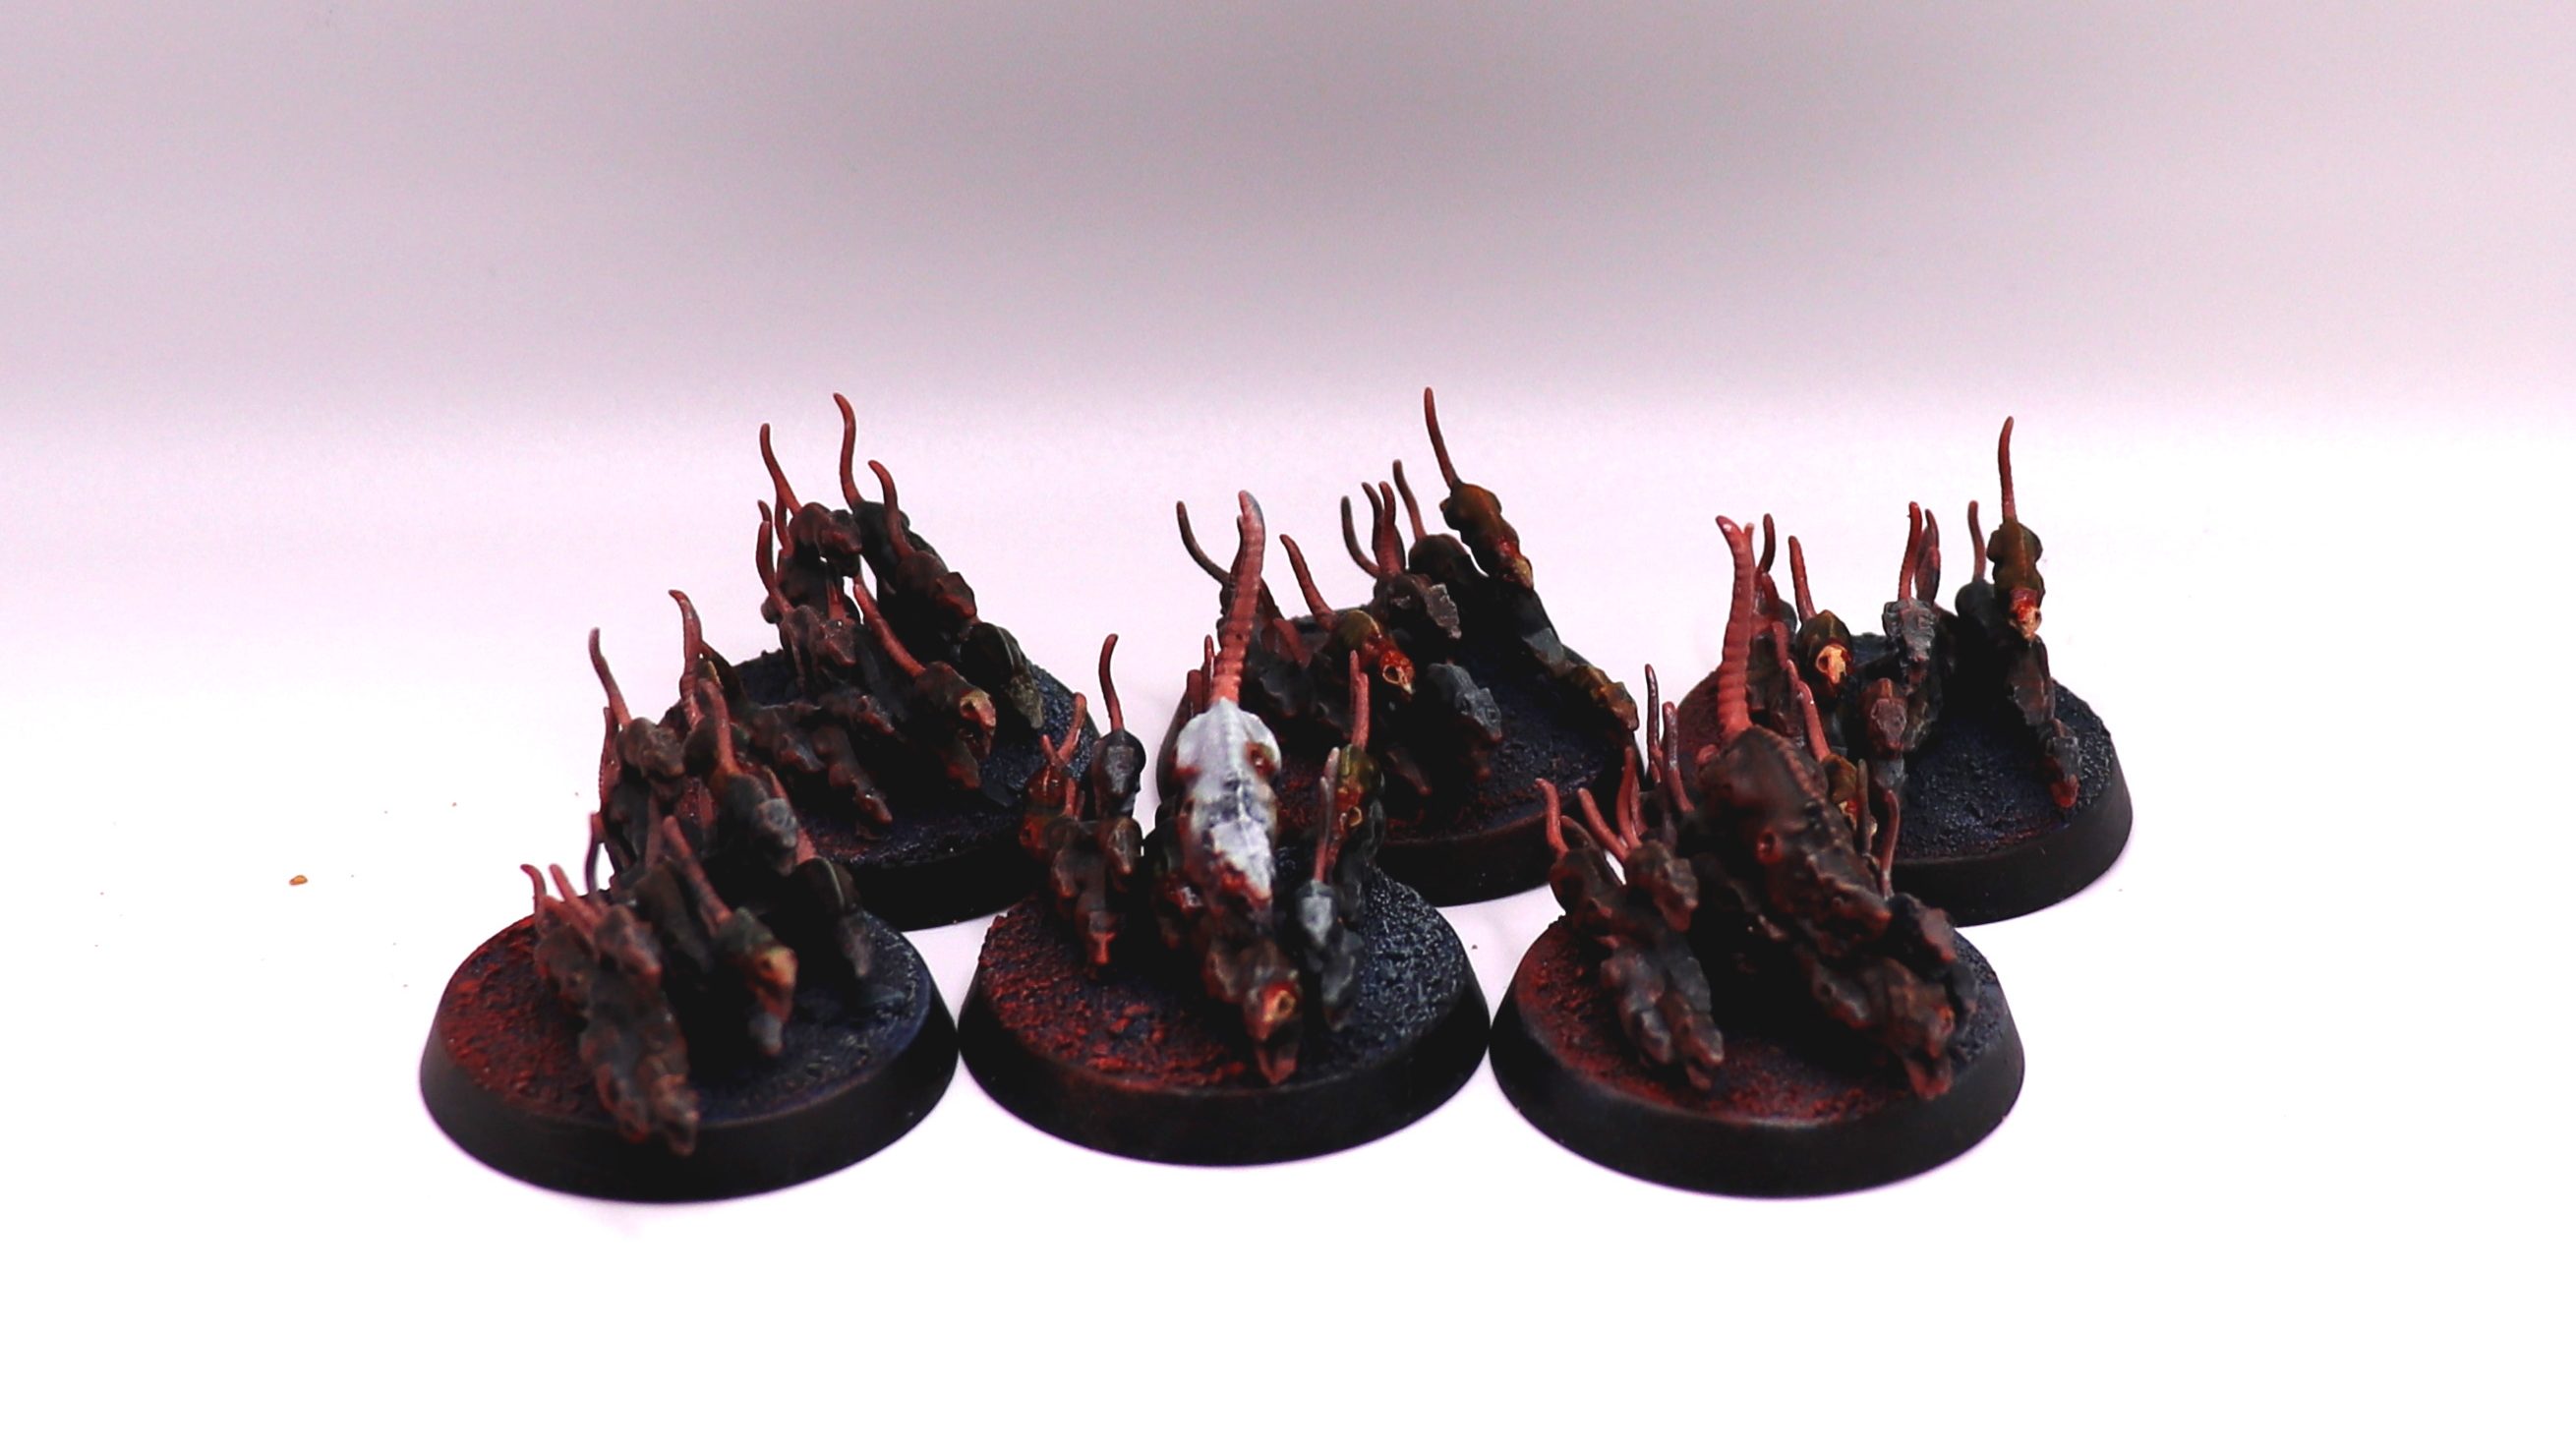
Bats ‘n’ rats ‘n’ that. Mostly quick & easy contrast paints for these. The bats photograph badly even in a lightbox because they’re almost all underhang – they don’t look quite so dark in real life.
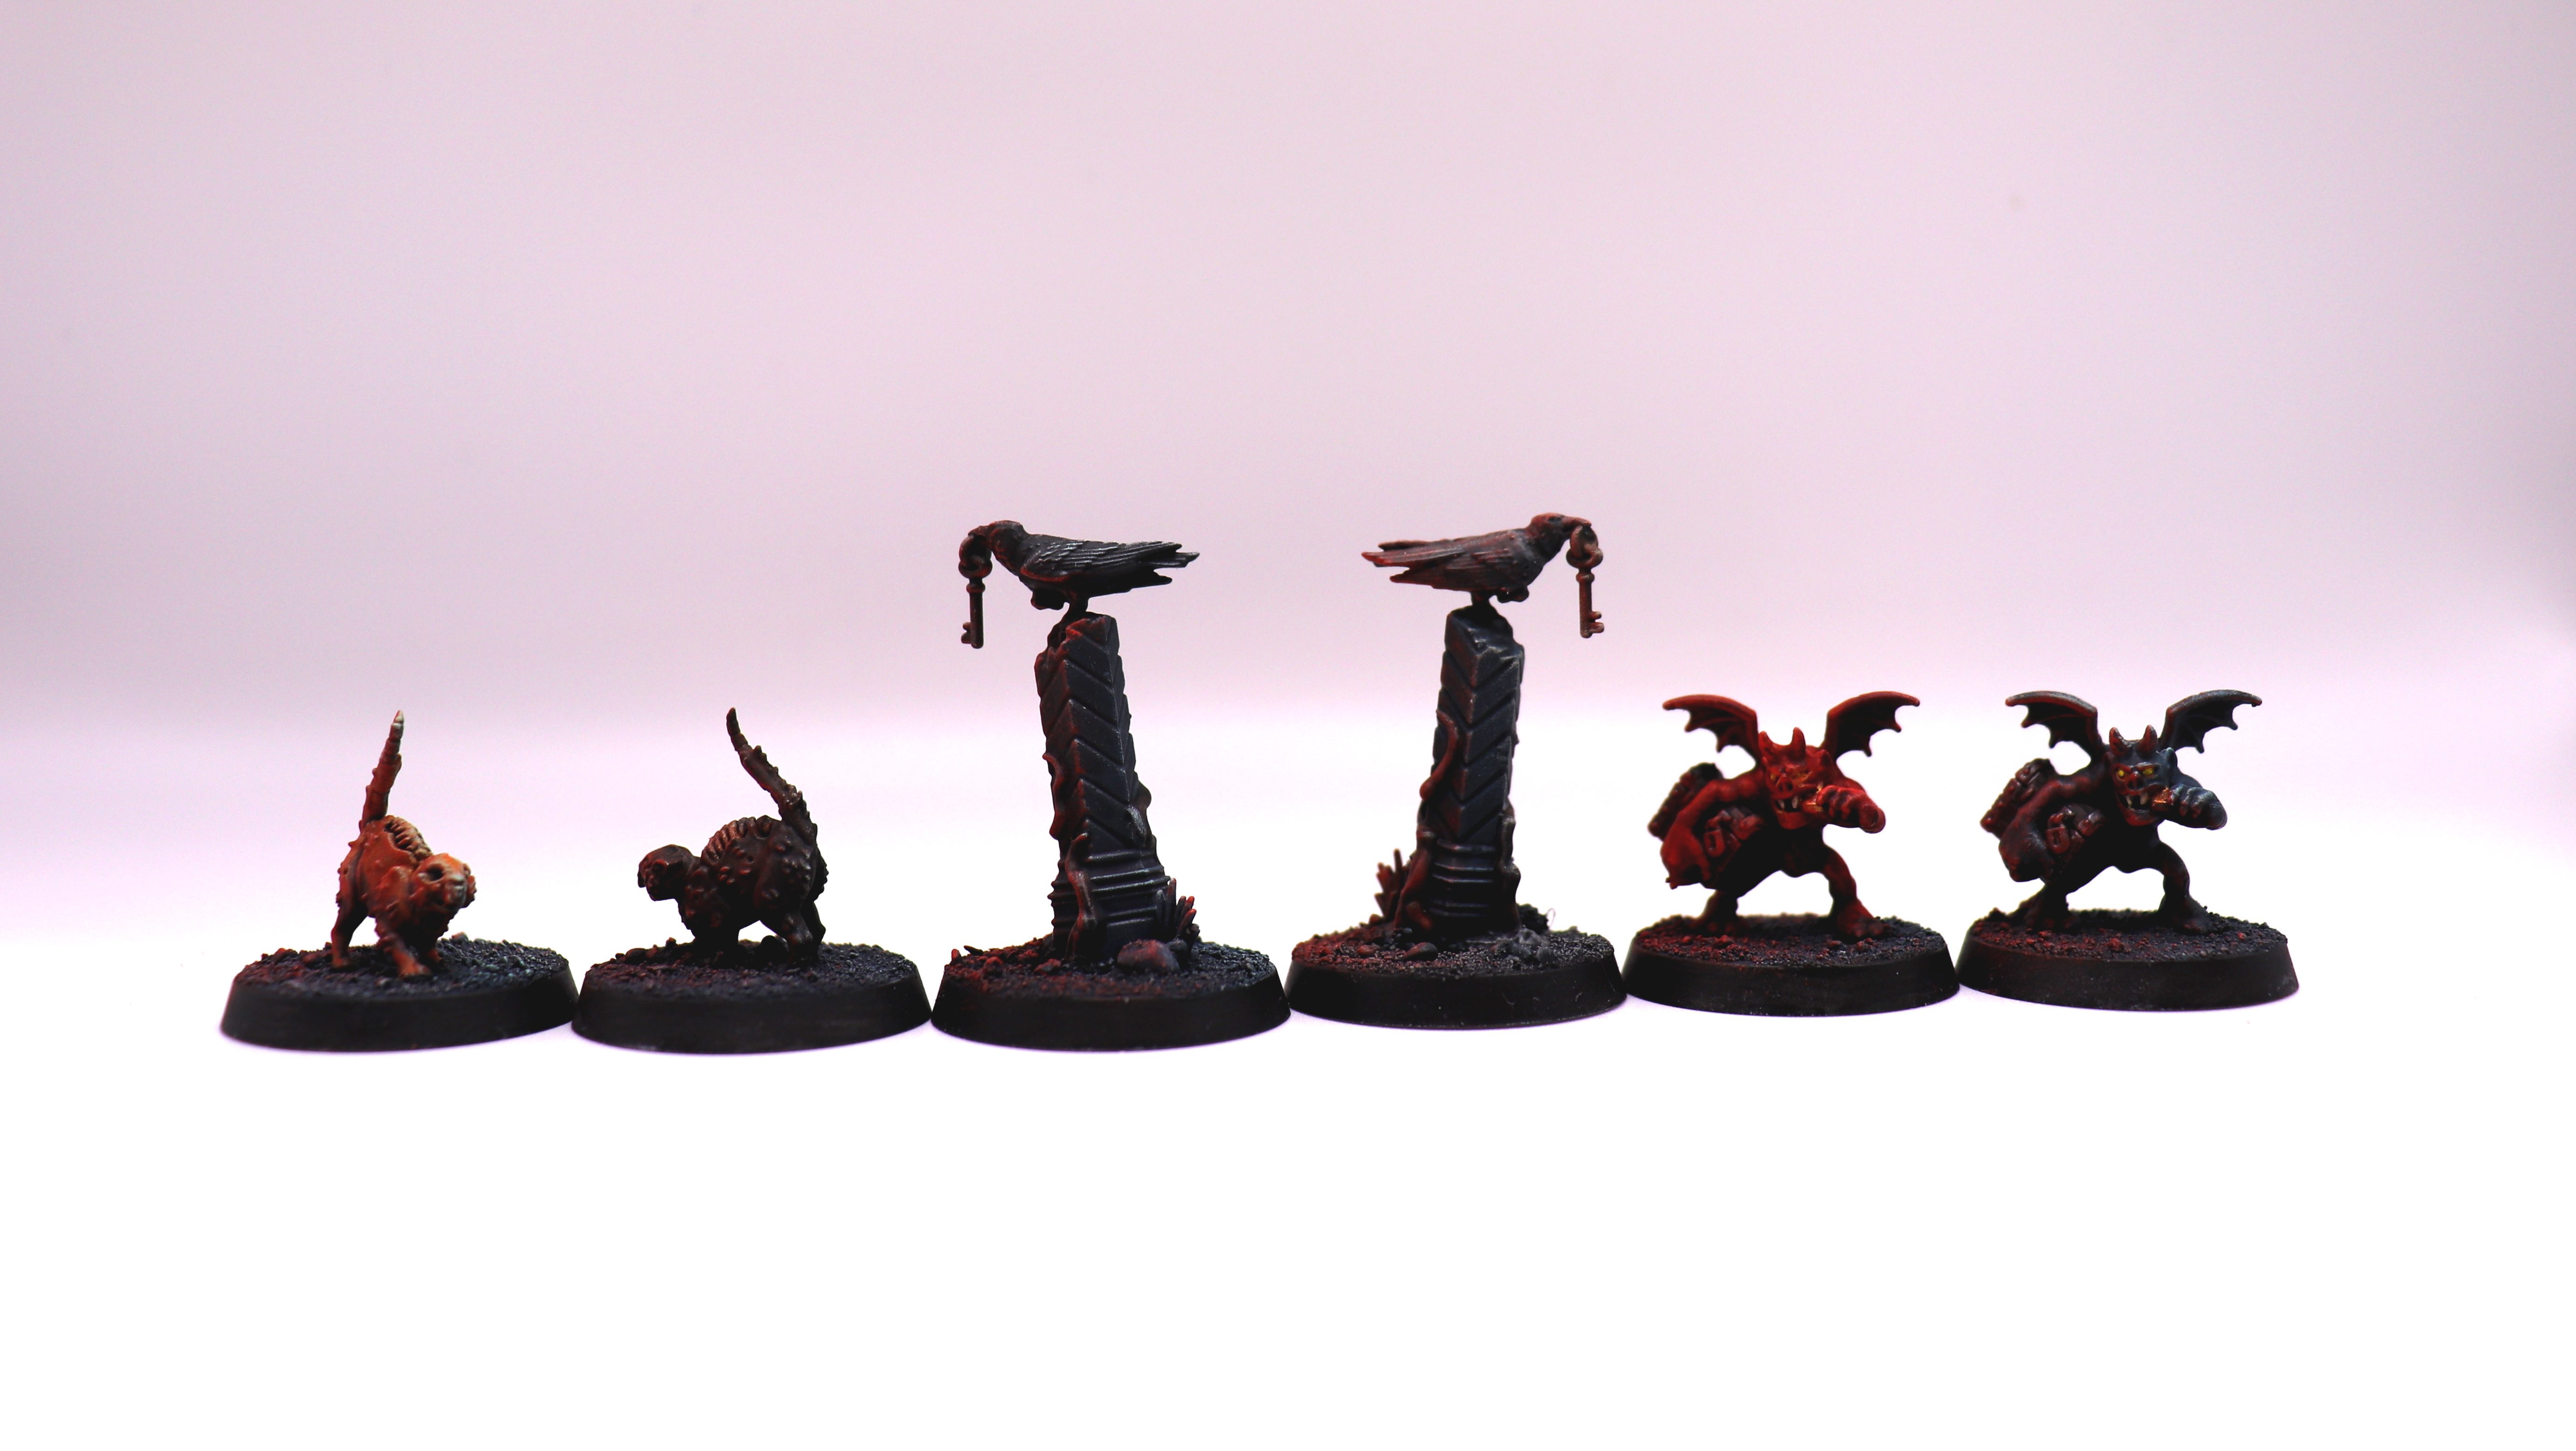
Same for the rest of the objective markers – I think in this case because they’re small relative to the size of the base. I need a better lighting set up, I think. Miniature photography is hard!
At this point I looked back over the models I’d painted and decided that the red glow was most effective when it was done subtly, so I tried not to overdo it on the rest of the models.

To finish off the ‘grunt’ enemies I painted the big ogre bodyguard zombies. While I’m happy with the choice of red and cyan as main colours, when they’re right next to each other at full strength as they are here it’s a bit much.
I think it fits this particular unit to be a bit garish, but you’ll note that pretty much everywhere else I was careful to separate them out or make one clearly dominant, and I think that was a good policy.
The colour theory revelation here is that complementary colours contrast well and make each other ‘pop’… But you don’t often want multiple colours popping off all over the place at the same time in equal strength. Better to use one judiciously to reinforce the other.
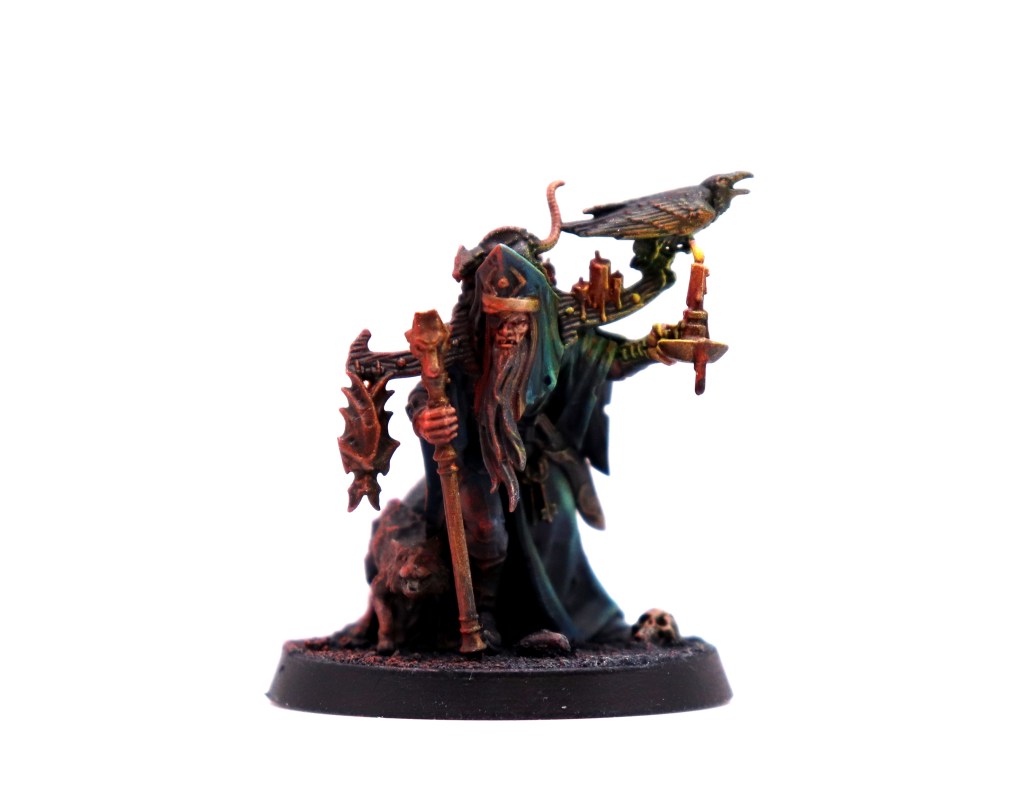
Torgillius the Chamberlain. I wasn’t particularly excited to paint this guy; he was just some old geezer with manky pets and some fiddly-looking bits. But actually he turned out to be really fun.
His candle gave me an excuse to do more OSL effects (which I enjoy doing, even if I’m not particularly good at them) and I like the resultant shift in hue across the model.
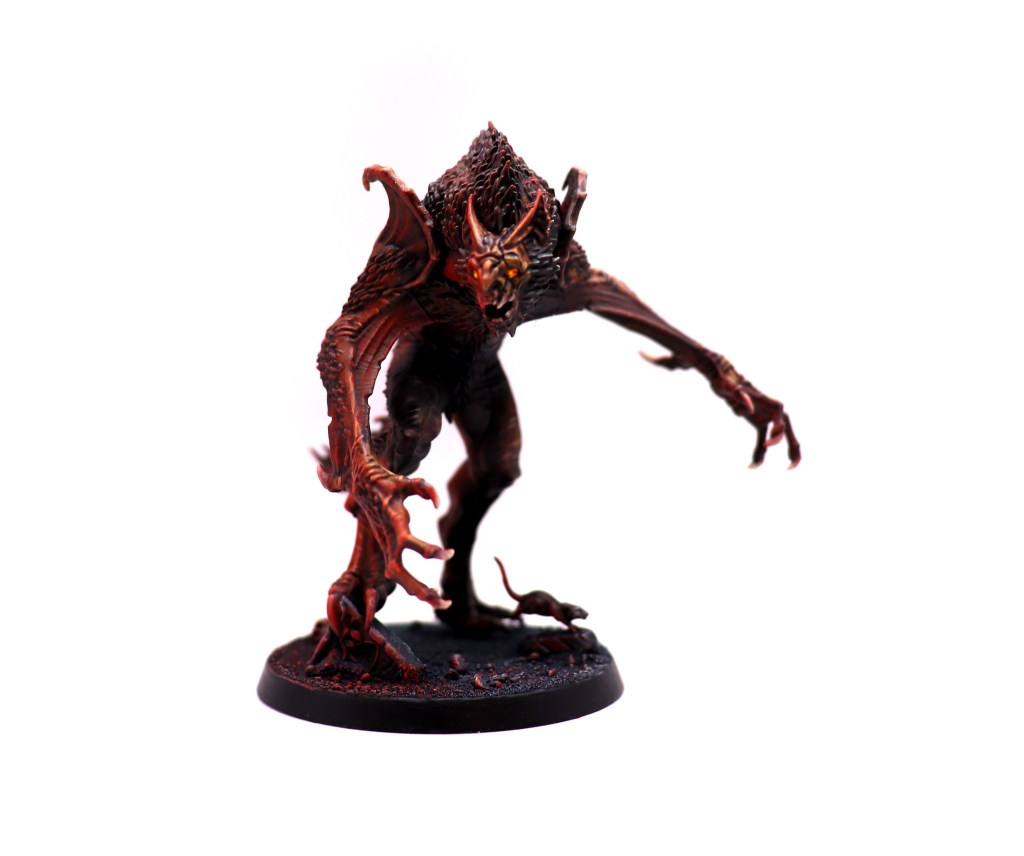
Vargskyr: not in fact a type of Norwegian yoghurt but rather a huge were-bat-wolf. The biggest model in the set but probably the fastest to actually paint because I could just break out the big brushes and let Contrast paint do its thing.
The only small details on this thing are the eyes, which I tried to paint as brightly glowing and catseye-like as I could, very much inspired by Mike Mignola’s style of creepy peepers:

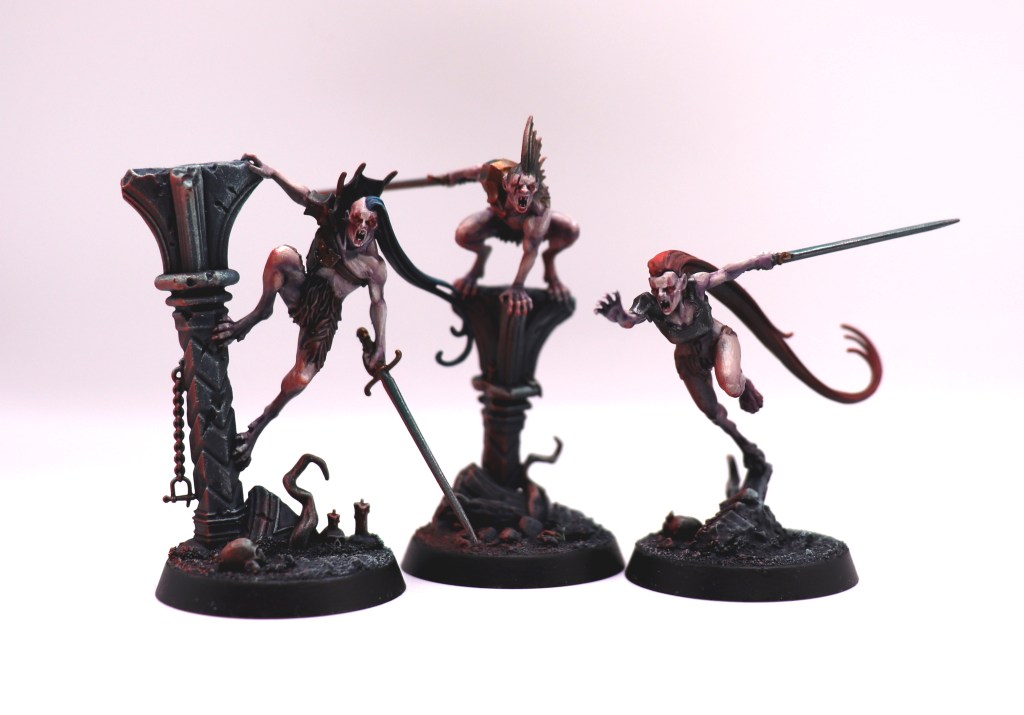
Now onto my favourite miniatures of the whole set; ‘Team Rocket’. These are fantastic models, provided you don’t think too much about the modesty-preserving fur pelts covering their nethers. I said don’t think about it.

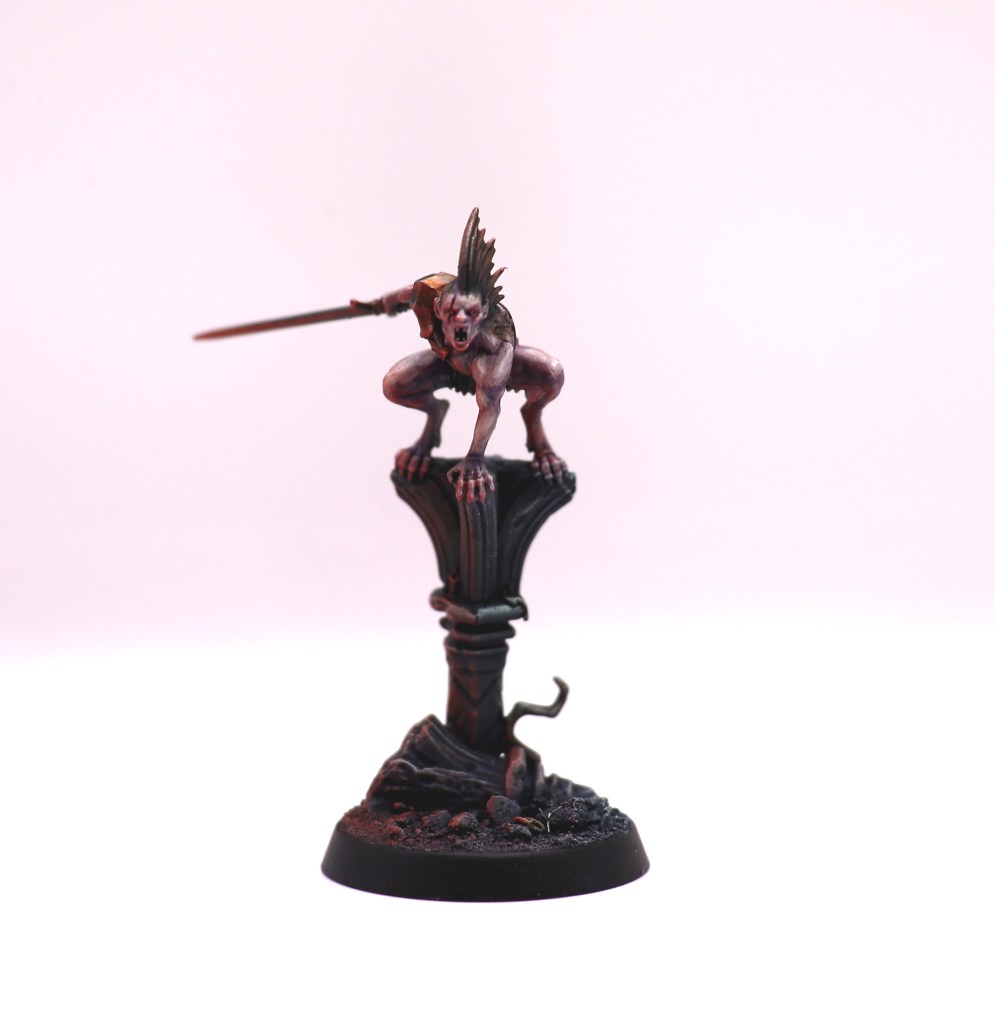
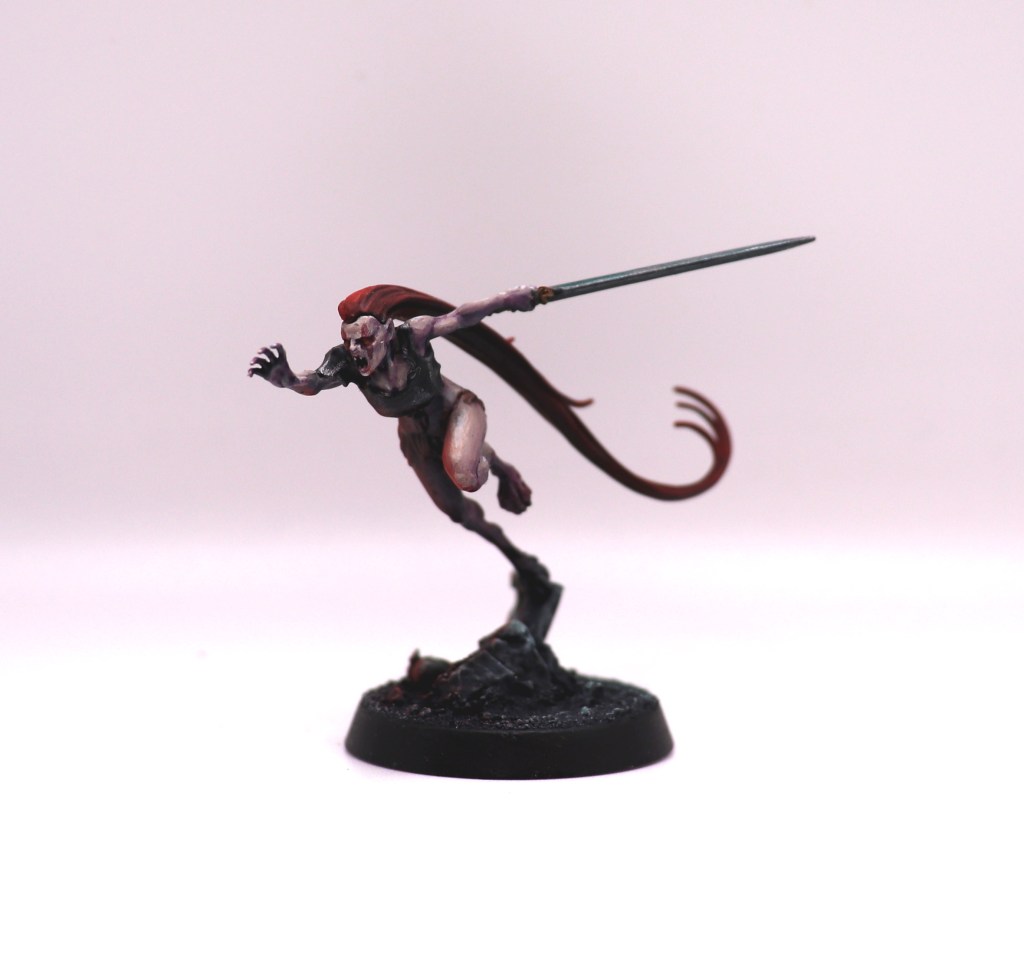
I was worried about painting the vampiric skin, but I’m really happy with how it turned out.
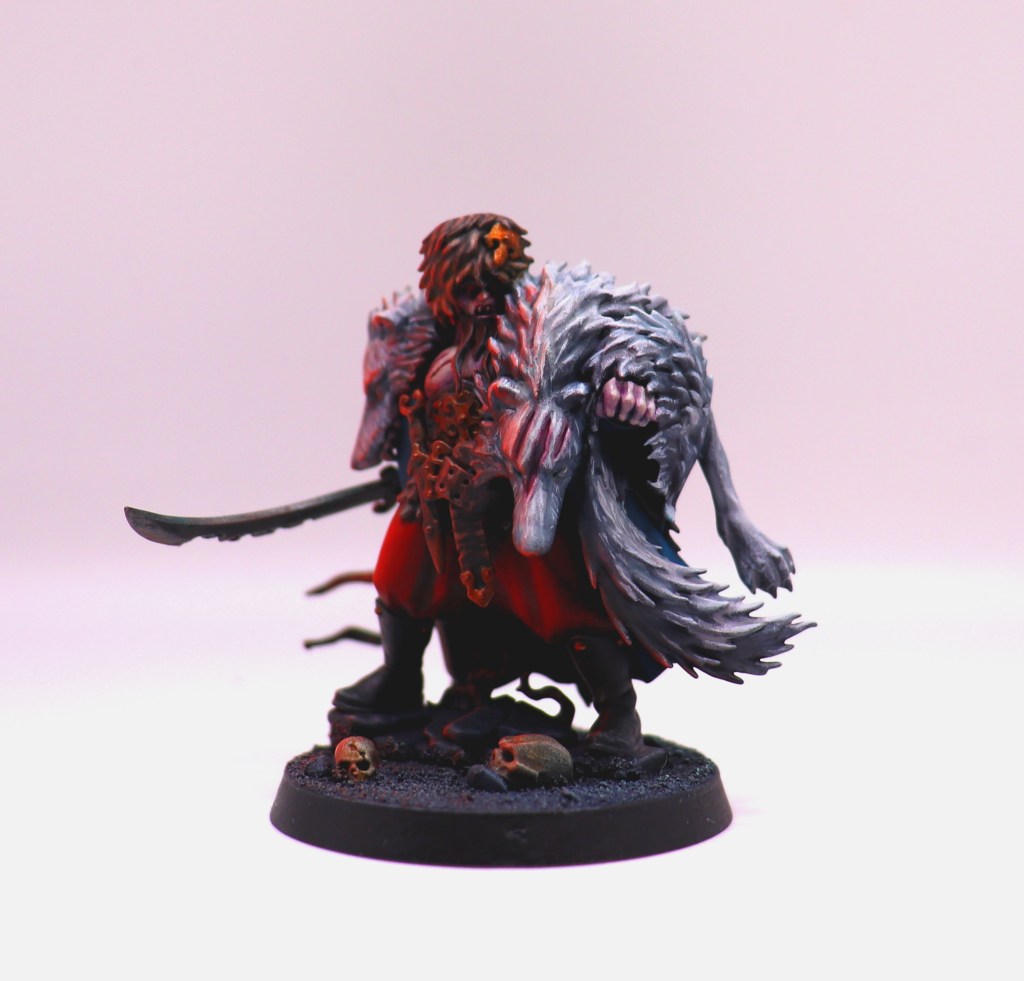
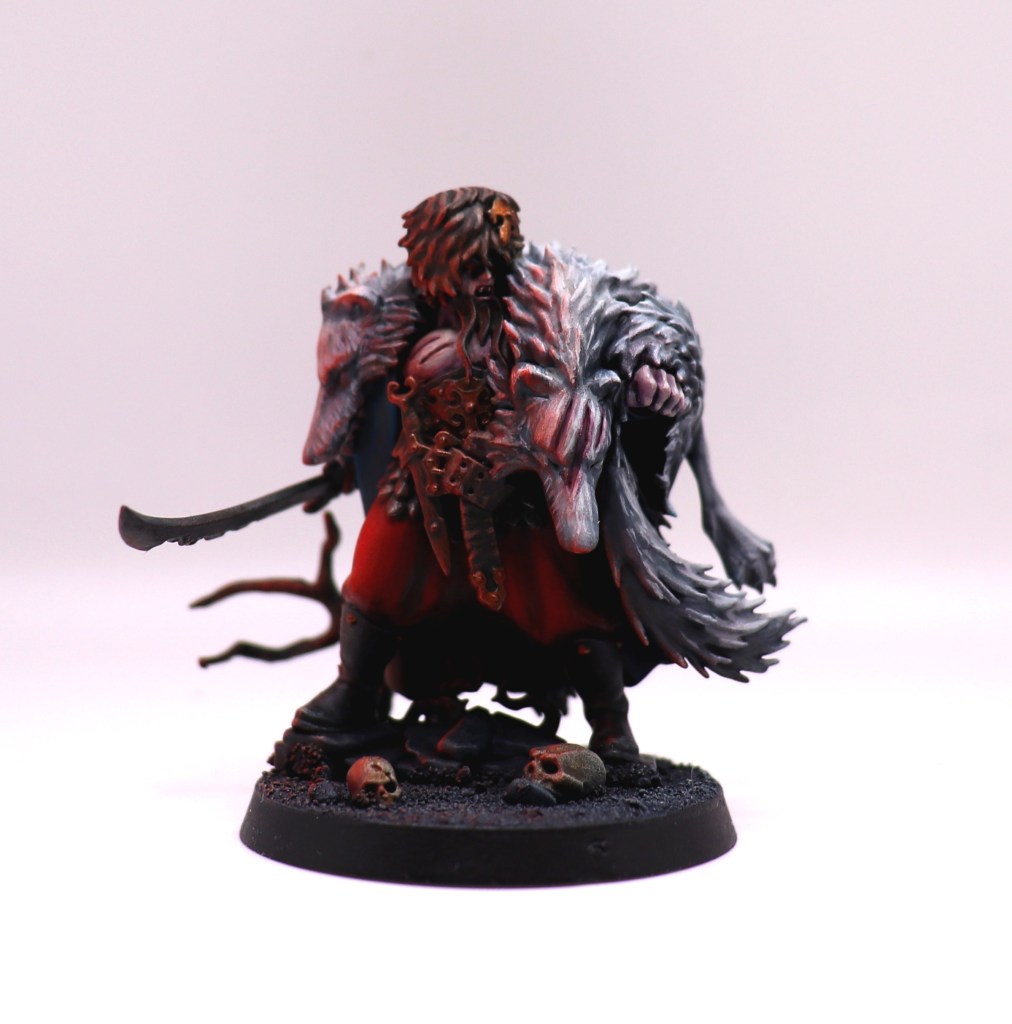
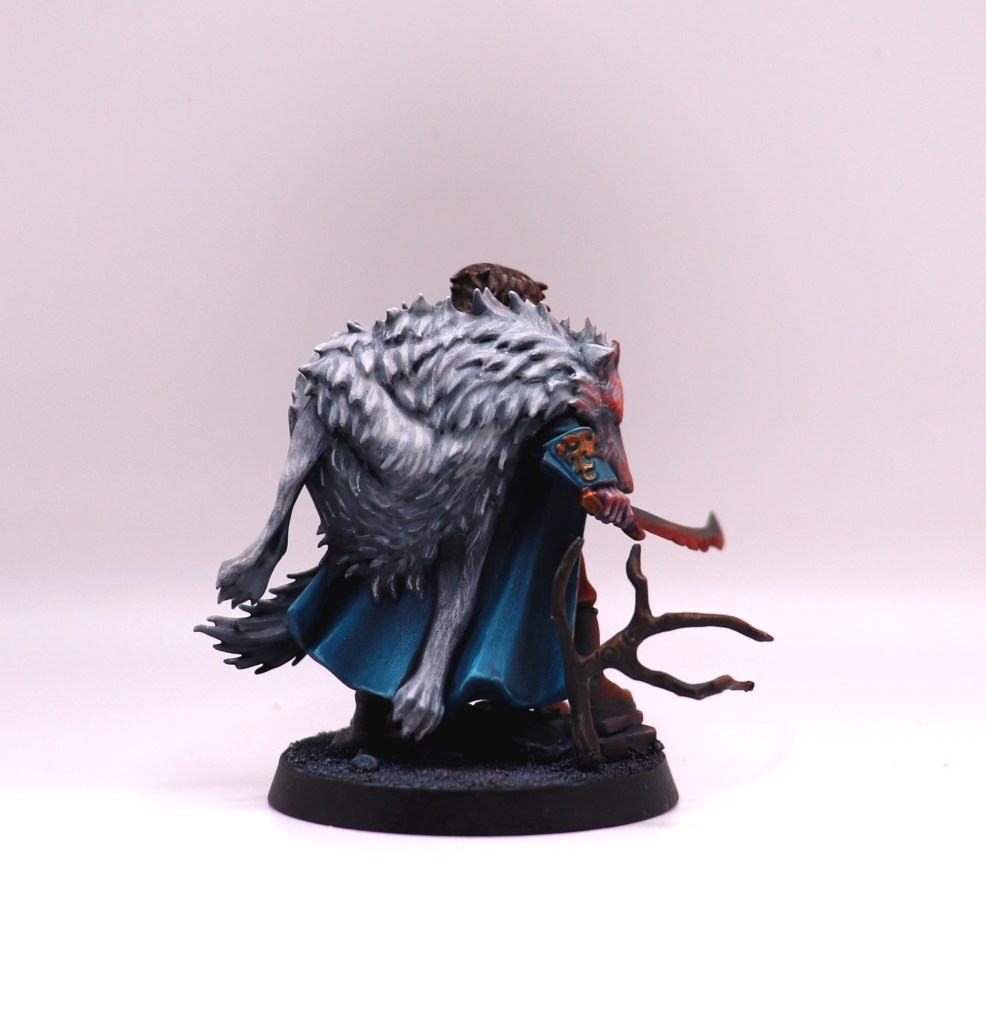
Finally we have the big man himself, Radukar the Wolf. As befits the final boss, this allowed me to pull together a bunch of techniques that I’d been practicing on his minions. I was a bit worried about painting his big fur coat but in the end I’m quite pleased with how it came out. It’s a bit strange that he’s the boss but he’s got one of the mankiest swords. I guess it has sentimental value.
Overall this was a fun project that gave me a lot of opportunities to experiment with new things. Those experiments mostly paid off, I think, and helped to expand my toolbox of techniques which I’ve since brought forwards into other projects. In particular I think the approach to lighting worked to unify the different models and sell a mood. Now, every time I start a new project, I try to think carefully about and visualise the environment the model exists in. Obviously this will affect the basing, but also the model itself – what are the light sources likely to be? How will this tint the colours on the model? Will the highlights be white and the shadows black, or will these be tinted too? What will surfaces reflect? Will there be dust or other contaminants from the environment on the model? How can I select my colour palette to work well with all these factors? There’s certainly a lot of things to think about doing it this way, but I enjoy it a lot more since it helps move miniature painting on beyond just 3D paint-by-numbers and it gives a lot of room to make your miniatures really your own, even if you’re using a standard colour scheme.
The temptation is certainly there to keep going and use this as a starting point for an Age of Sigmar Soulblight Gravelords army. However, I have enough difficulty finding time to fit in 40k games at the moment to try to add AoS into the mix (and if I was going to go back to Fantasy, it would probably be Old World). Maybe one day…


Leave a comment